

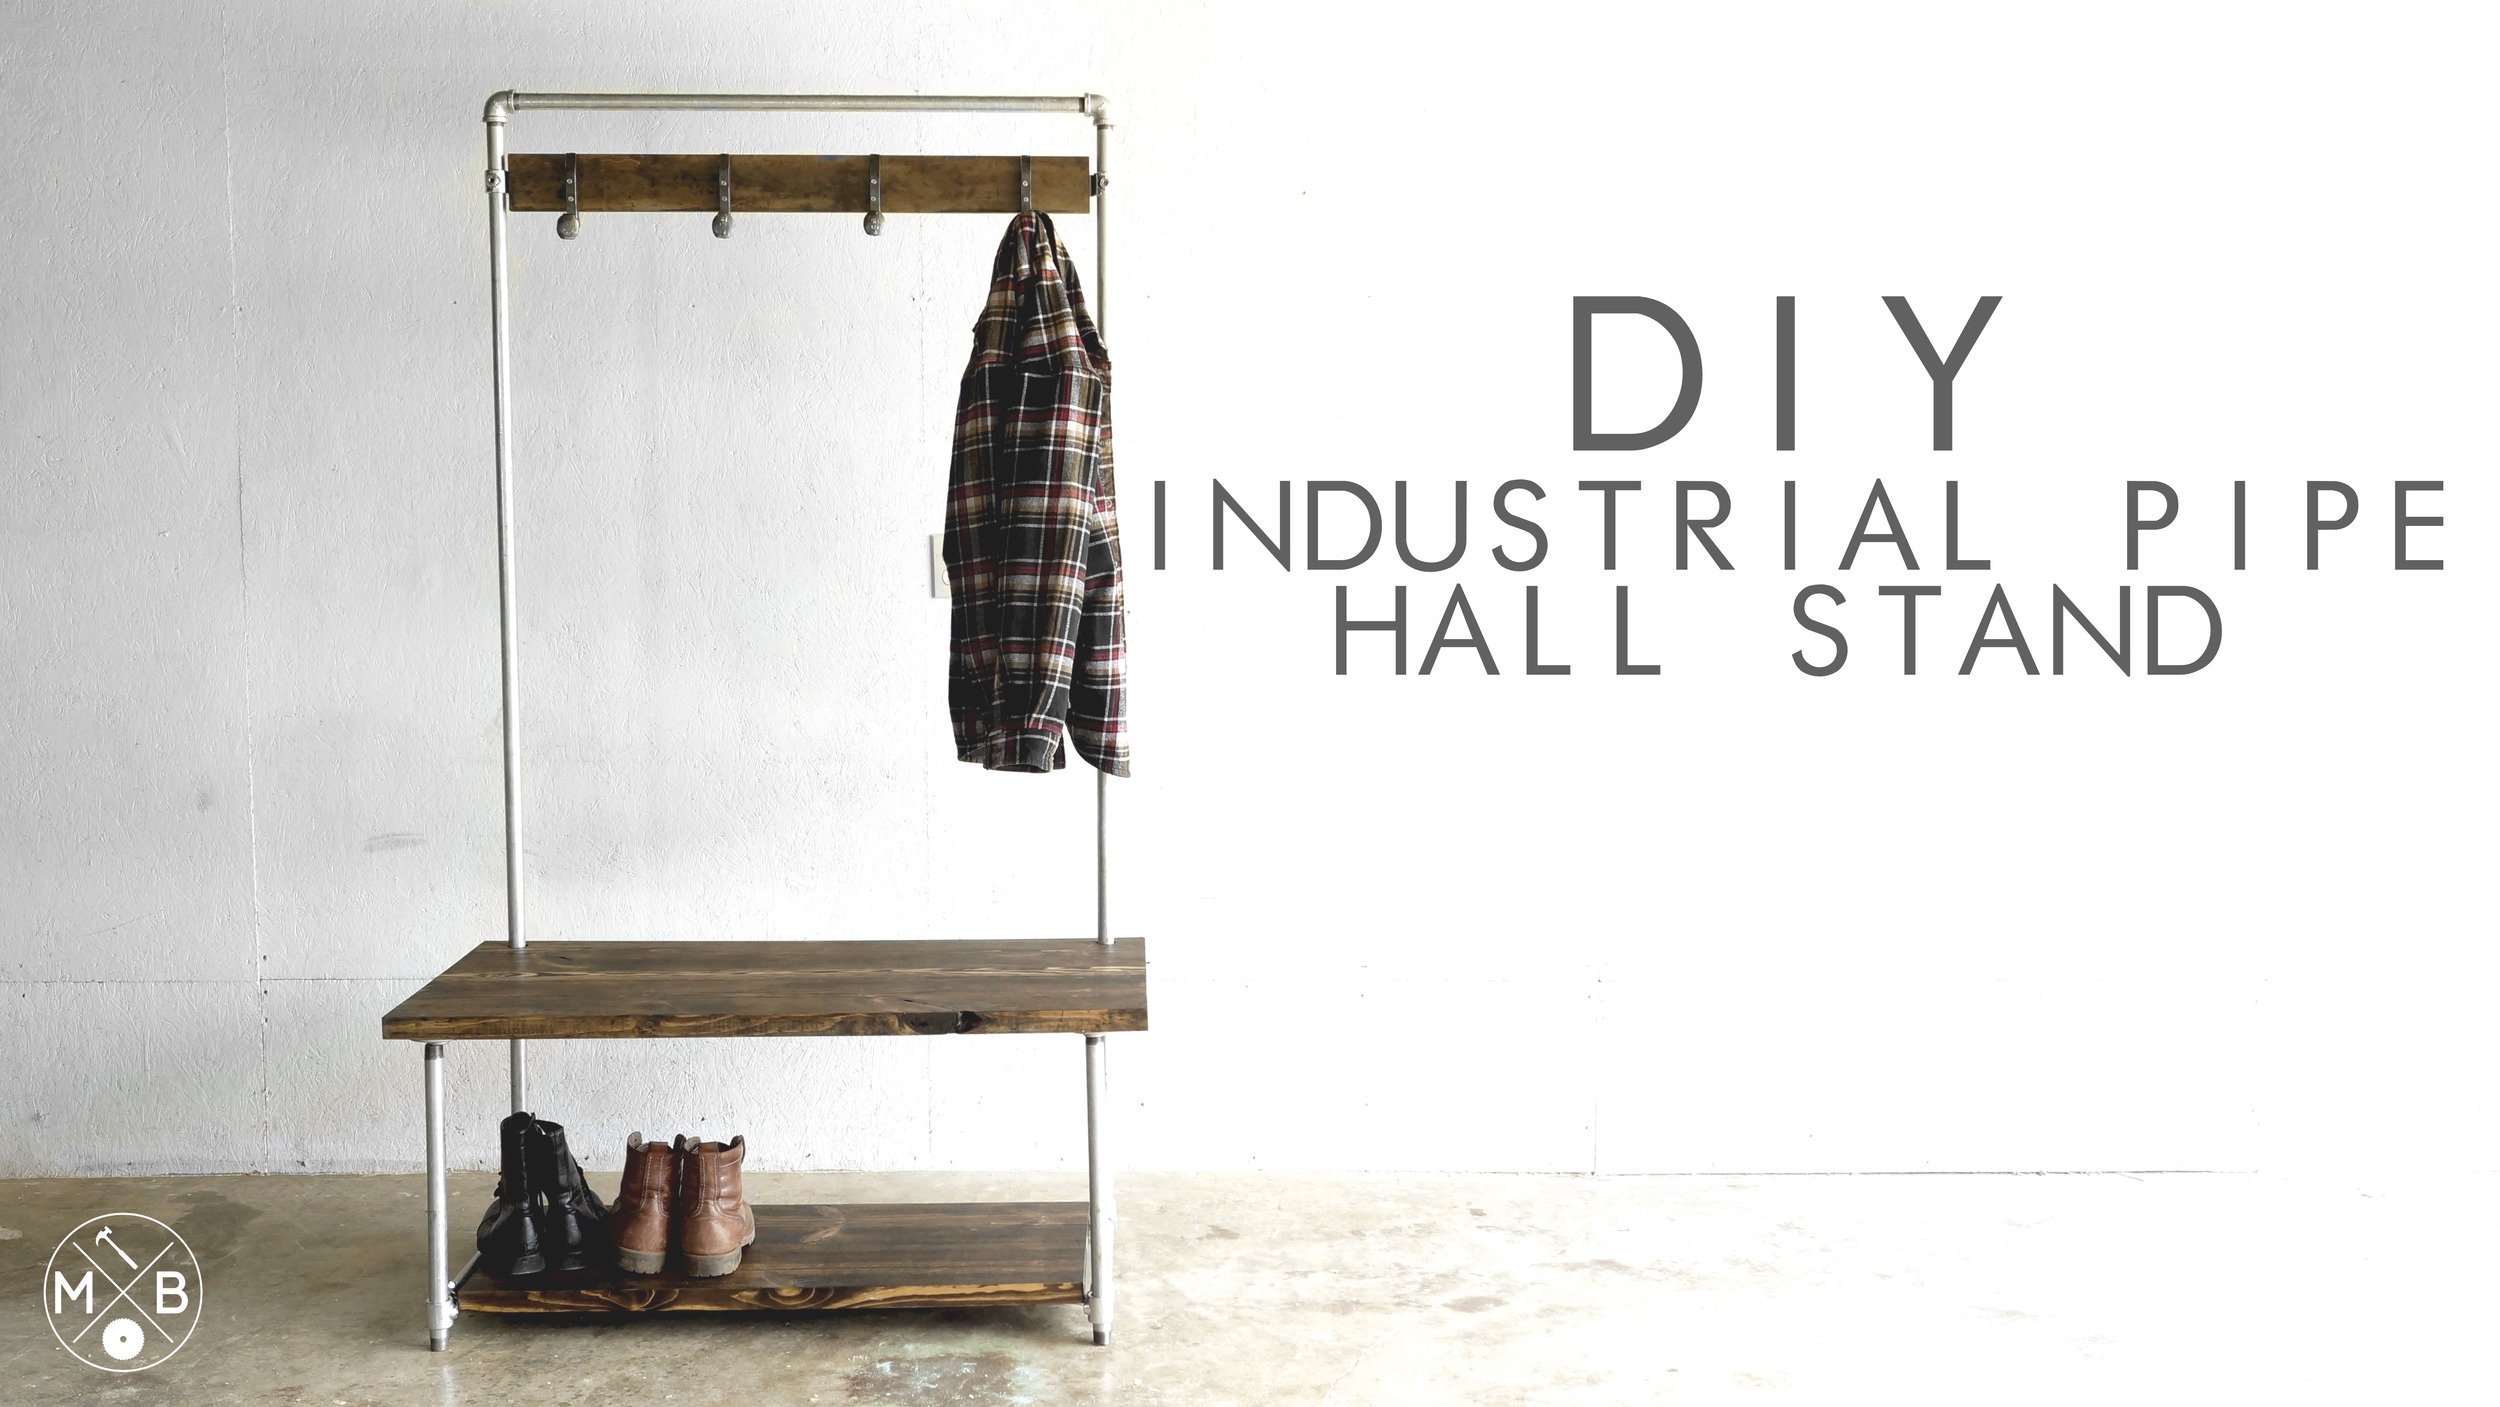
EP. 38 DIY INDUSTRIAL PIPE HALL STAND
Today I'm using 3/4" galvanized pipe for the first time to build a modern industrial hall stand, or hall tree. The twisted railroad tie coat hooks were made by my friend Douglas from the channel RetroWeld. Make sure and check out the video and subscribe to his channel, link below.
RetroWeld: https://youtu.be/3V3n580NiqY
MATERIALS AND SUPPLIES:
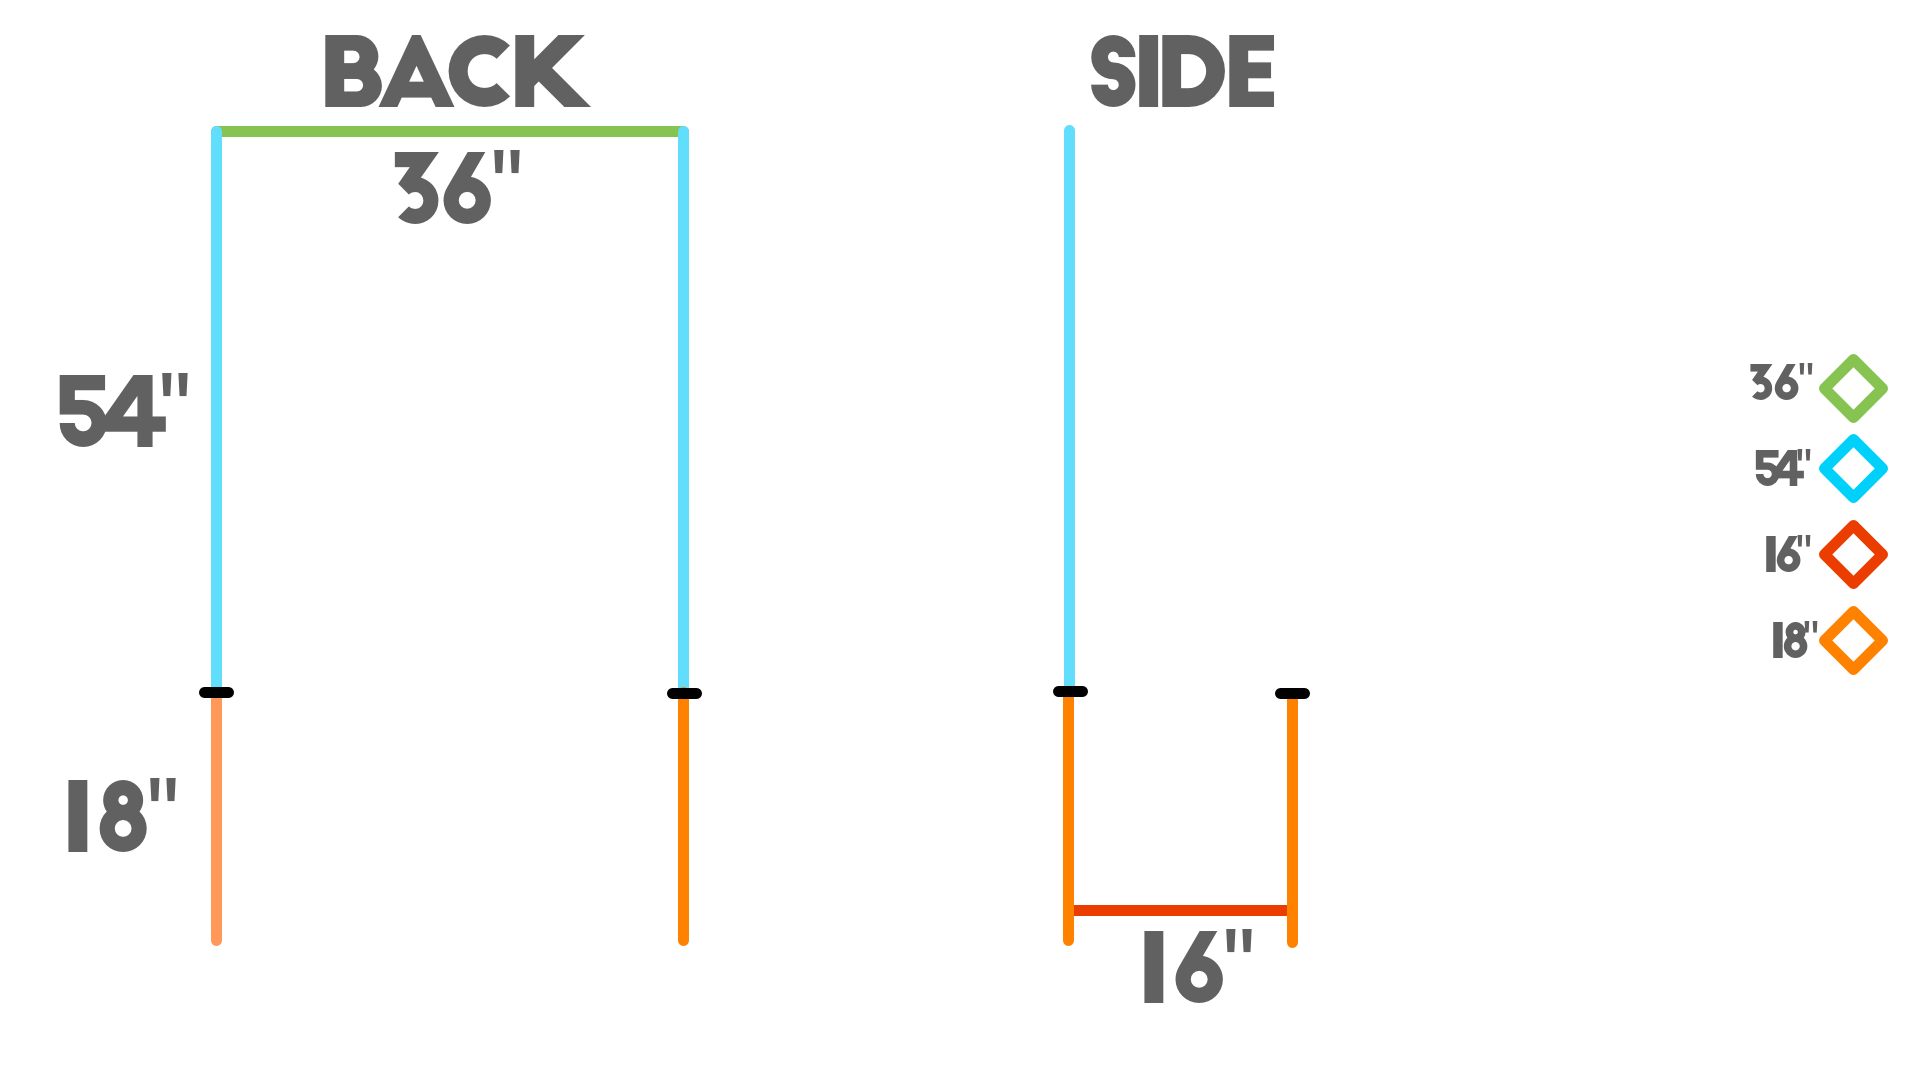
3/4" Galvonized Pipe: Cut from two 10' pieces and one 36" piece.
2 - 54" pieces
4 - 18" pieces
2- 16" pieces
1 - 36" piece
Fittings:
2 - right angle (threaded)
4 - flanges (threaded)
4 - T- fittings (allen keys)
6 - offset flanges (allen keys) (4 for attaching bottom shelf and 2 for coat rack)
2 - 2x10's (8 foot)
1 - 2x4
1 - 1x4 (i used a scrap piece)
4 Coat Hooks
Minwax Dark Wanut Stain: http://amzn.to/29ie9EA
Wood Glue: http://amzn.to/29ieqHy
Doweling Jig (optional): http://goo.gl/xgrQyE
I started by getting all my pipes and fittings from Lowe's. Some of the fittings are threaded others attach from an allen screw. Make sure you get the right ones.

i cleaned the pipes with a grease and wax remover, and used Goo Gone to help get rid of any stickers.

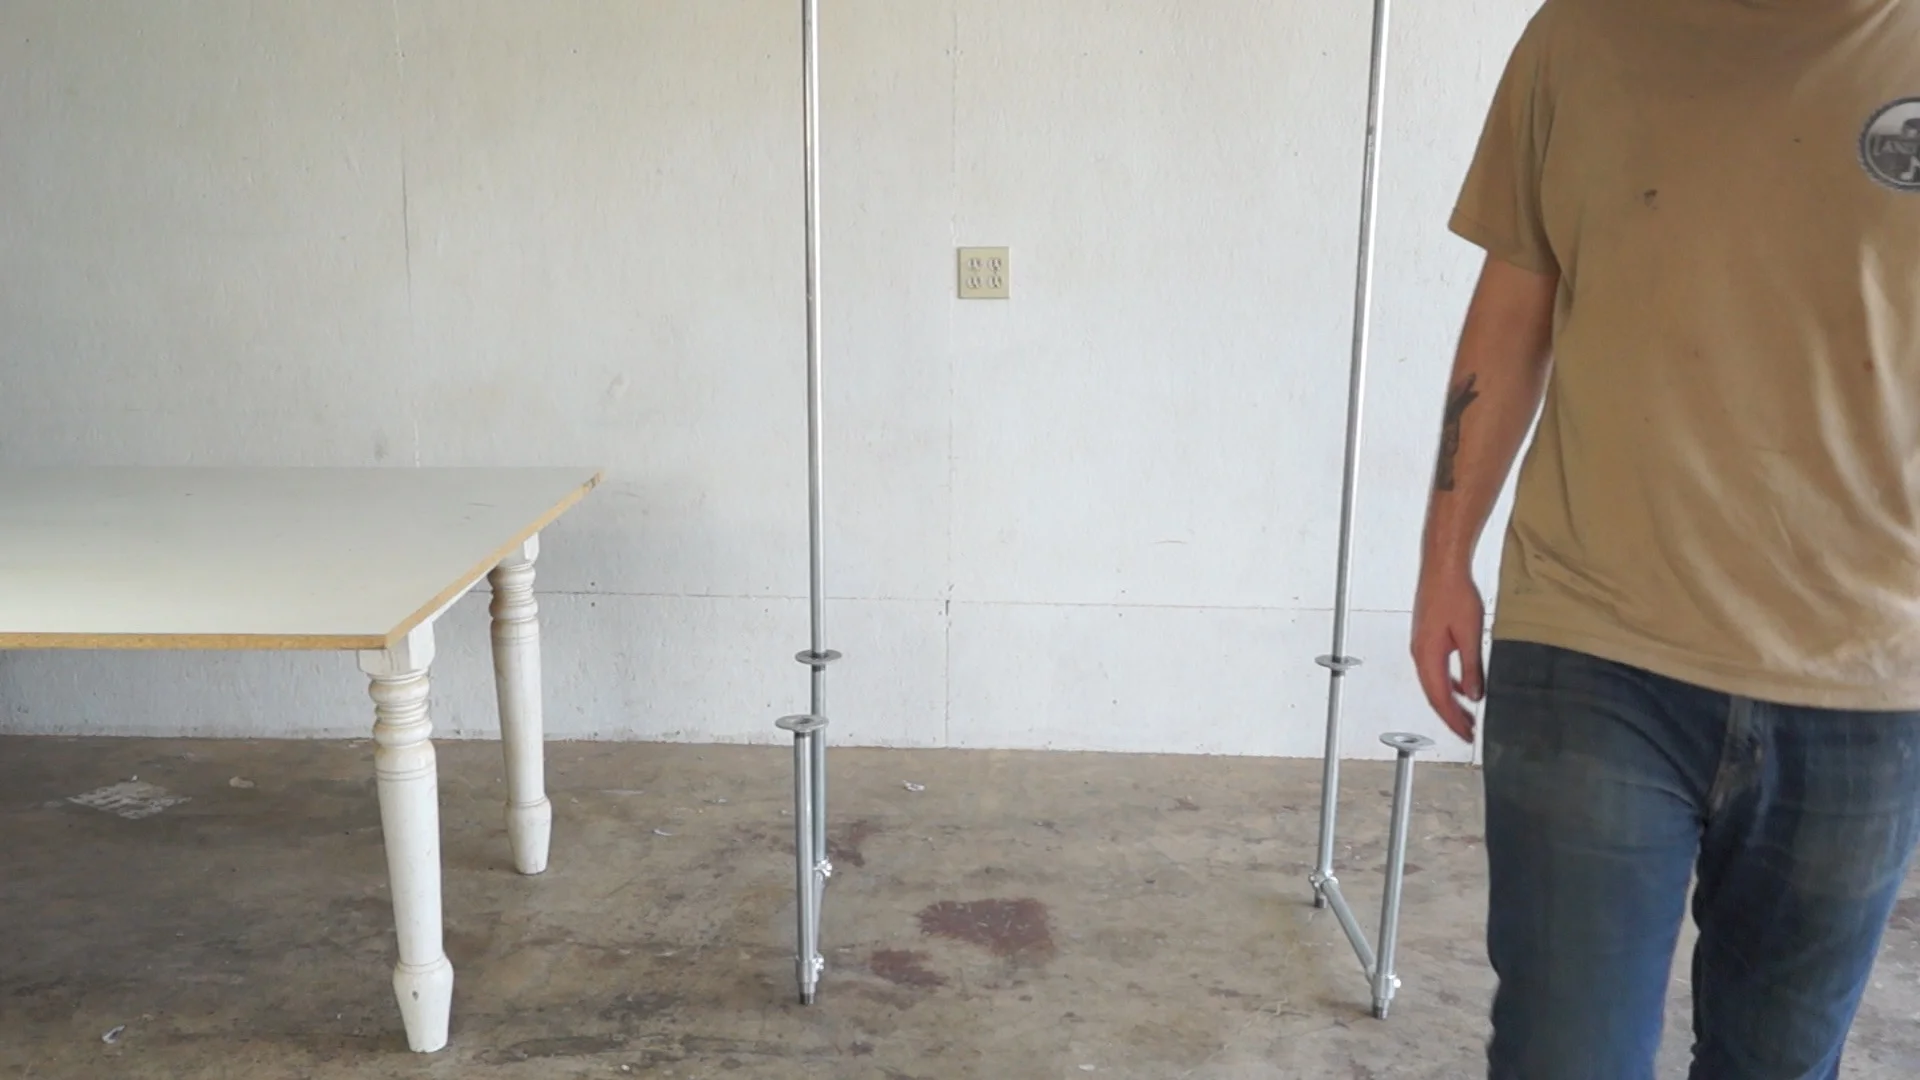
Next, I just needed to put the pipes together so that I'd be able to get all the measurements for my shelf and seat. I'm not giving my exact measurements, just in case your pipes aren't the exact size as mine. Measure to fit.


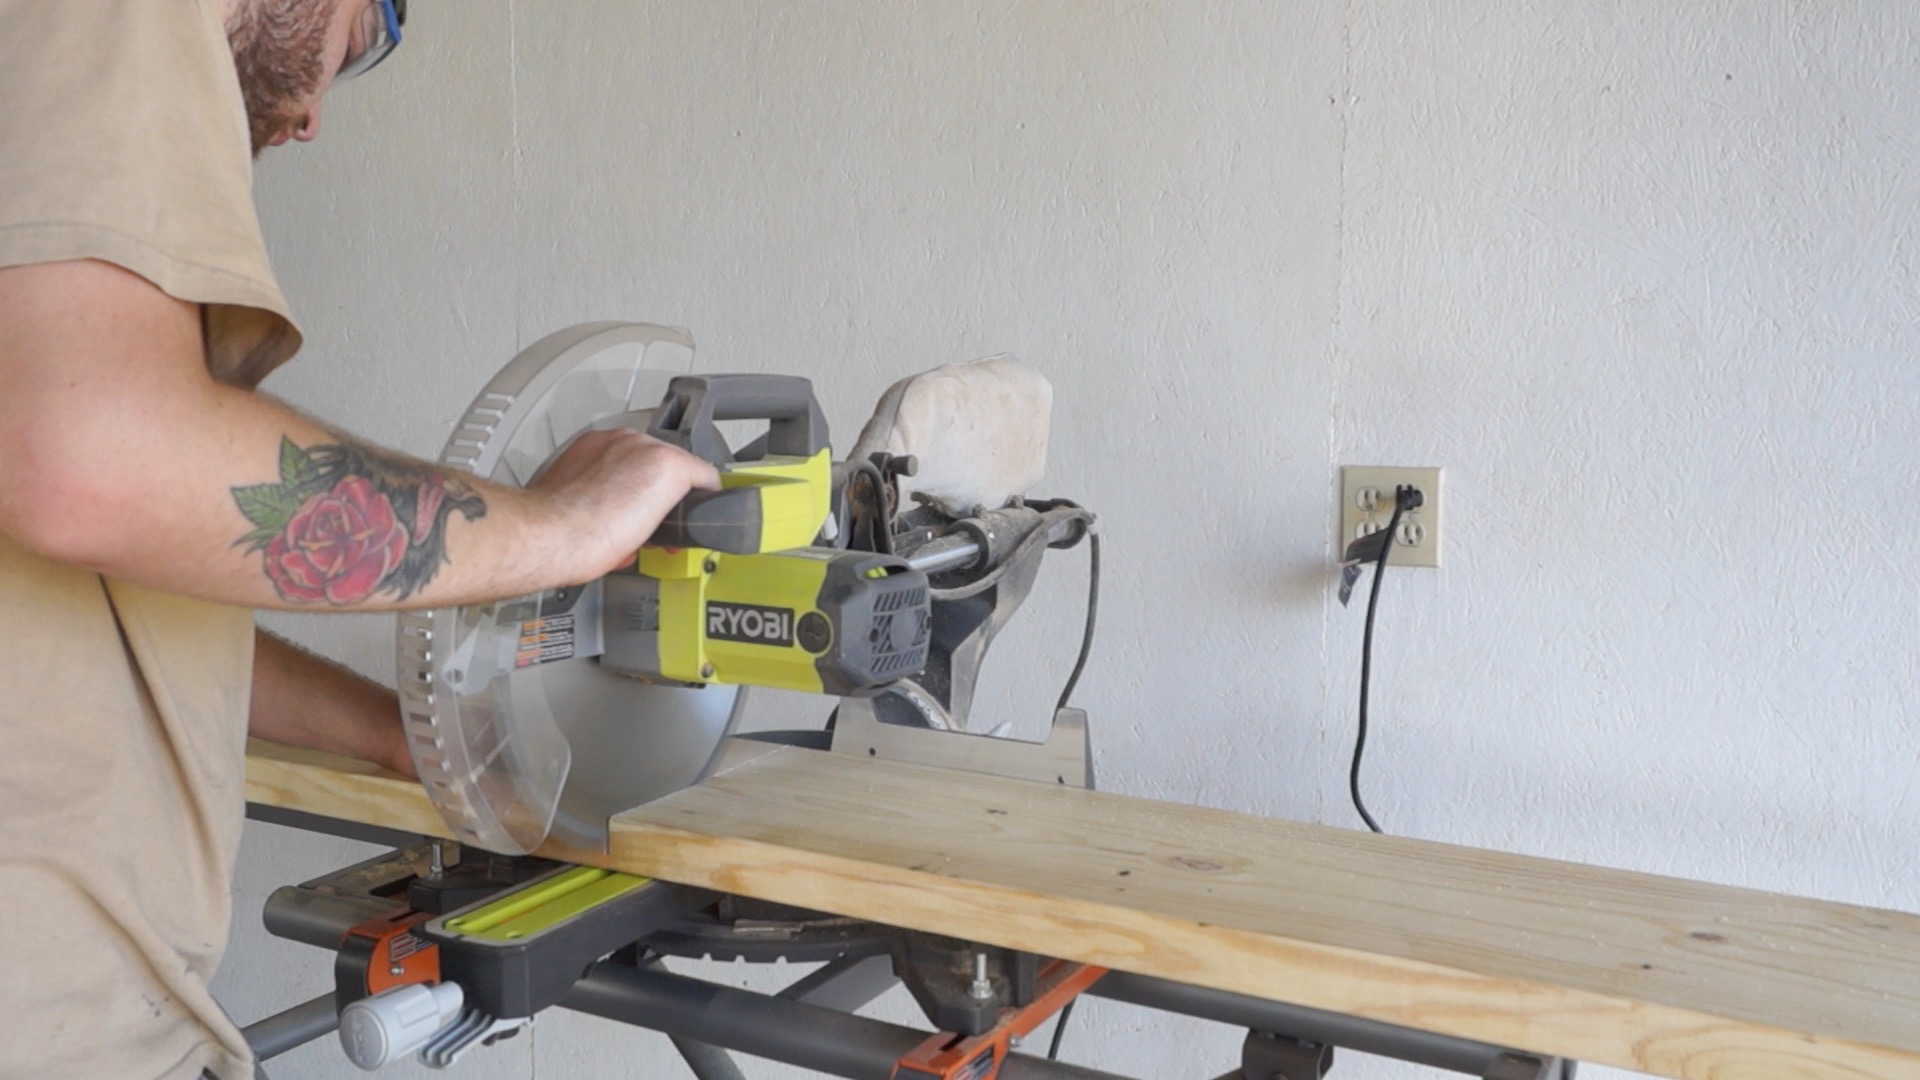
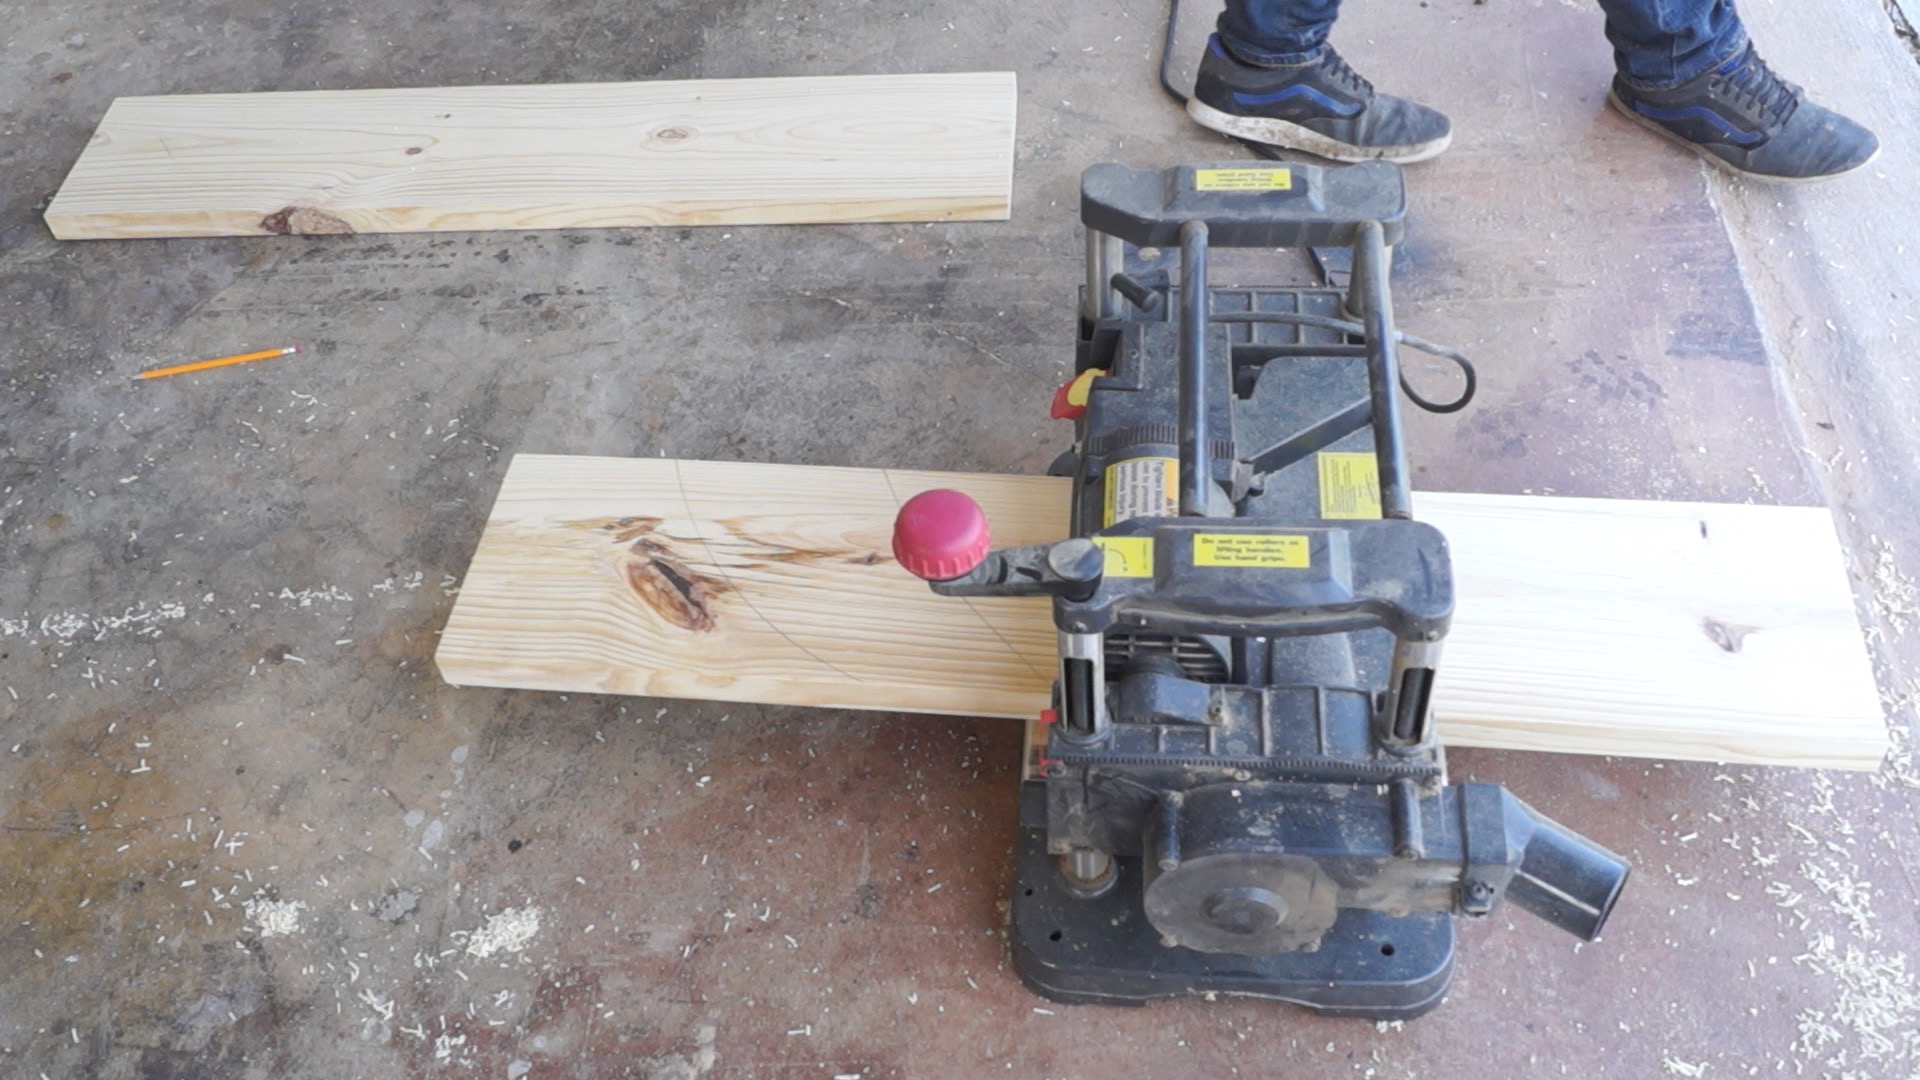
Next, I cut my 2x10's and 2x4 to make the seat and shelf. I cut everything oversize and trimmed it up after I glued the panels.
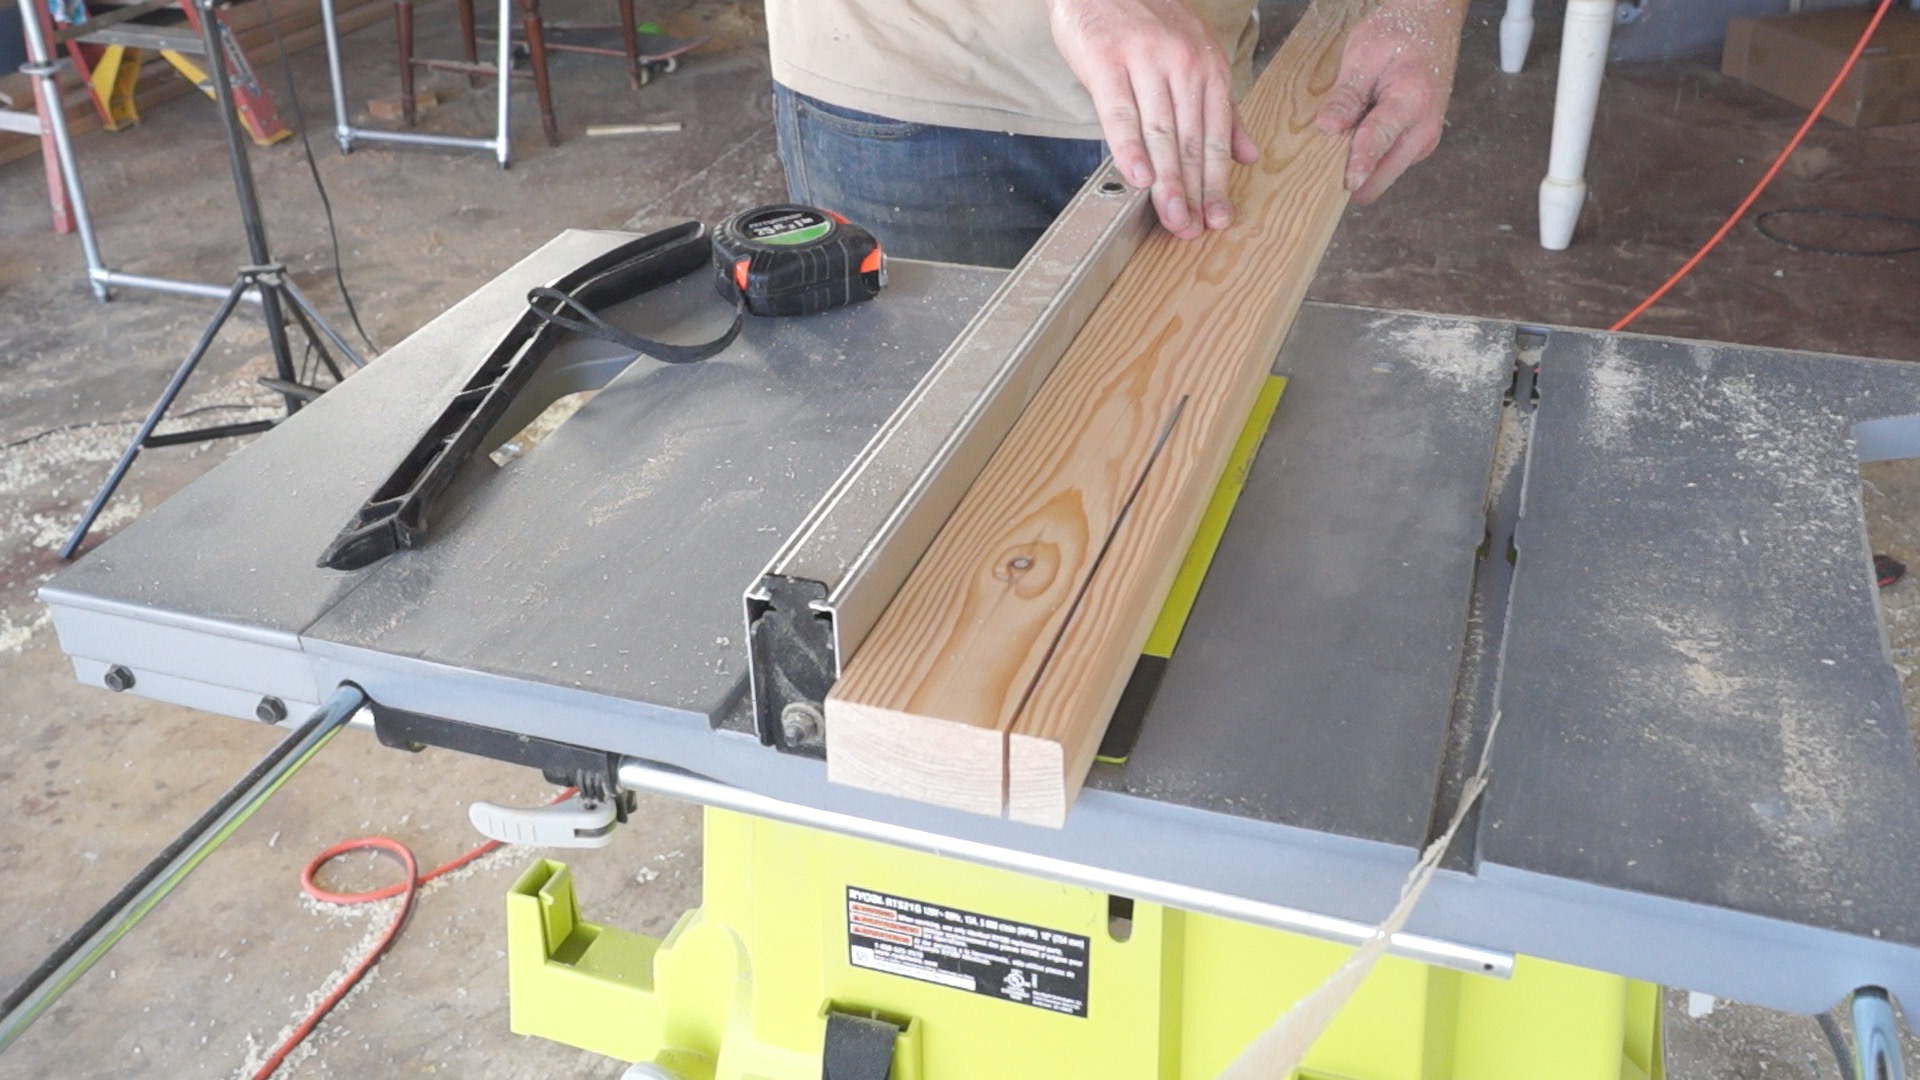
I ran my pieces through the planer to remove the rounded edges on the 2x10's as well as to make sure everything was flat and square.
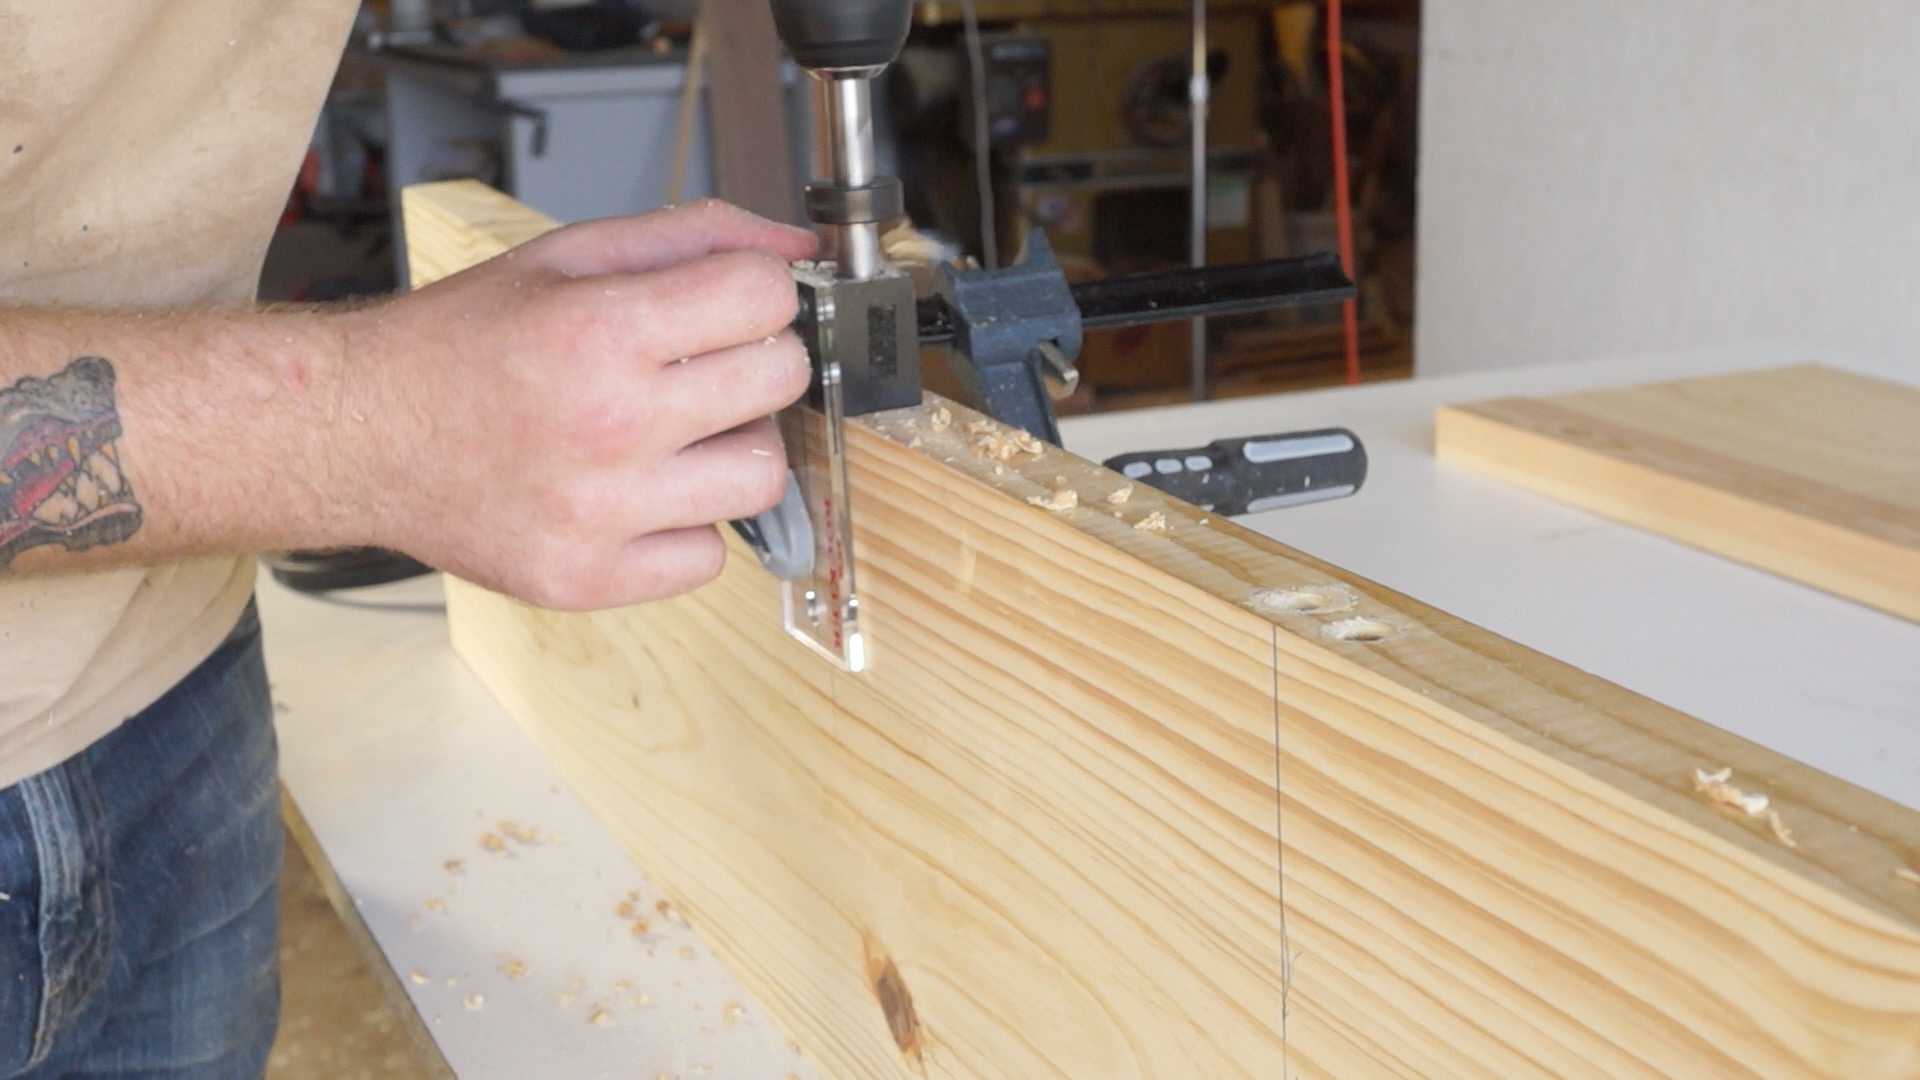
I used dowels when I clamped up my panels to help line everything up and make things stronger.

I flattened the panels and cleaned them up with a belt sander.

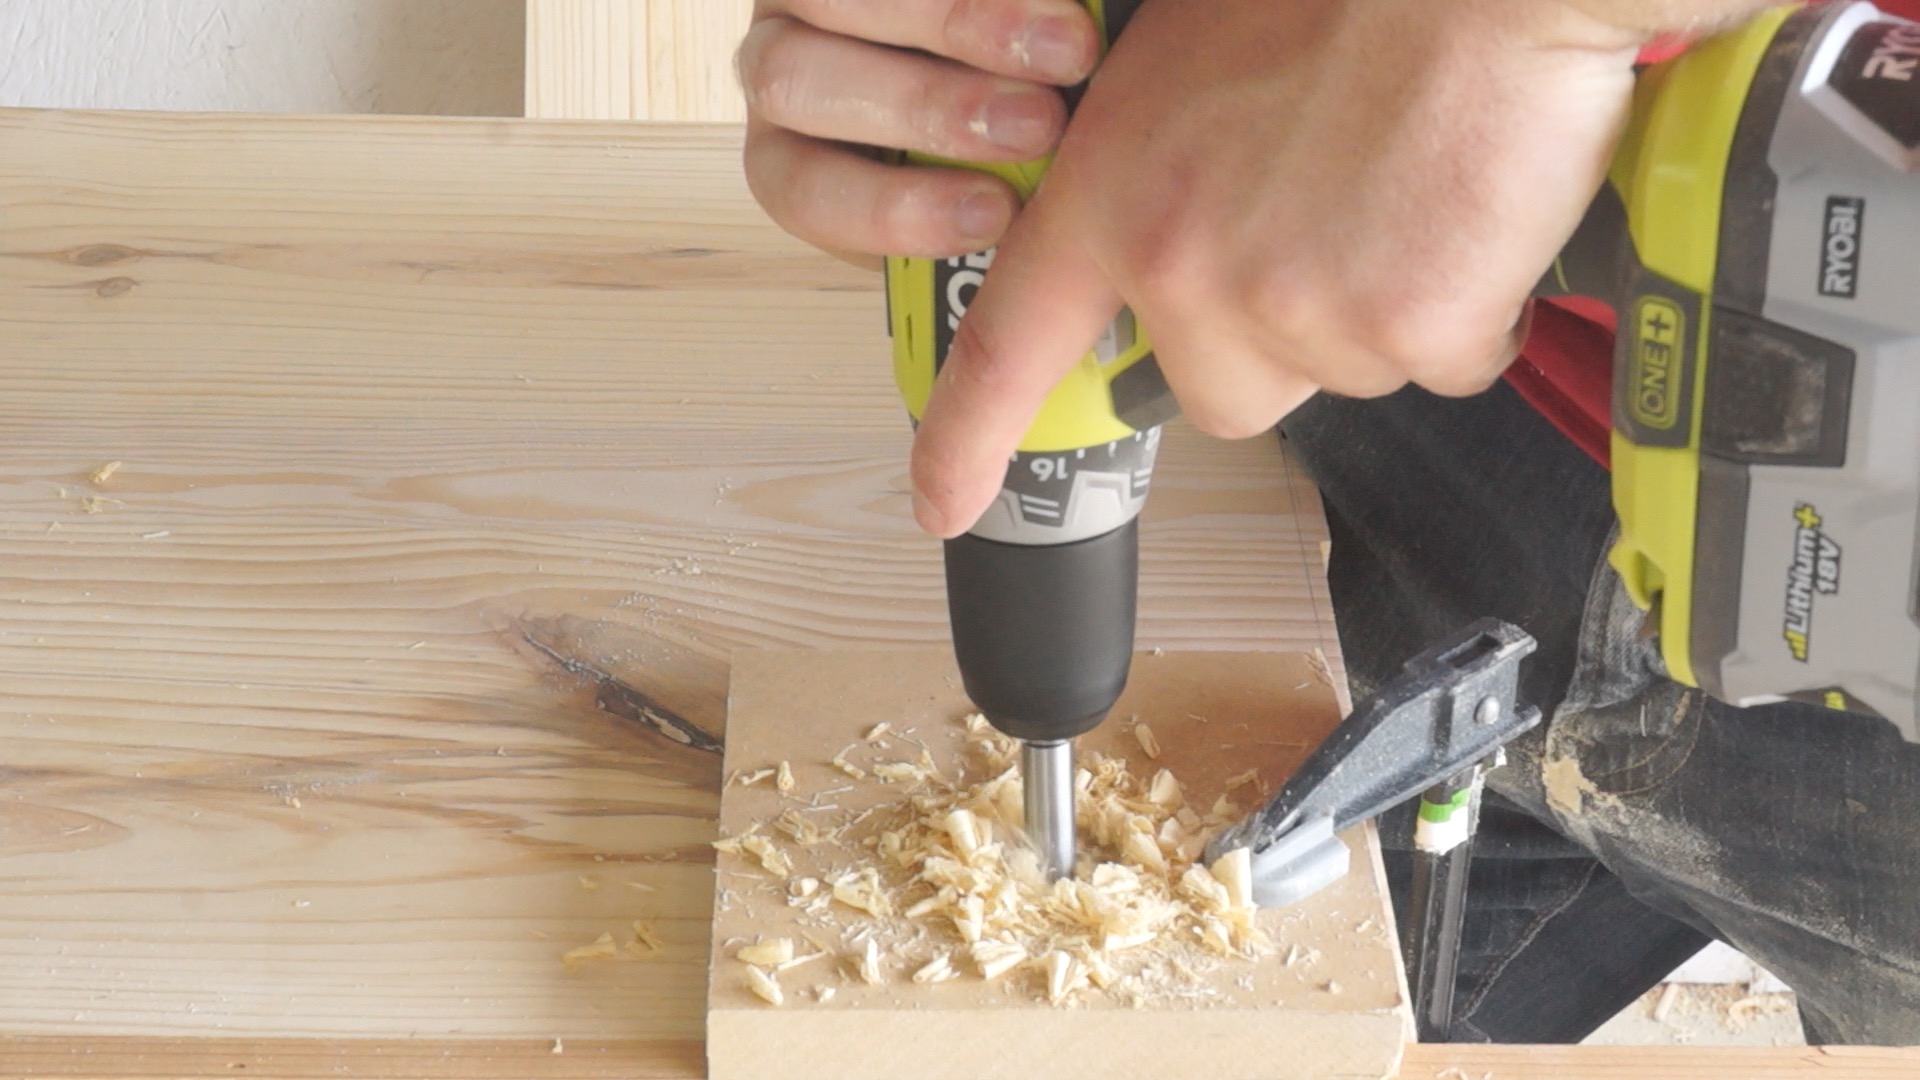
I drilled holes in the seat for the pipes to fit through with a 1.25" forstner bit. I also trimmed my seat and shelf to length, using masking tape to help minimize tearout.

Next, I temporarily installed the coat hook before staining all my pieces.

Lastly, I just needed to put everything together.


That's all there is to it! I hope you enjoyed it and go out and make your own. If you do, don't forget to tag me in a picture of it!
MORE COOL PROJECTS


GET IN TOUCH