

EP. 72 modern diy picnic table

Today on Modern Builds, I'm building and prototyping a picnic table with only 90 degree angles, unlike a traditional A-frame outdoor table. I think it made for a more modern and unique look.
I'm currently working on a set of detailed, 3D modeled plans for this project which will be up in the coming days.
MATERIALS AND SUPPLIES:
2x6's
2x4's
Wood Screws (if you don't want to use lag bolts): http://amzn.to/2xaBfa1
Wood Glue (optional): http://amzn.to/2inpauW
Outdoor finish: http://amzn.to/2xaVPr2
MEASURMENTS:
Here's all the measurements needed to get started on this project. I hope to make a 3D model and have legit plans, but I'm still working on that. In the meantime, here's this.

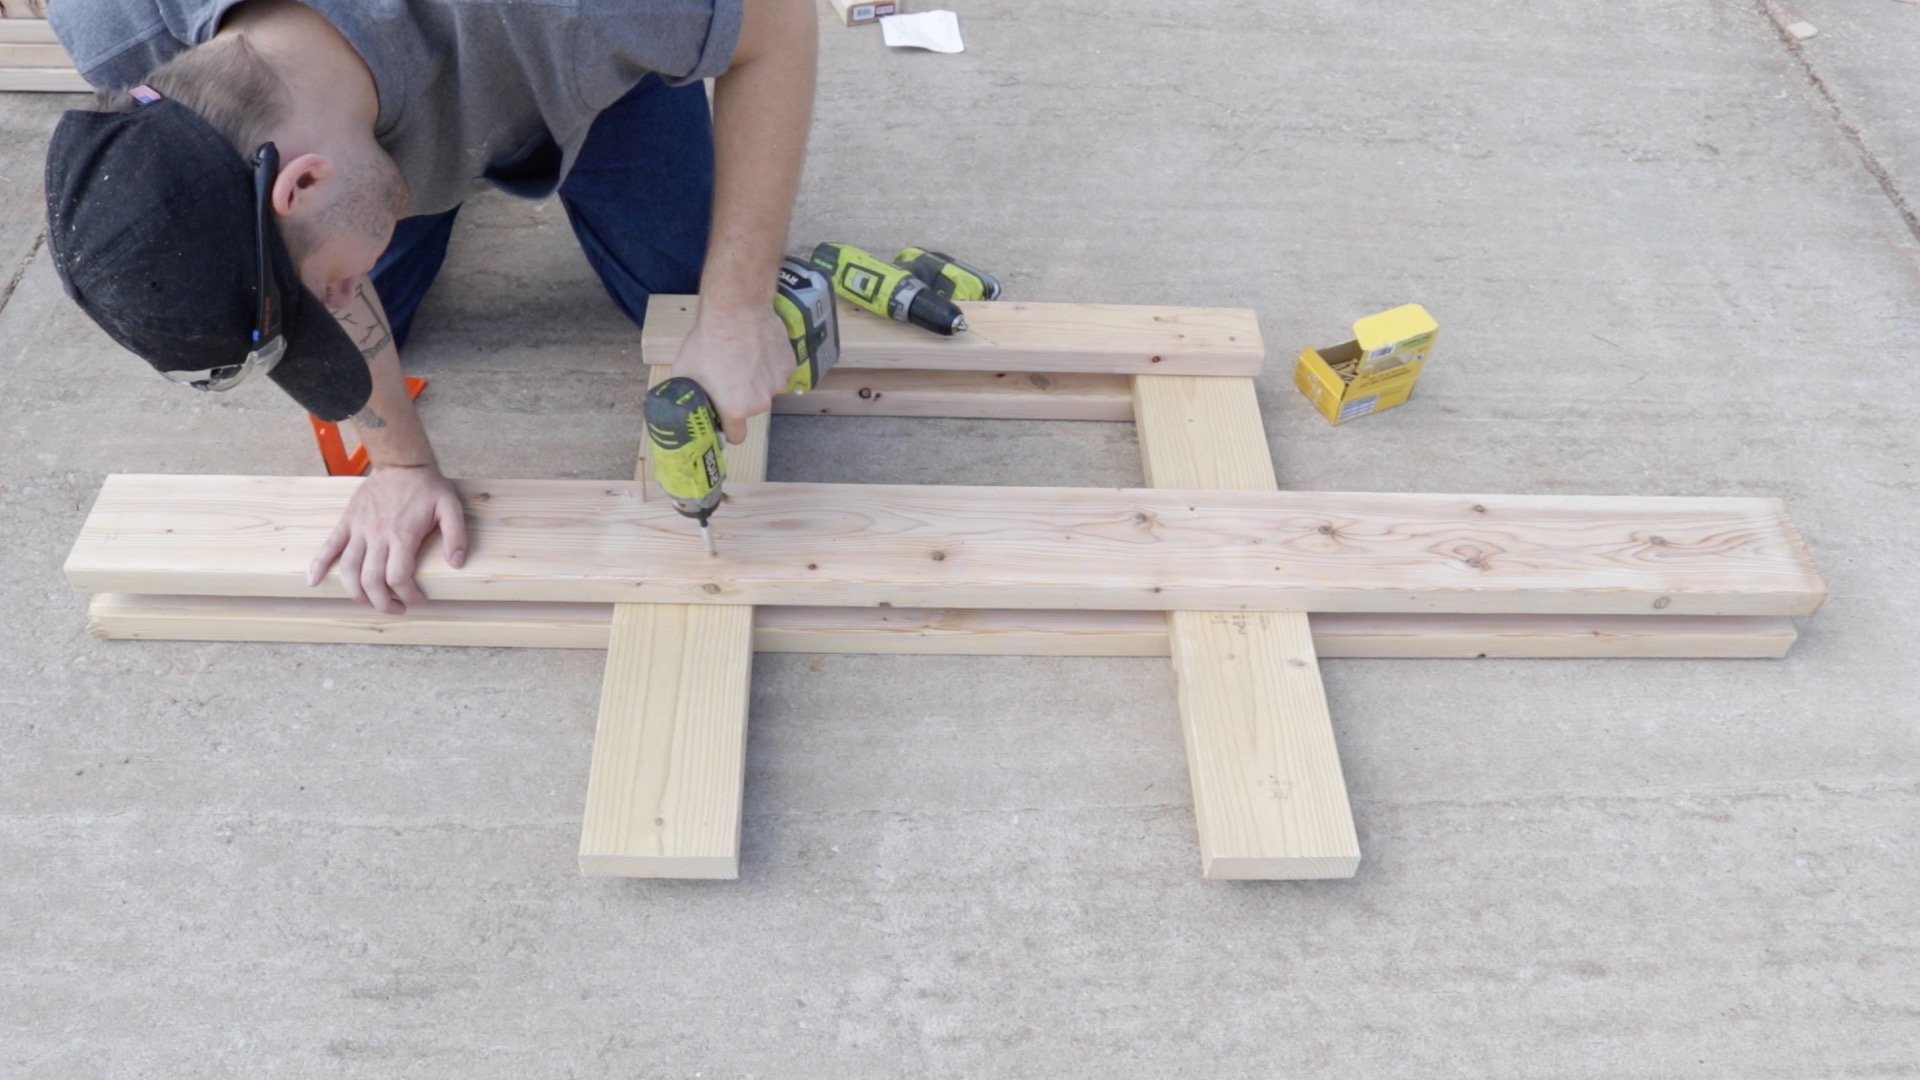
The general structure of the table is made of of the two leg assemblies. I starting by using a speed square to attach my first 2x4 to the tops of the legs. then, I attached my 2x6 stretchers.
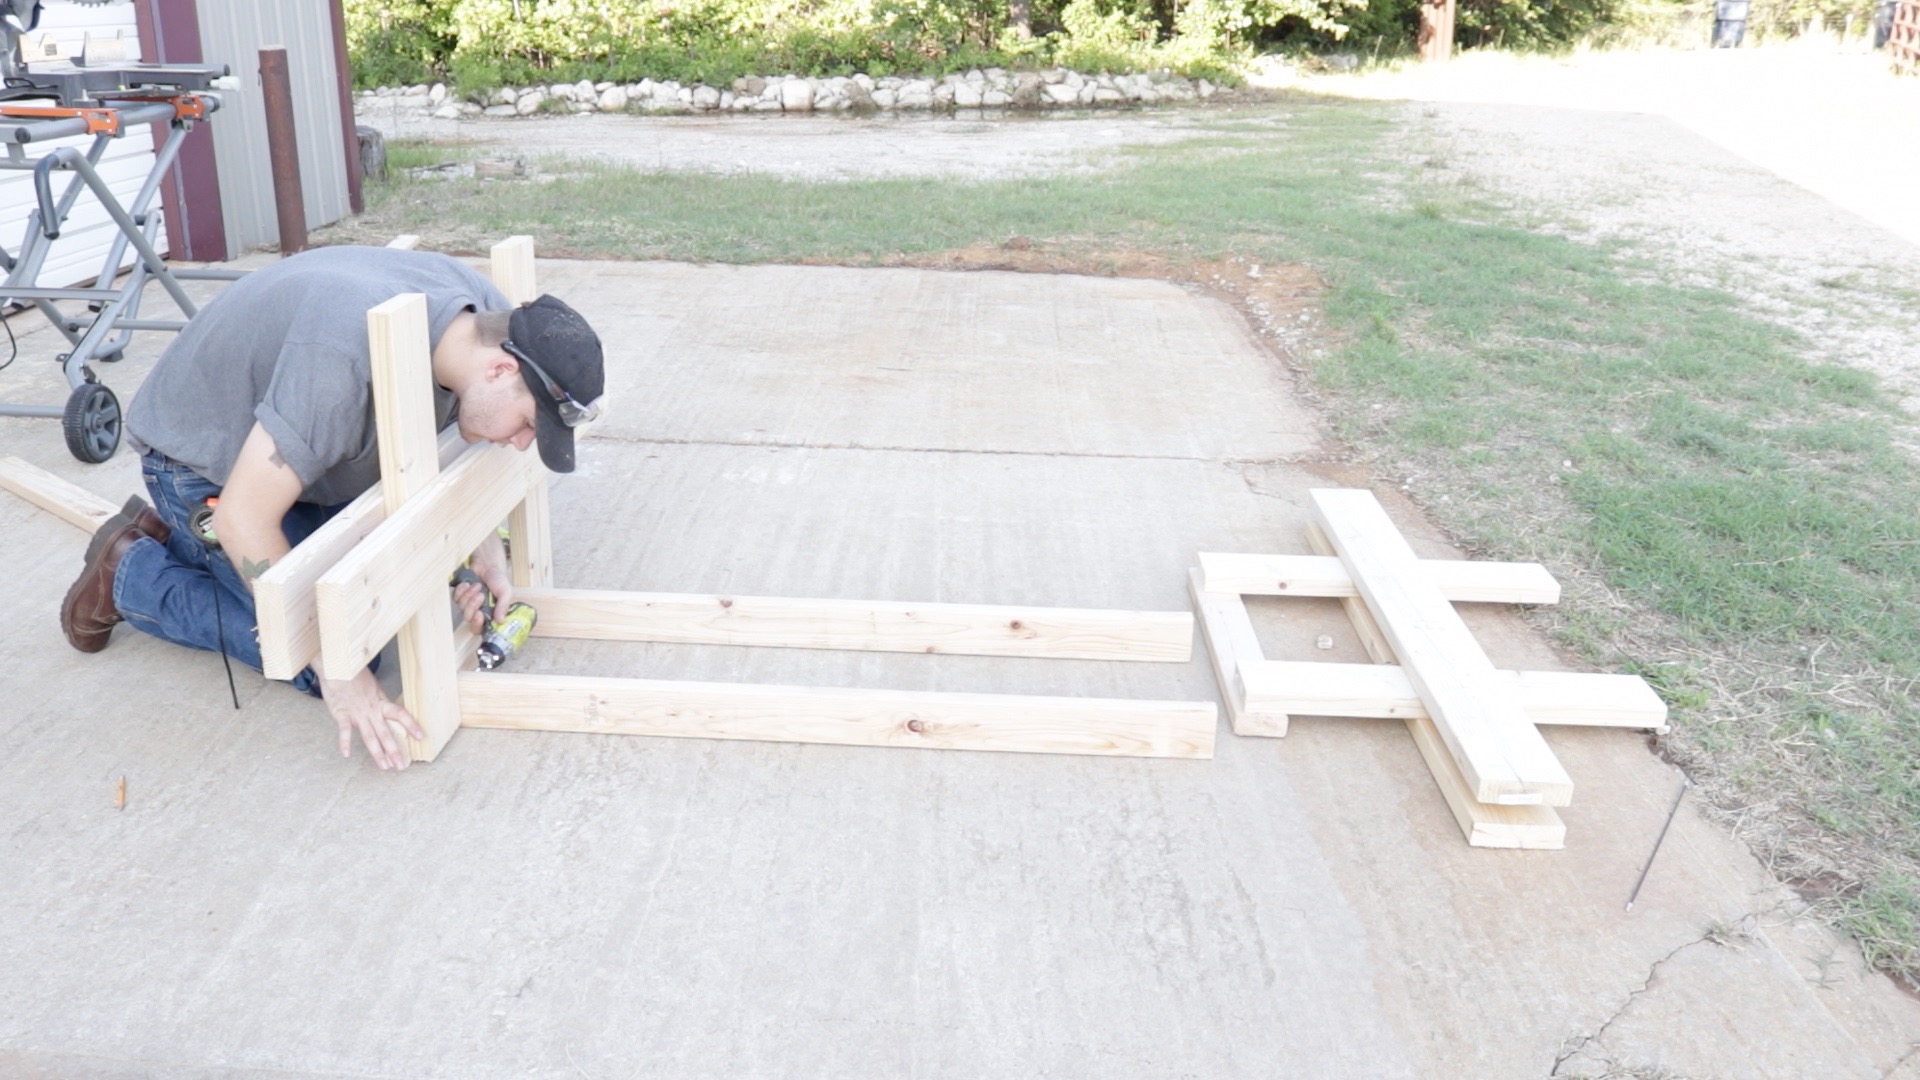
Once I had my two leg assemblies built, I cut two 2x4 stretchers to attach the two legs together. (notice I had to remove the inside 2x4 of each leg assembly to be able to screw these in.
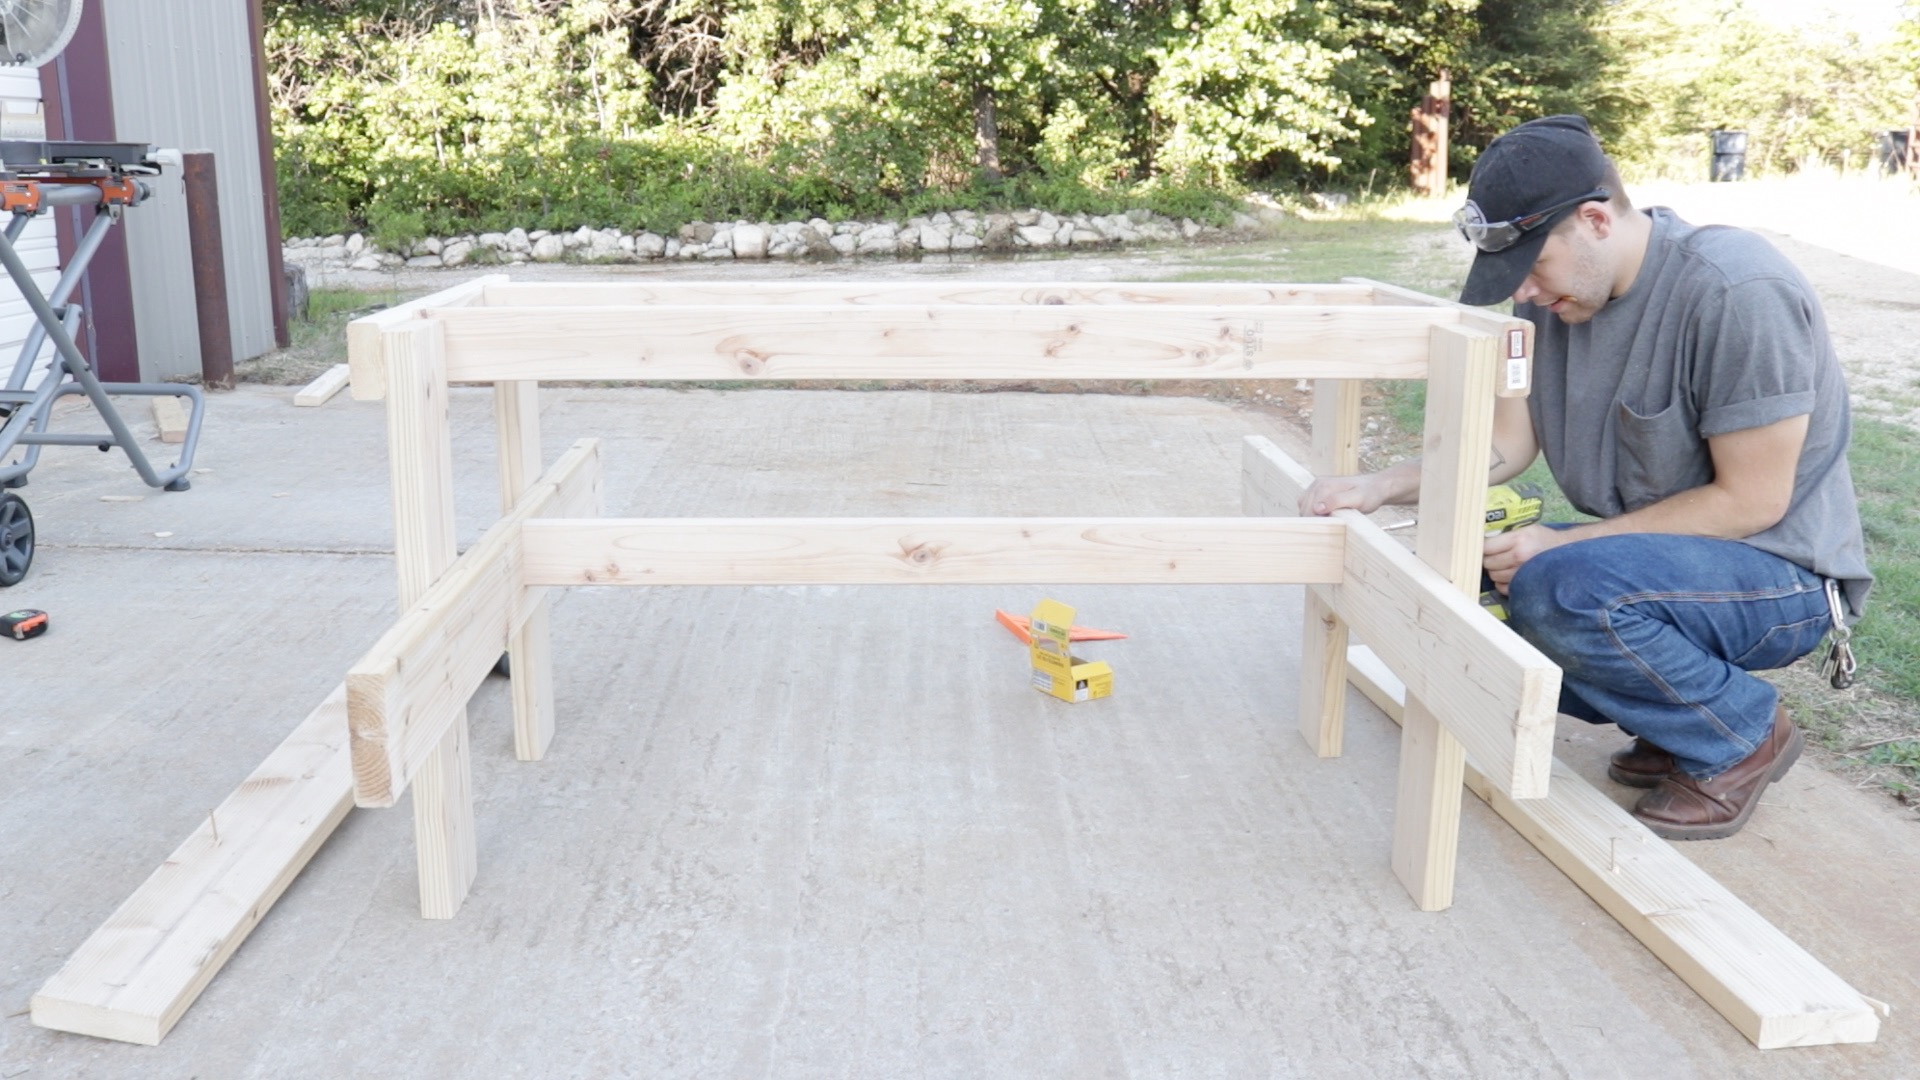
Next, I flipped the table upright and attached a single 2x4 stretcher to the 2x6 cross members. I had to remover the outside 2x6's to attach these.
With the base started, it was time to attach the table top and bench boards. I found the center of the base and attached the center table top board.

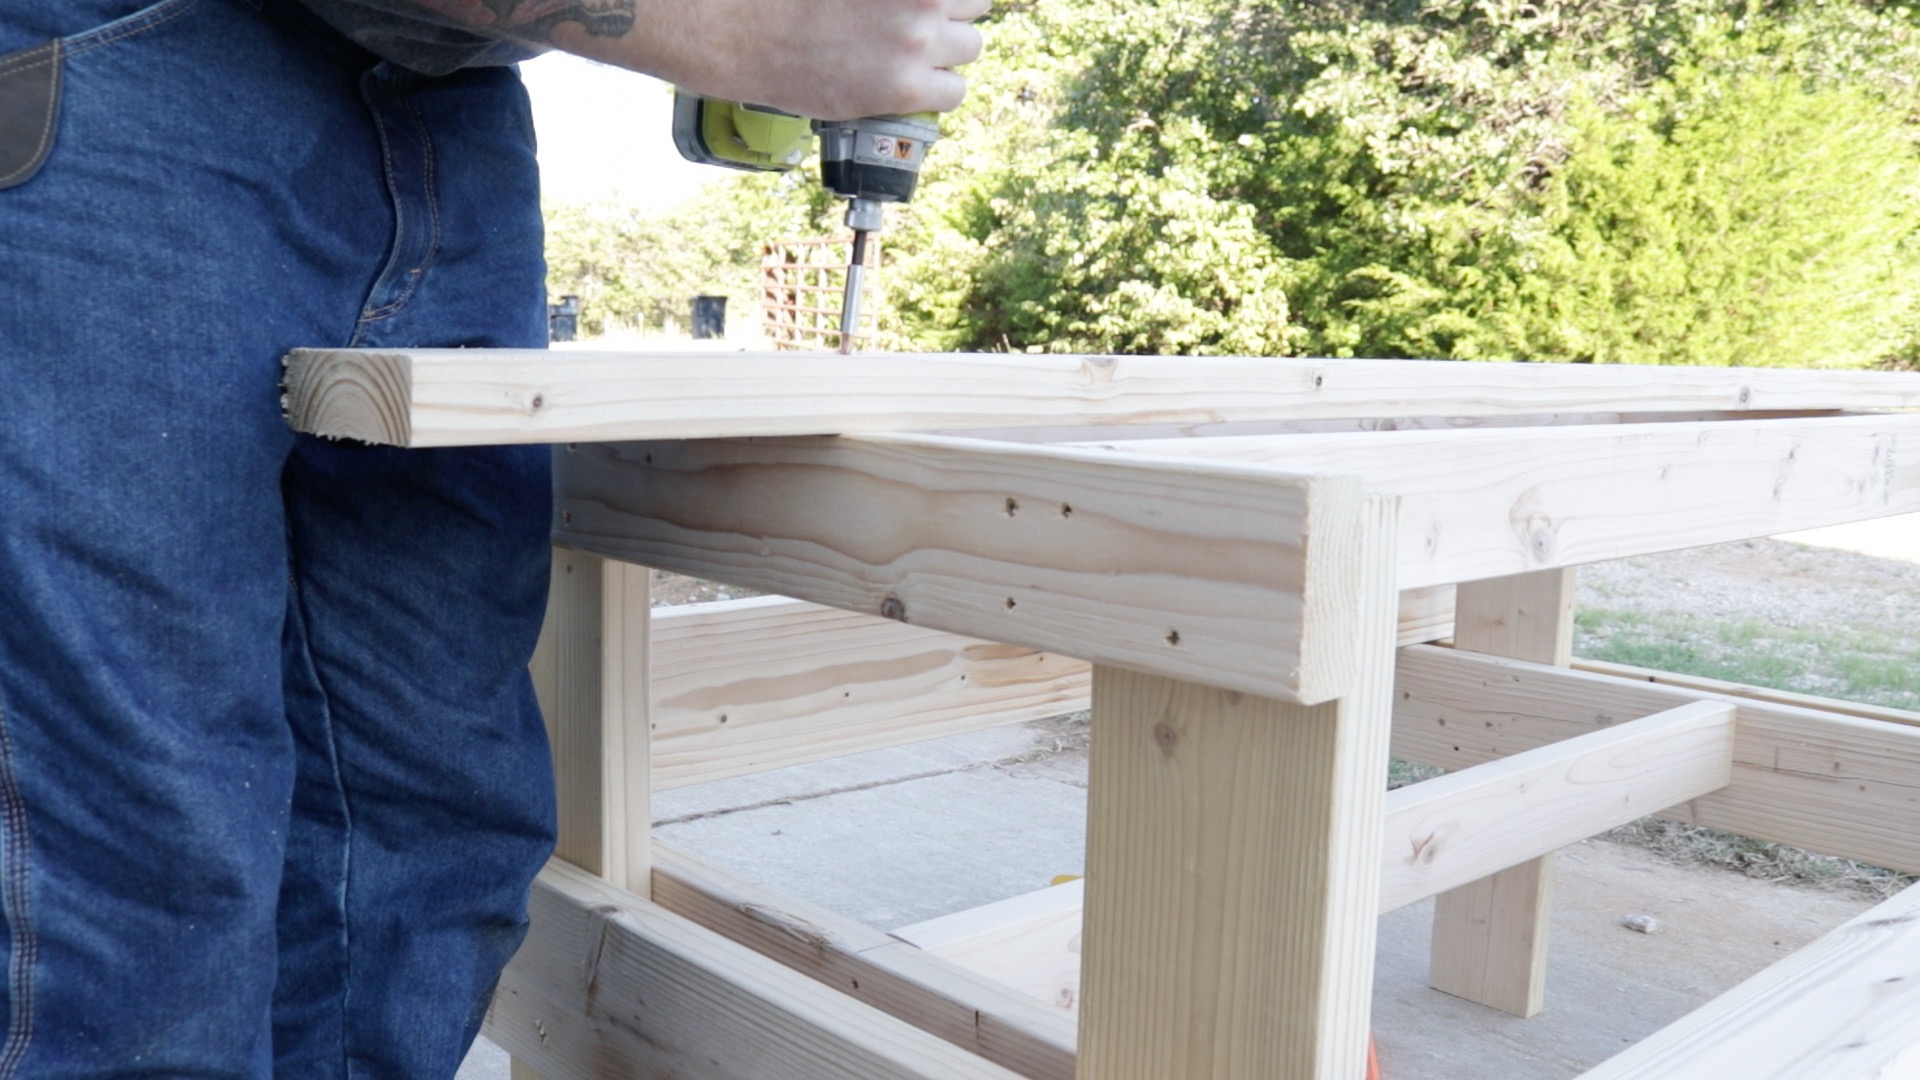
I cut a couple of 3/8" spacers to make sure each slat was evenly spaced. Be sure your first board is square and centered. Each board references that one.

The bench tops are basically the same as the table top. Attach one, then use spacers to make sure there symmetrical and square.

In the video, I had to saw off the old legs and attach the new ones. the process is simple, just make sure it's square and screw it from both sides

While the table was upside down, I added some extra 2x4 bracing to make everything a bit more rigid. I don't have measurements for these, simply because they'll need to be cut to fit. By this point, there will be minor inconsistancies in almost every build.

The last step was to attach a straight edge to the table top and bench tops to trim off the very ends.


Thanks for looking, if there's anything else I can help with either contact me through email or instagram DM (for a quicker response) @modernbuilds
MORE COOL PROJECTS
GET IN TOUCH