

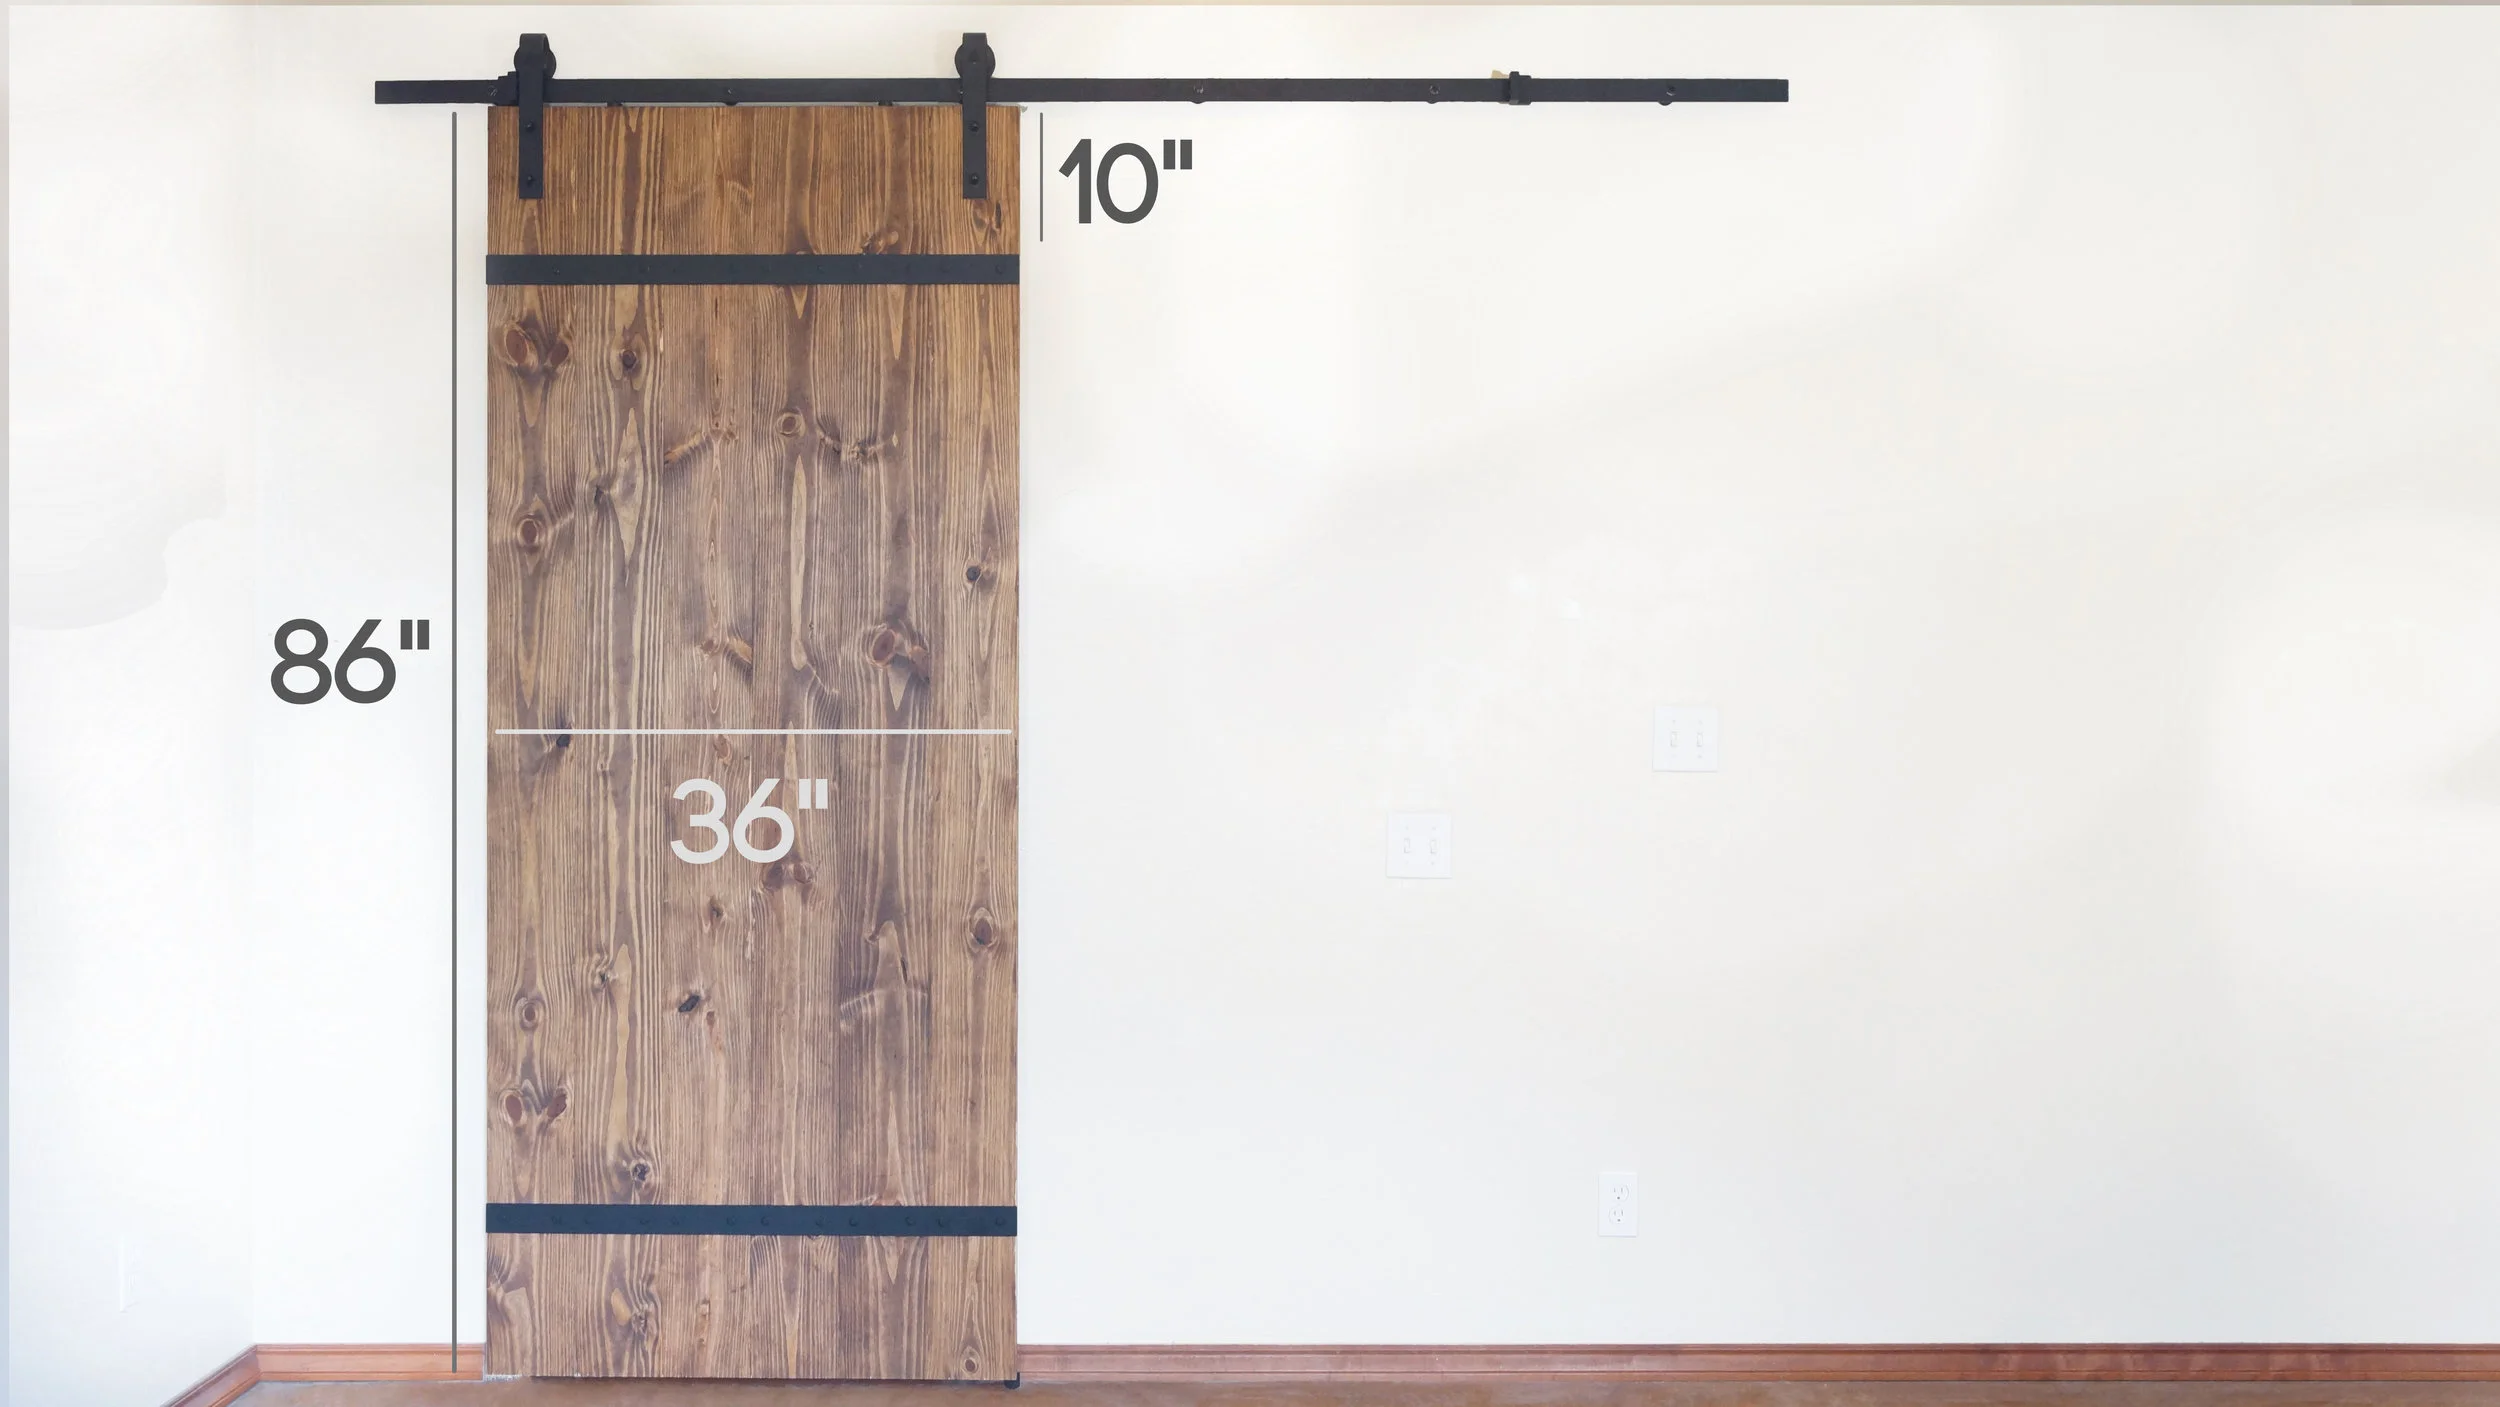
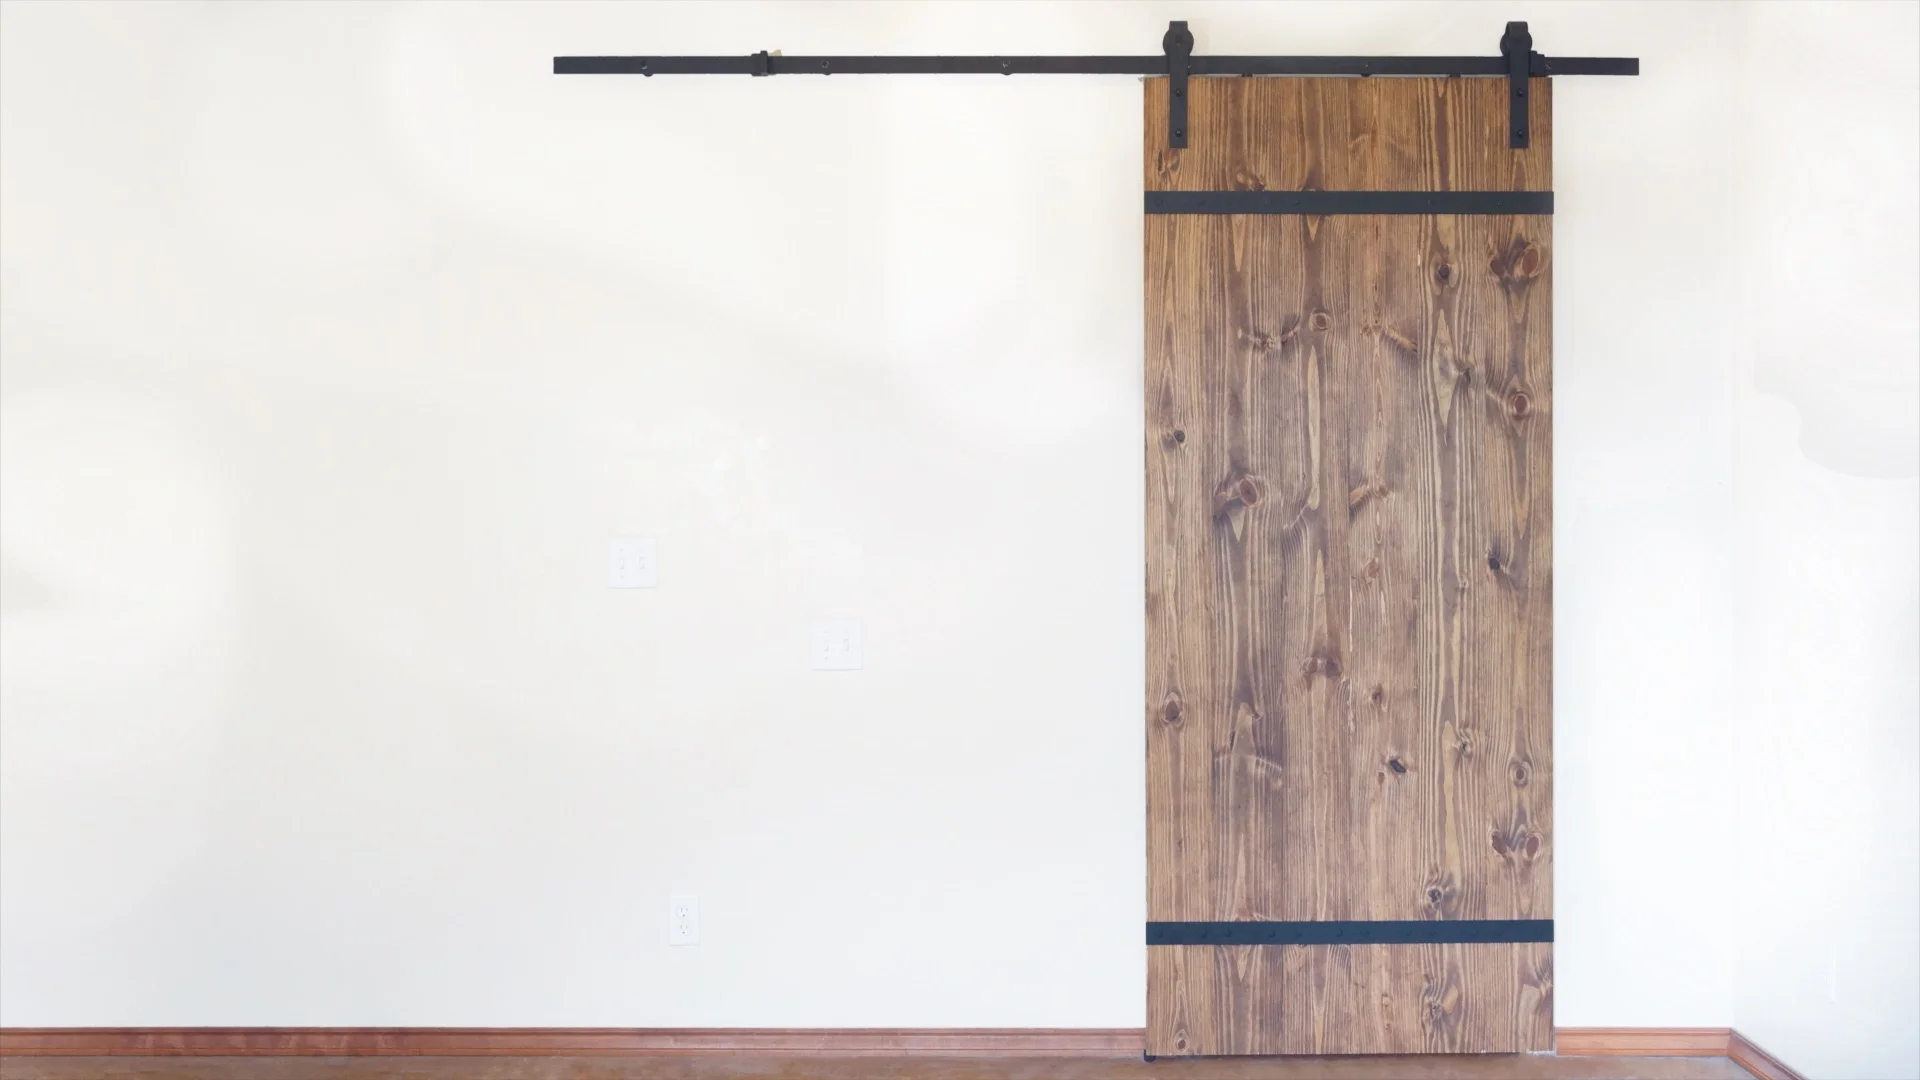
EP. 44 diy modern sliding barn door
Today on Modern Builds, I'm making a modern, industrial sliding bard door with metal accents. Be sure to check out Industrial By Design for the hardware along with a lot more awesome products!
Industrial By Design: http://industrialbydesignco.com/
MATERIALS AND SUPPLIES:
Industrial by Design Sliding Door Hardware: http://amzn.to/2cLBe2H
6 - 8 Foot 2x8's
2 - 3"x36" Flat Steel Bar
24 - Lag Screws
Special Walnut Wood Stain: http://amzn.to/2bUb5Qd
Wood Glue: http://amzn.to/2bTopY4
Flat Black Spray Paint: http://amzn.to/2bUbGBG
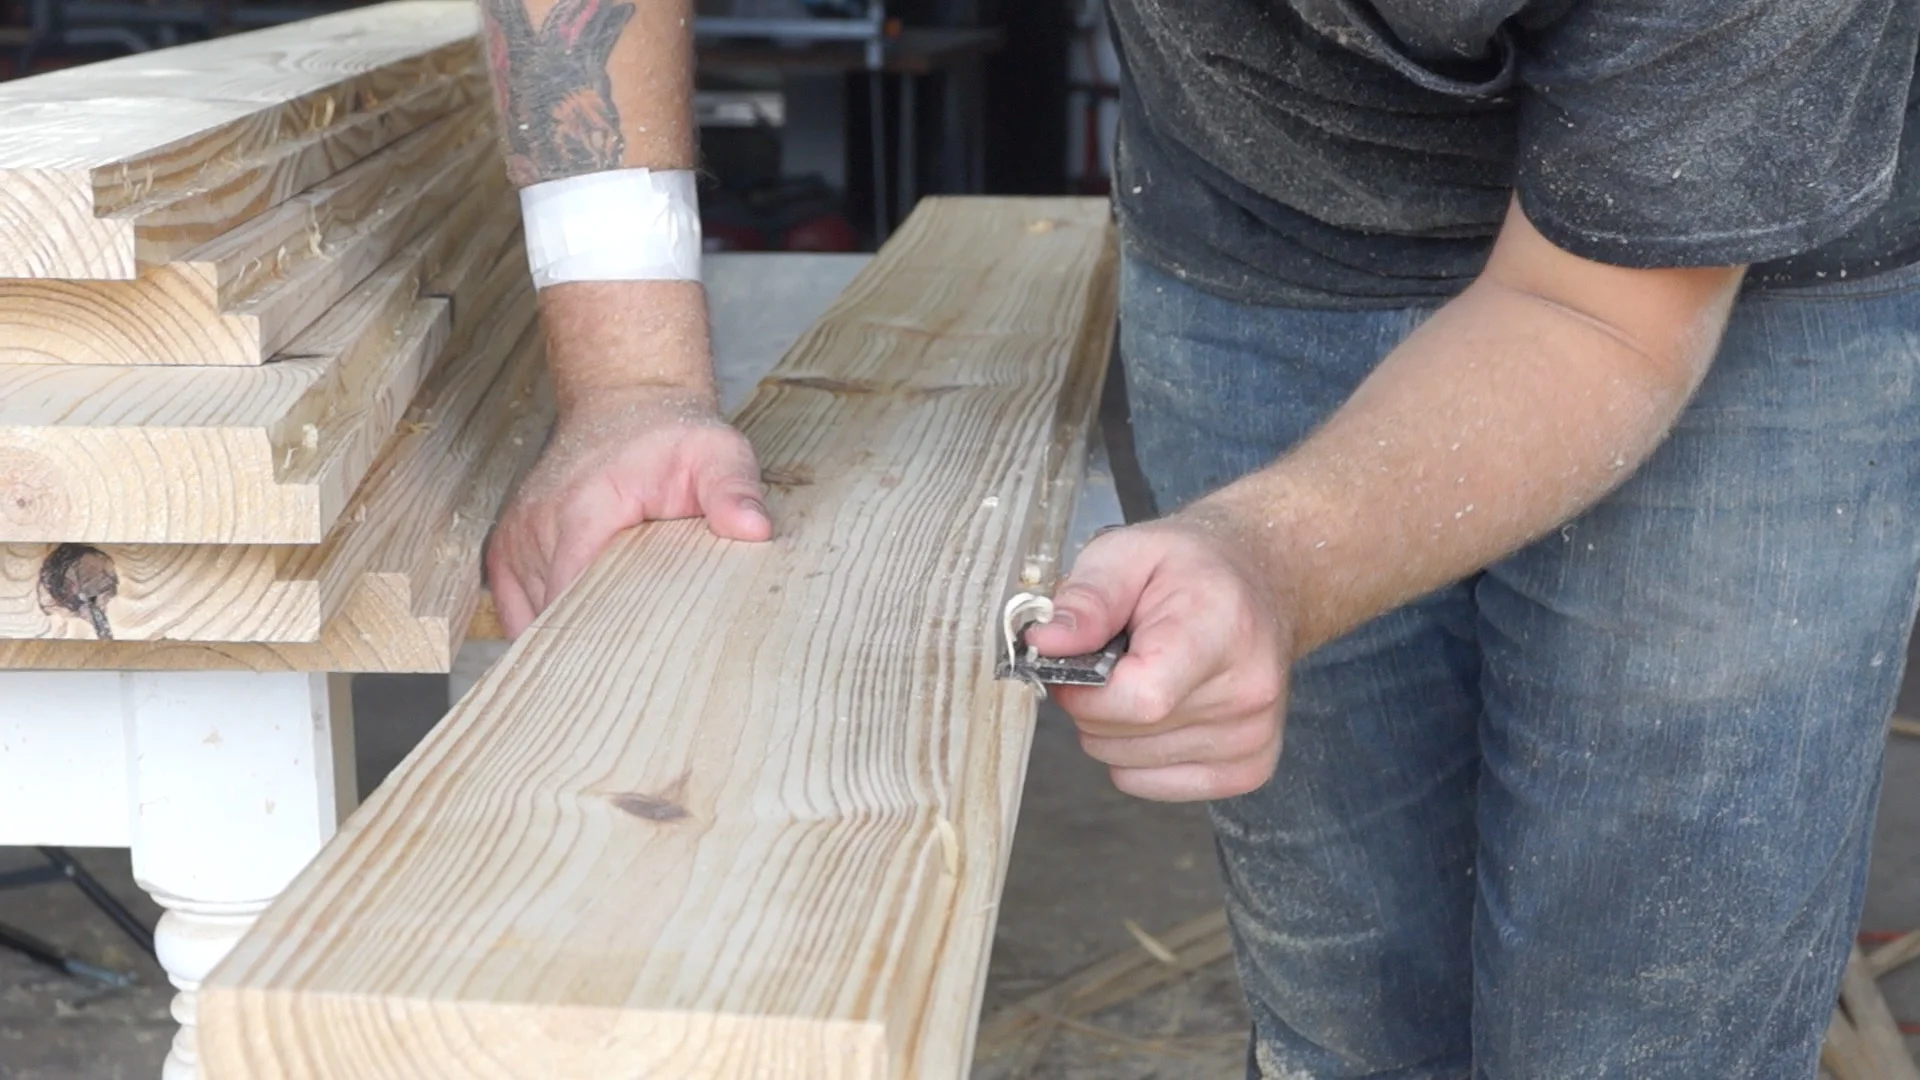
STEP ONE: SQUARE UP THE BOARDS
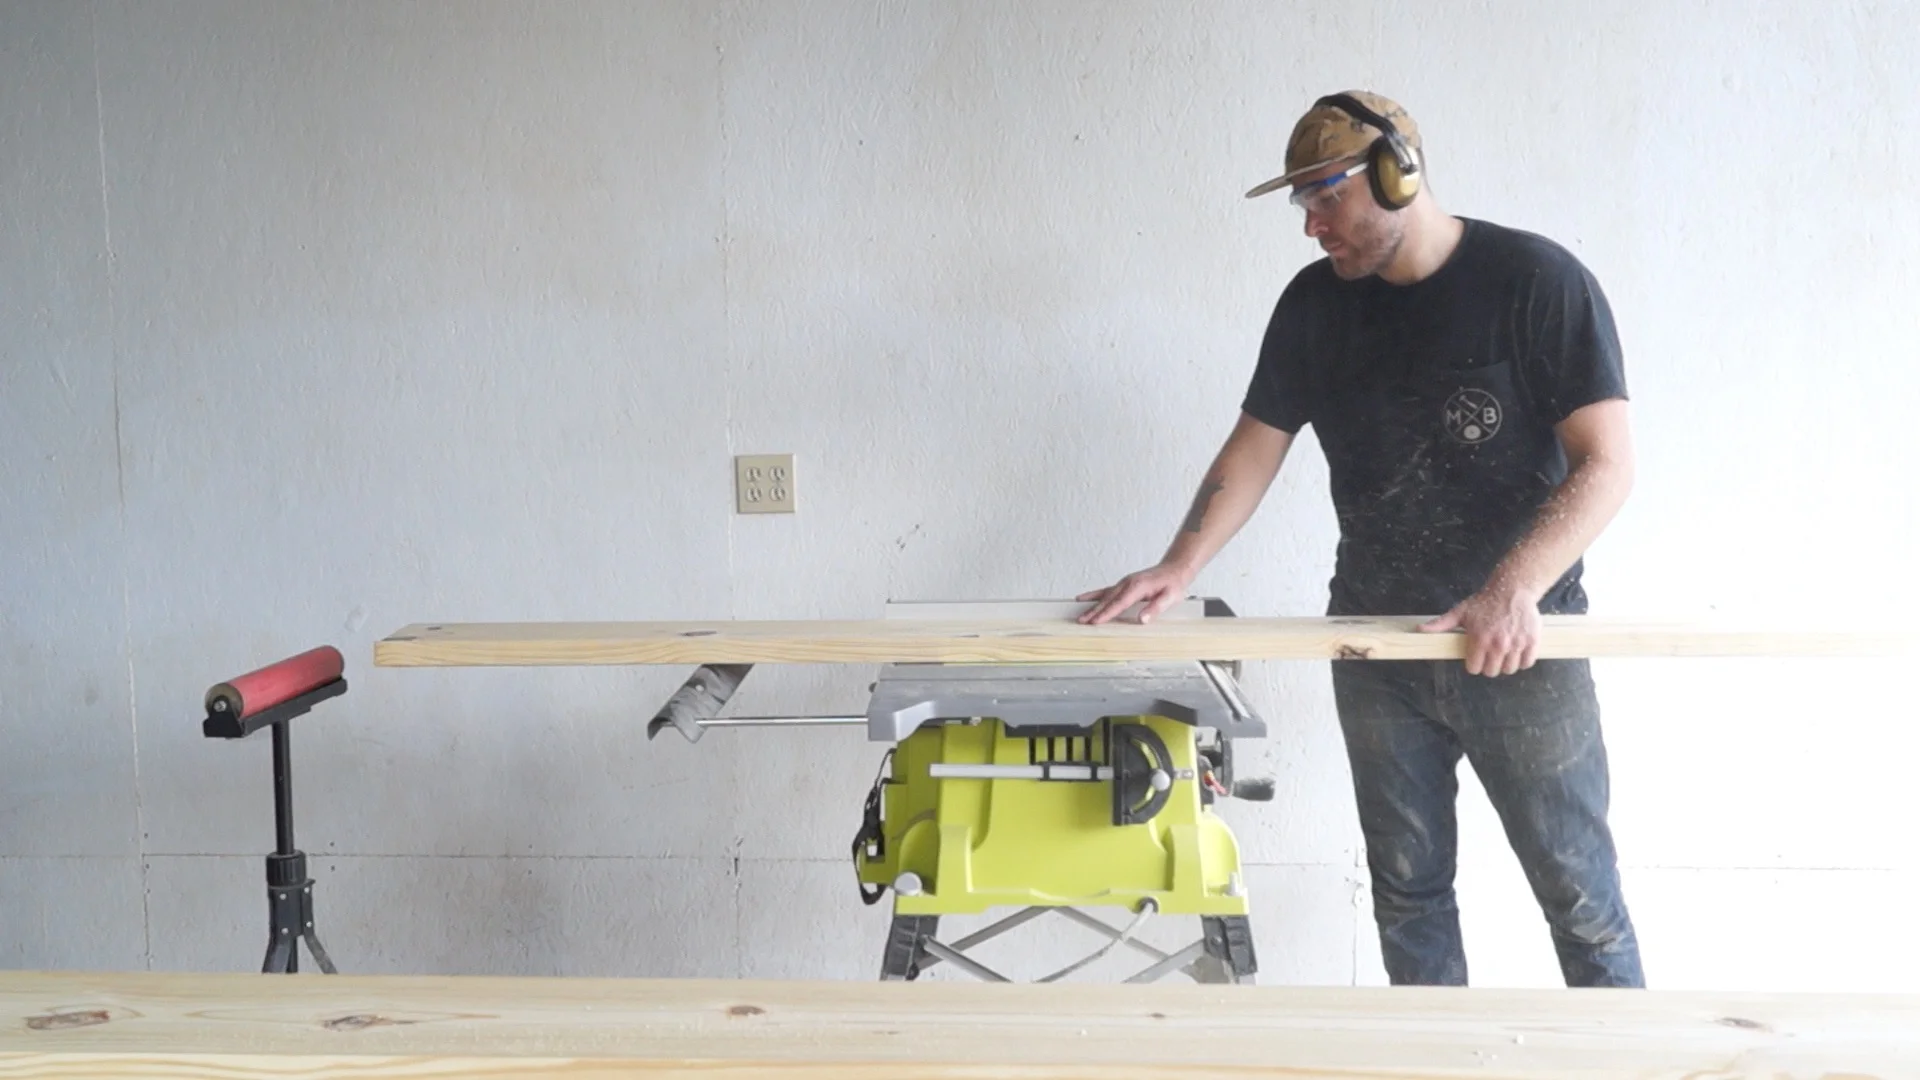
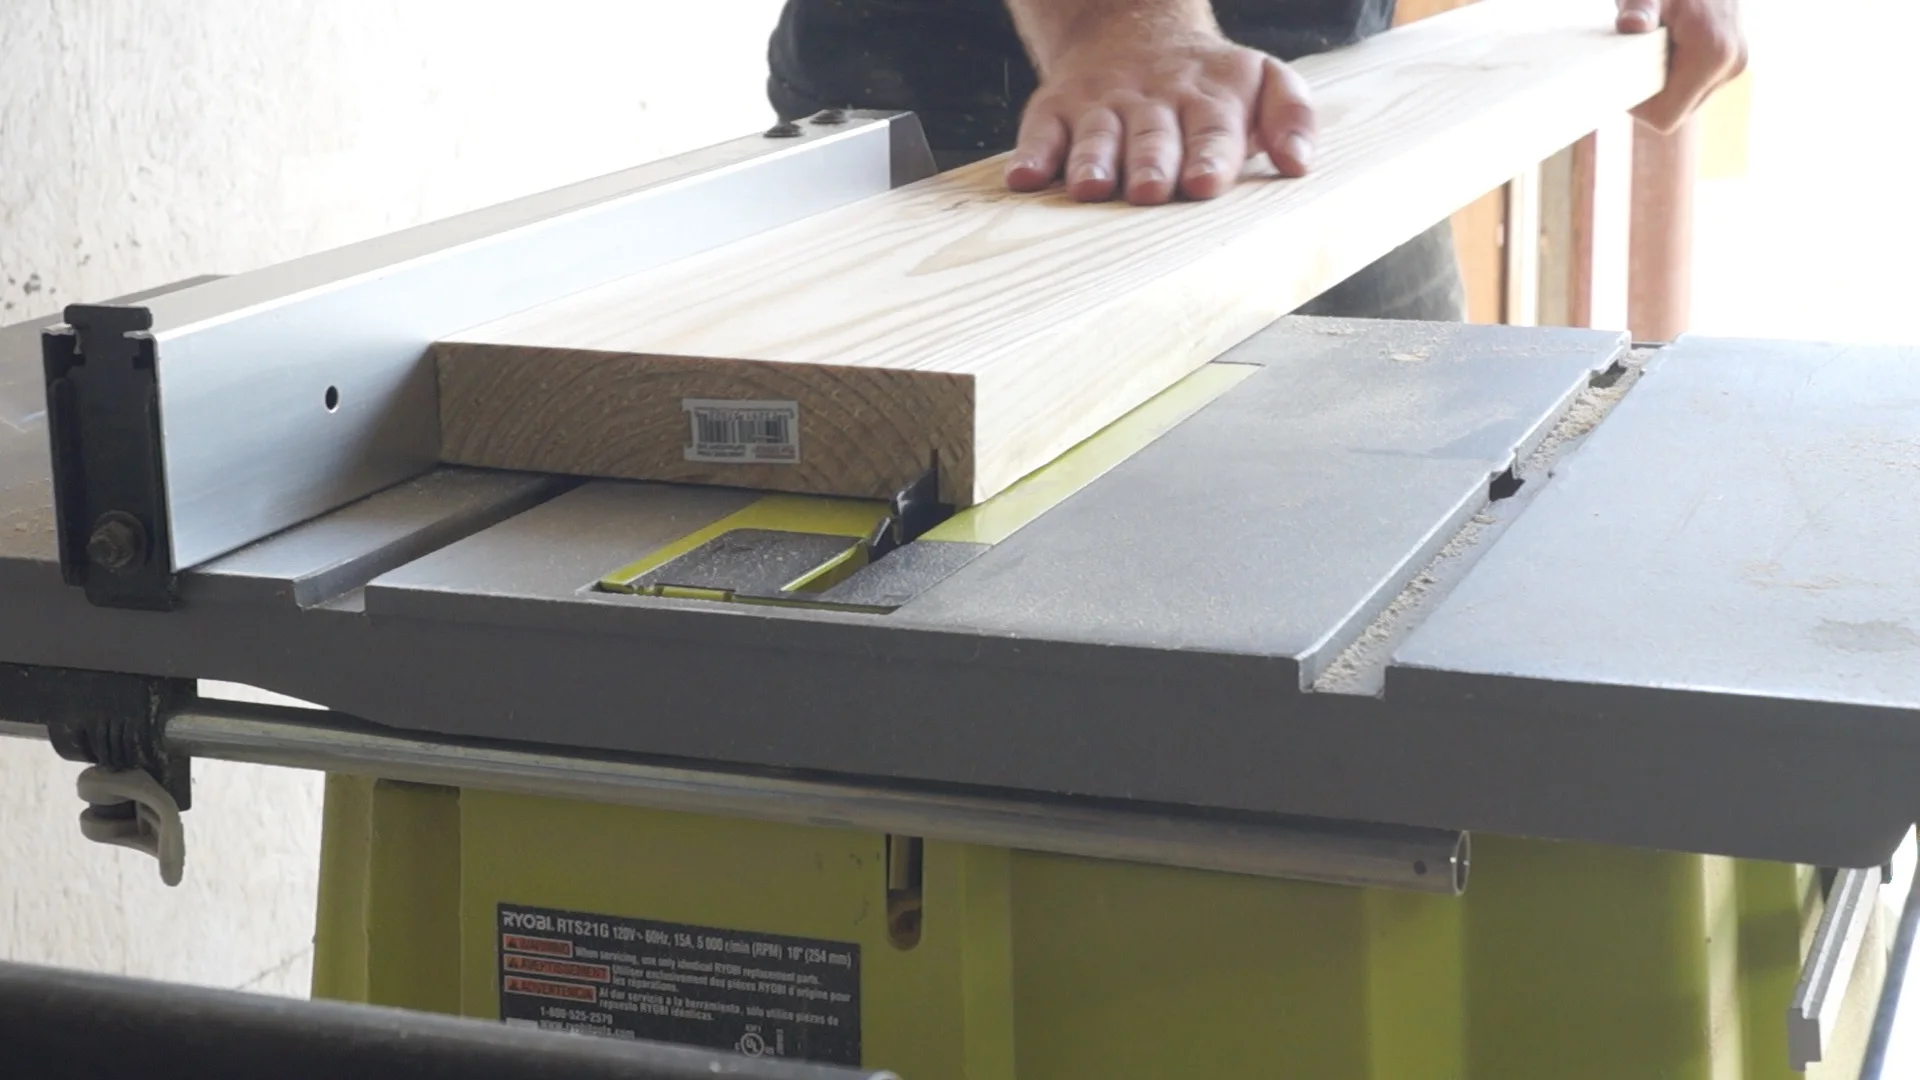
I started by squaring up my 2x8's. First I ran them through the planer to remover any cups in the boards, second I ran them through the table saw to square everything up and remove the rounded edges.
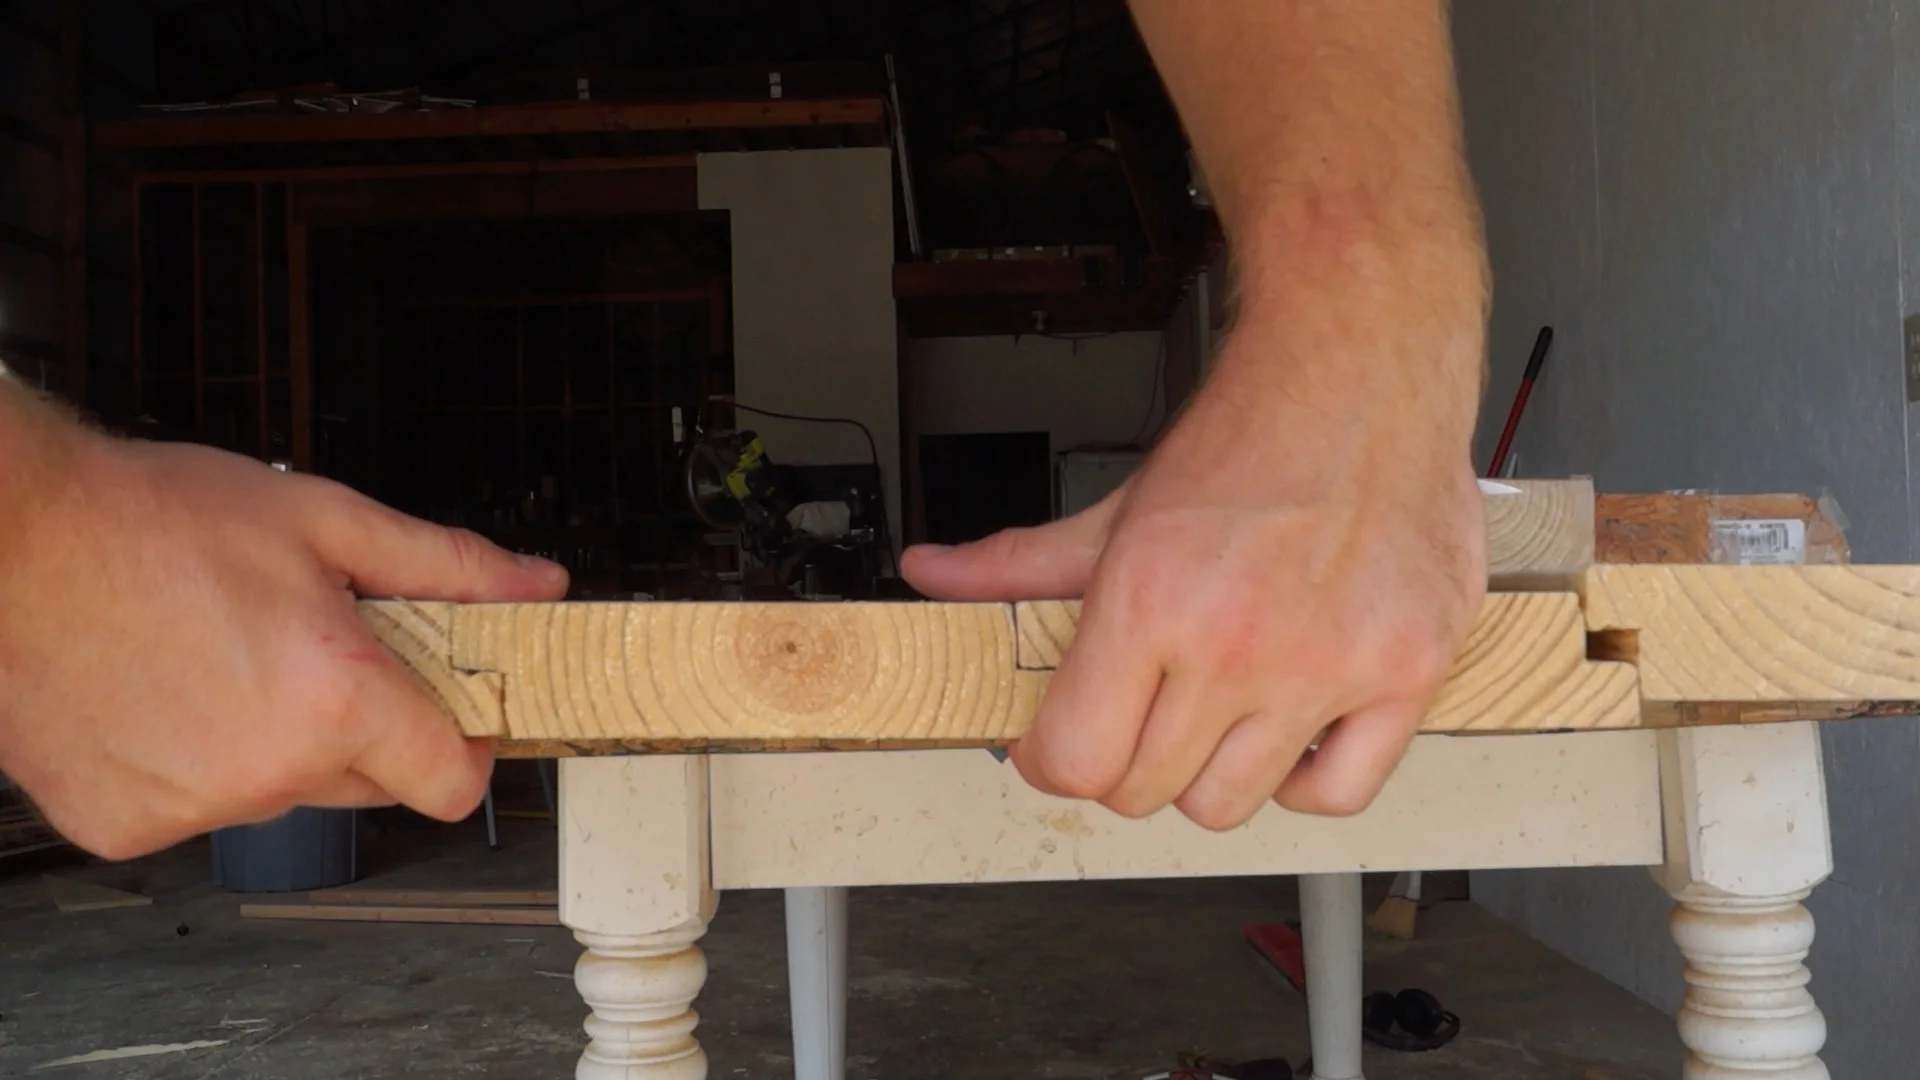
STEP TWO: MAKE THE LAP JOINTS
I used the table saw to build the lap joints using multiple passes where my boards meet. You could also use a router or a dado stack on the table saw. The lap joint provides more surface area for the glue, it also makes it so that if there is a small gap in my glue up light still won't be able to shine through. Here's a link to the article where I learned about lap joints: http://www.woodworkersjournal.com/edge-glue-thin-panels-using-lap-joints/

A sharp chisel is a great way to clean up the joints.
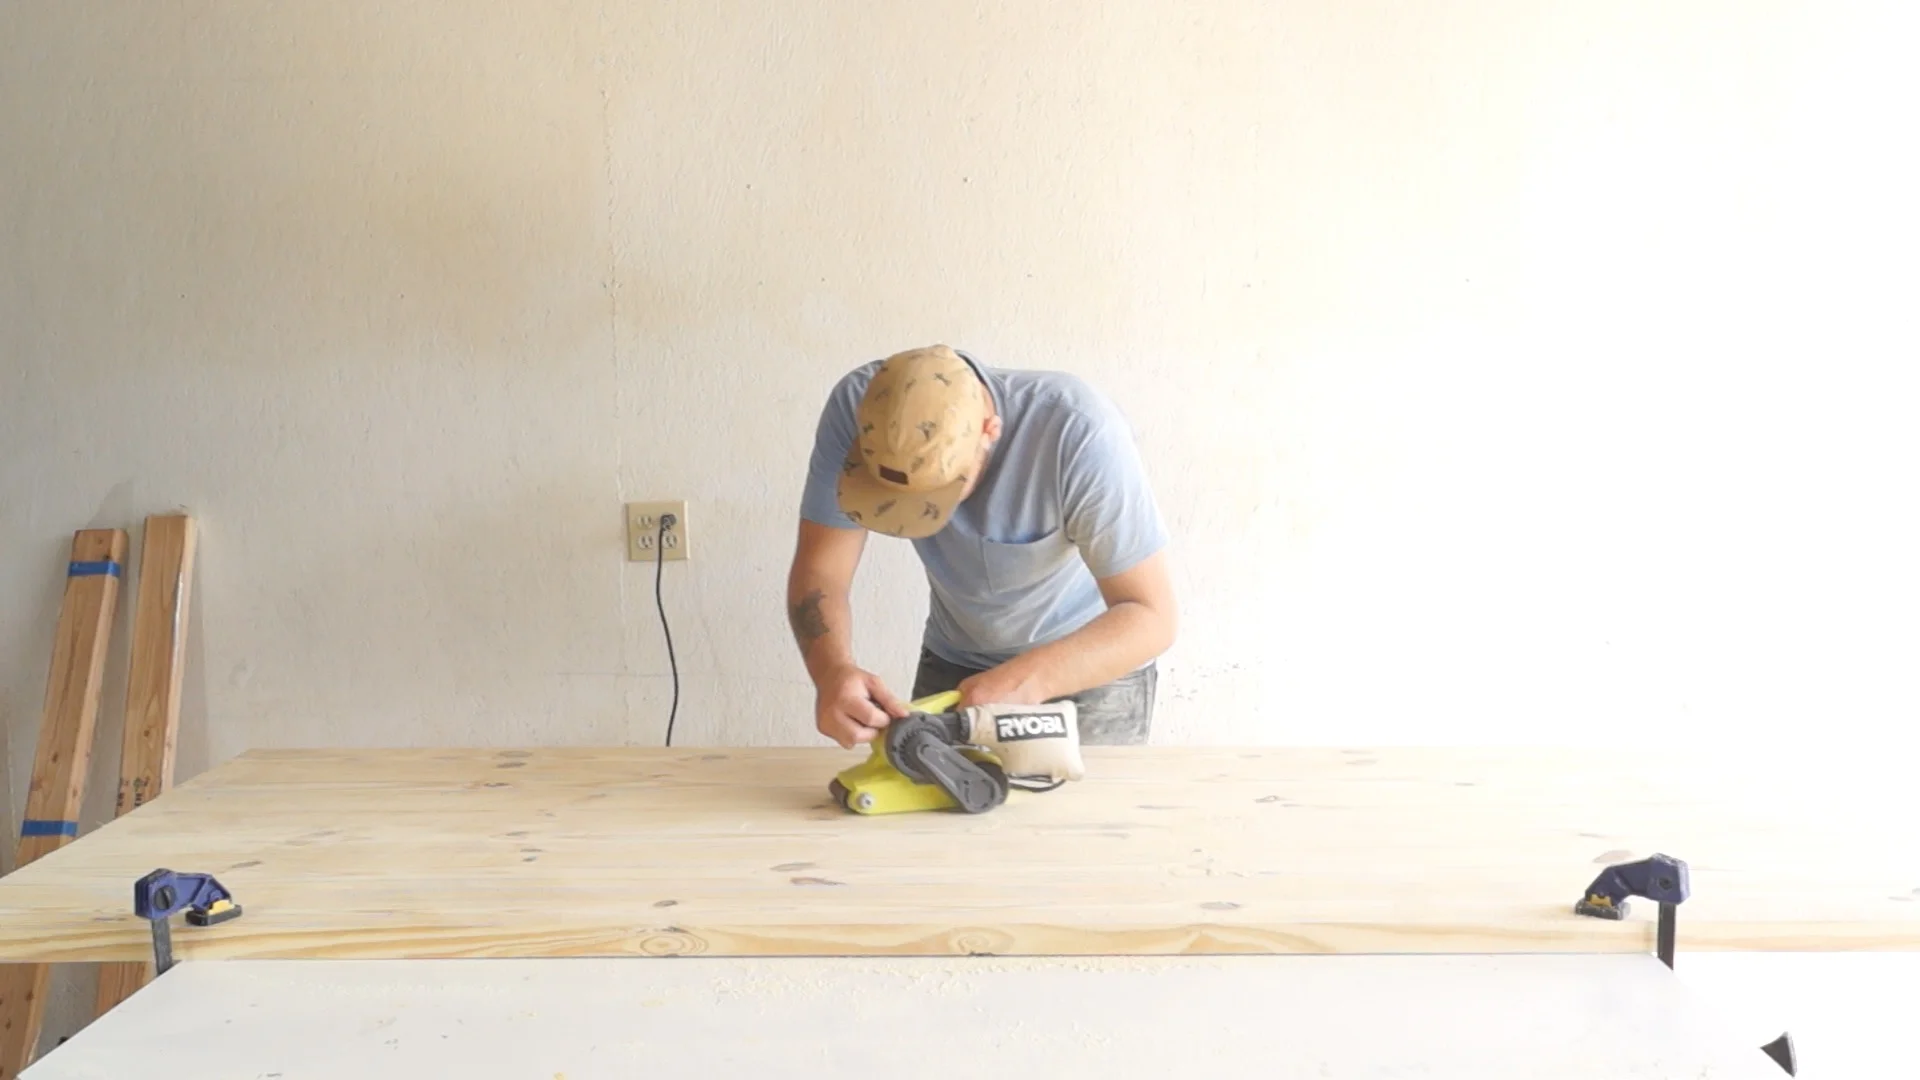
STEP THREE: GLUE UP
With the 2x8's cut to size and joined, I glued everything up. I used call boards, 2x4 wrapped in shipping tape, to help keep the panel as flat as possible.


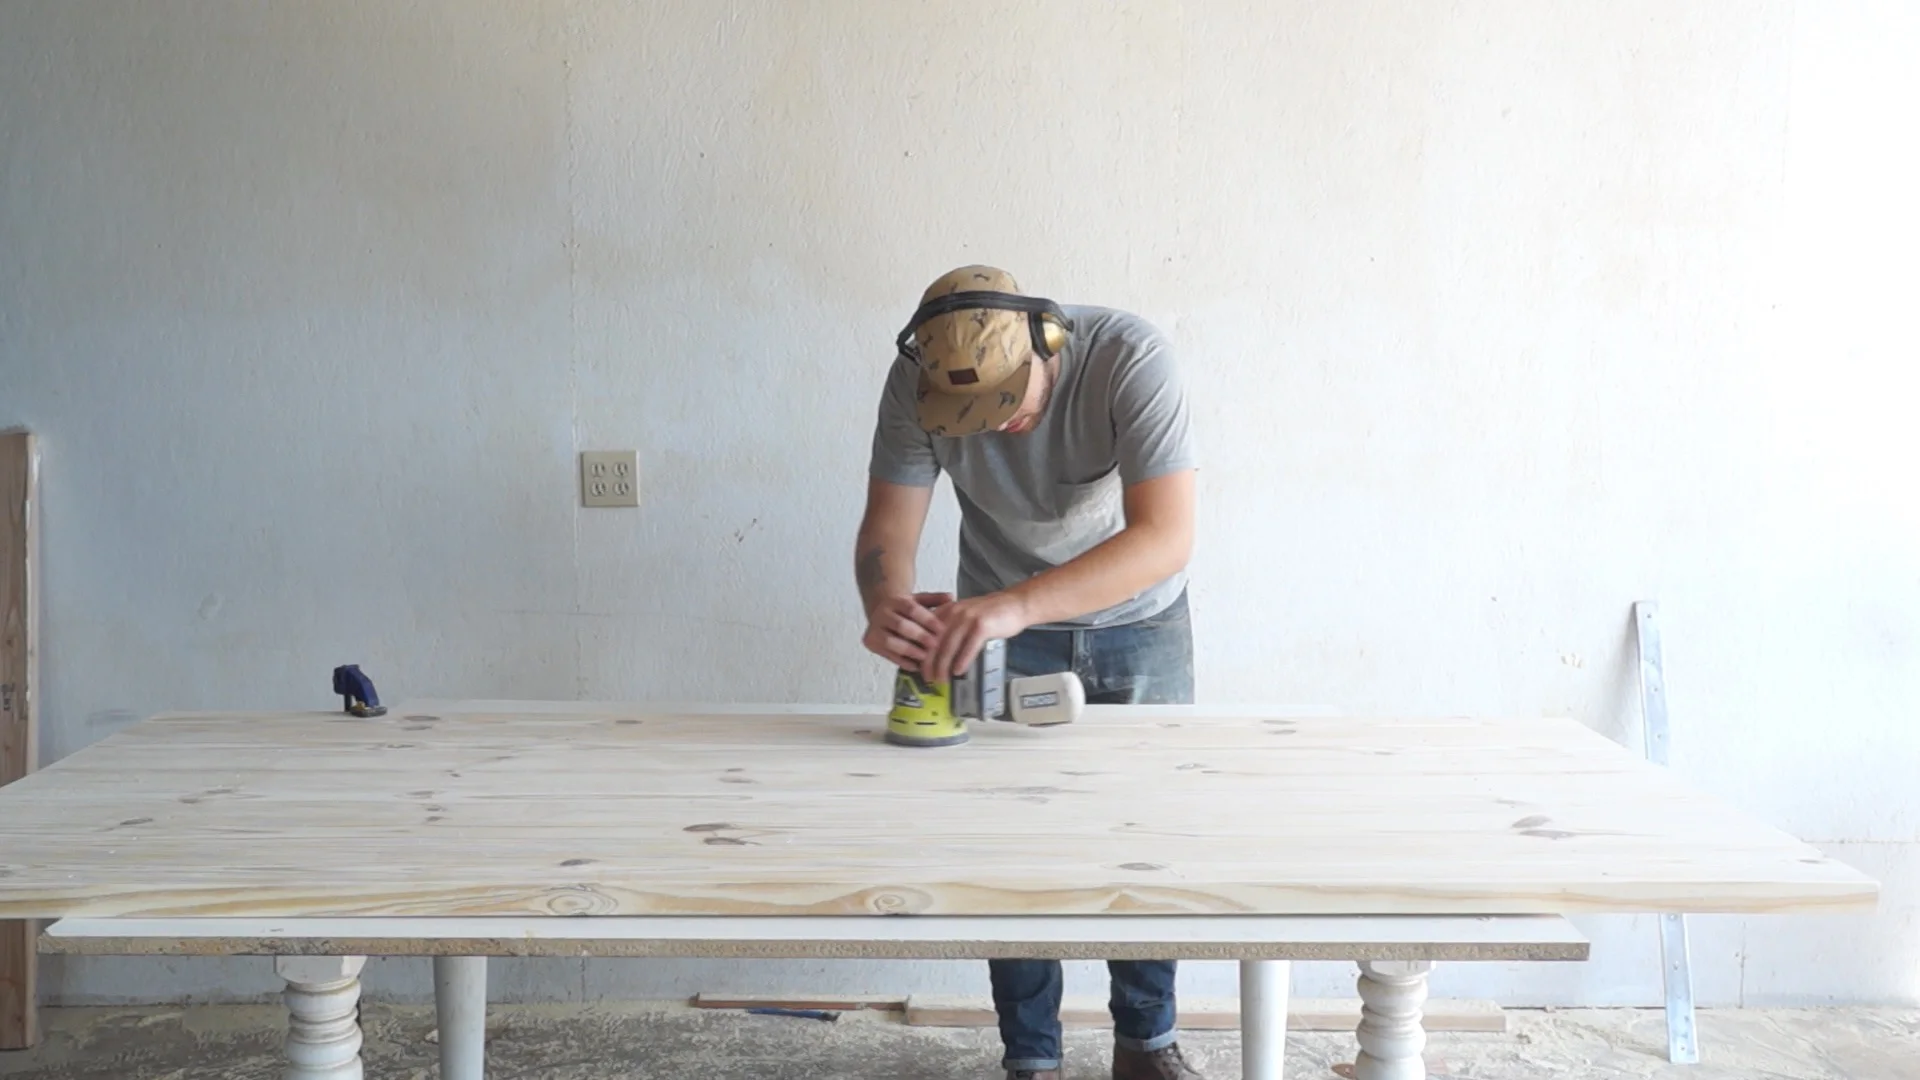
After the glue dried, I used a belt sander to flatten and clean everything up.
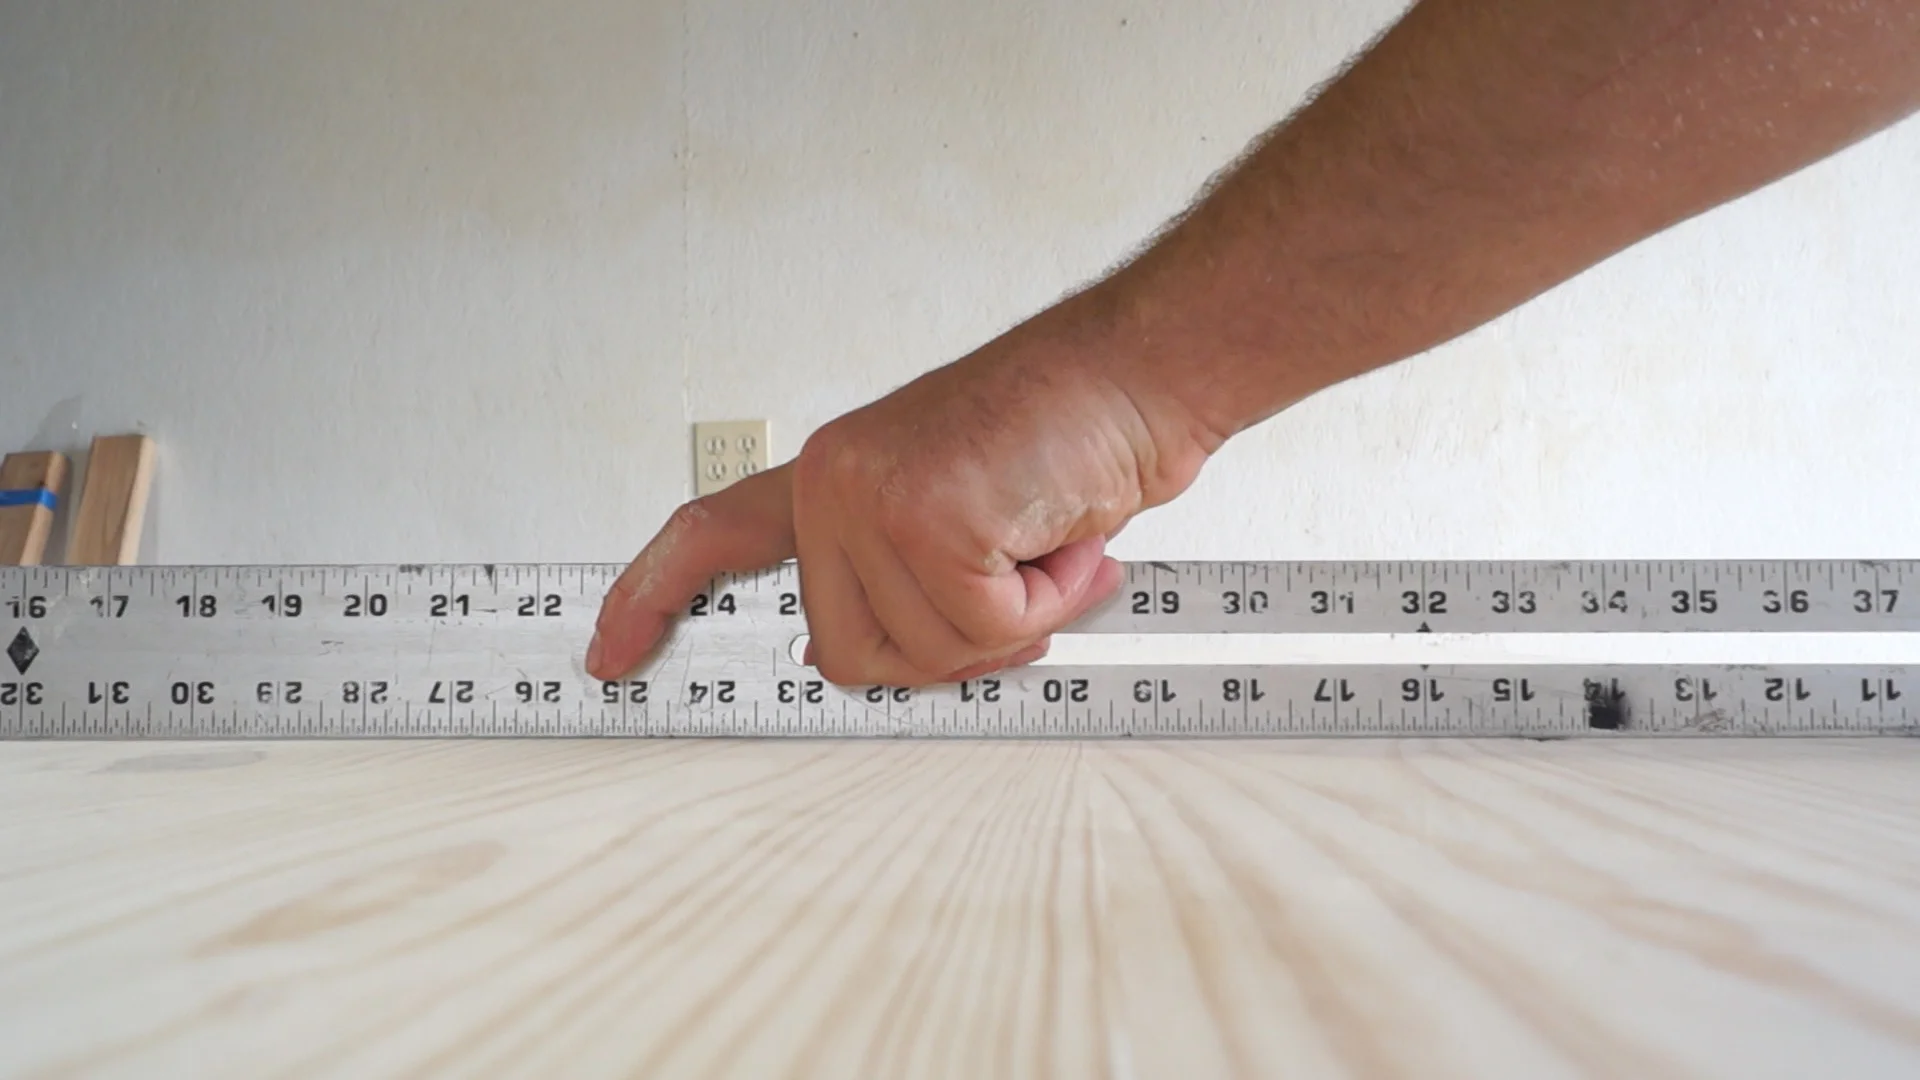
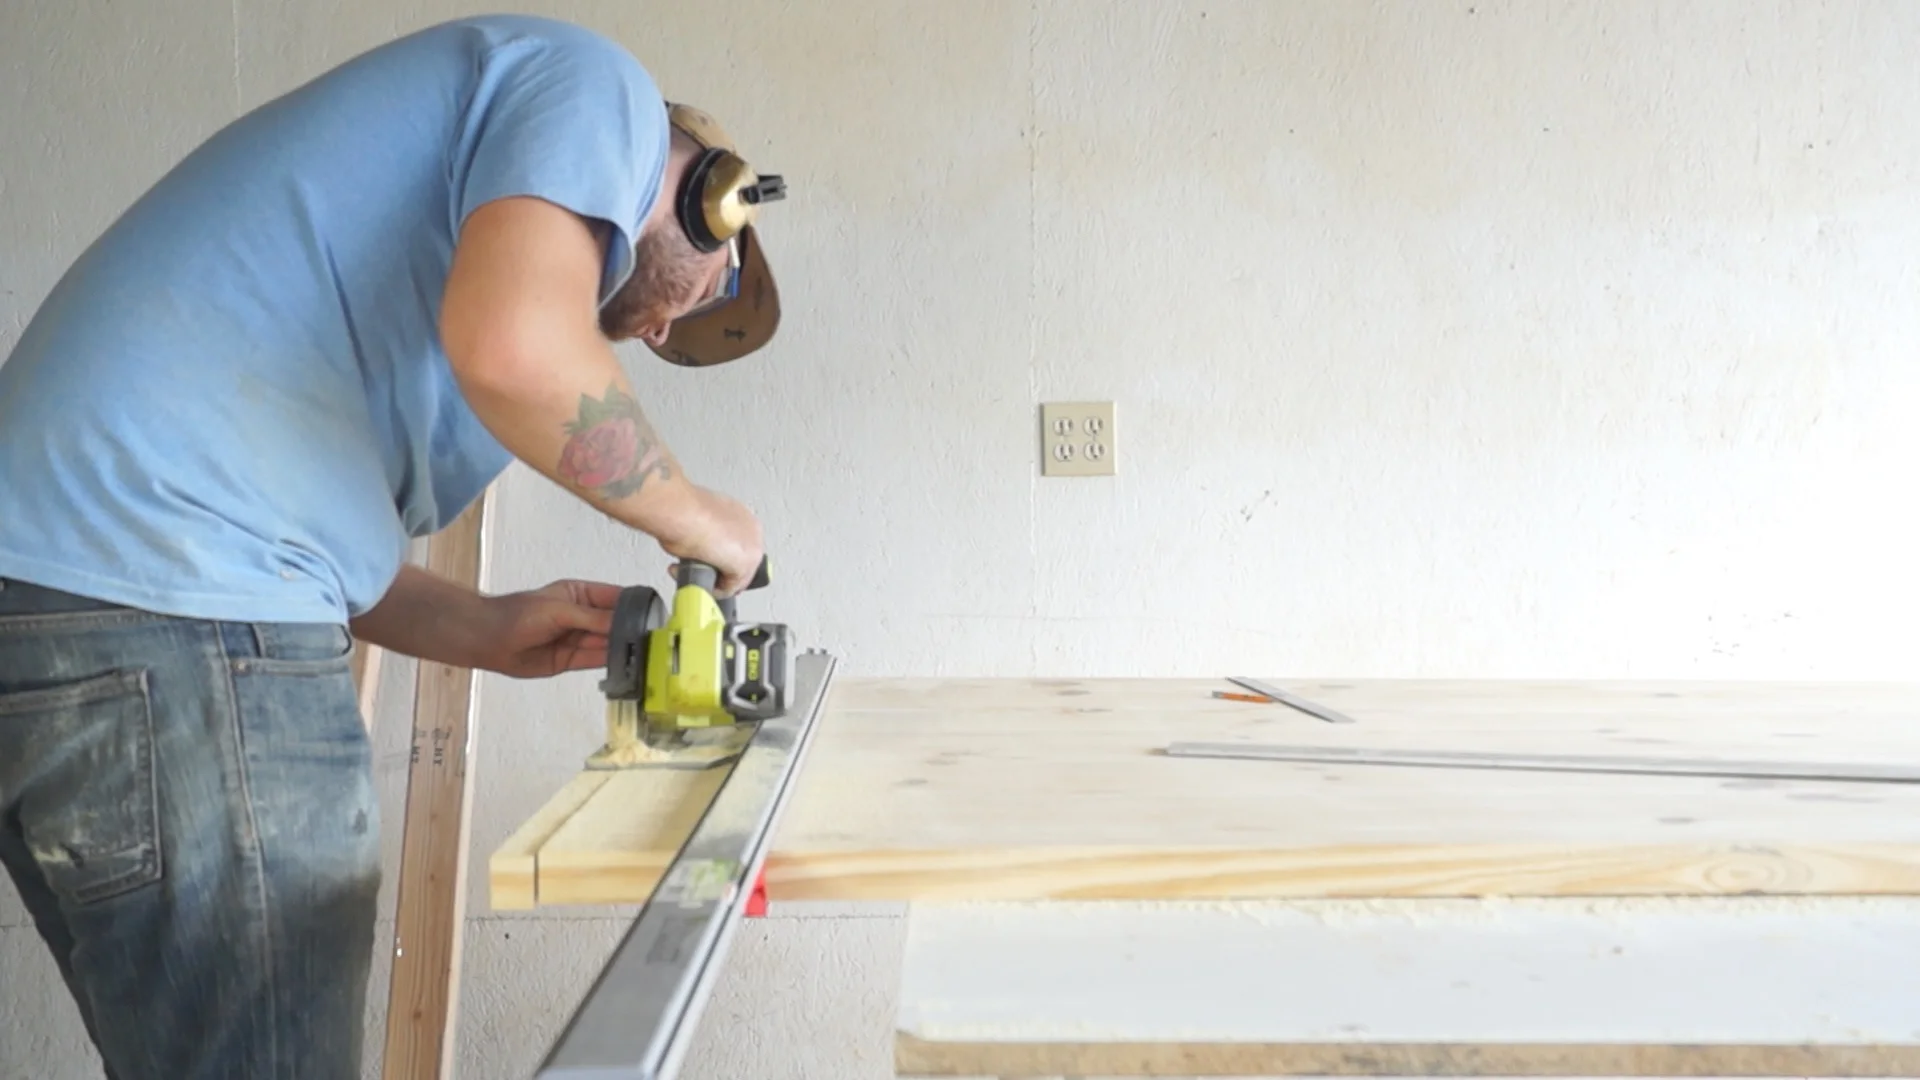
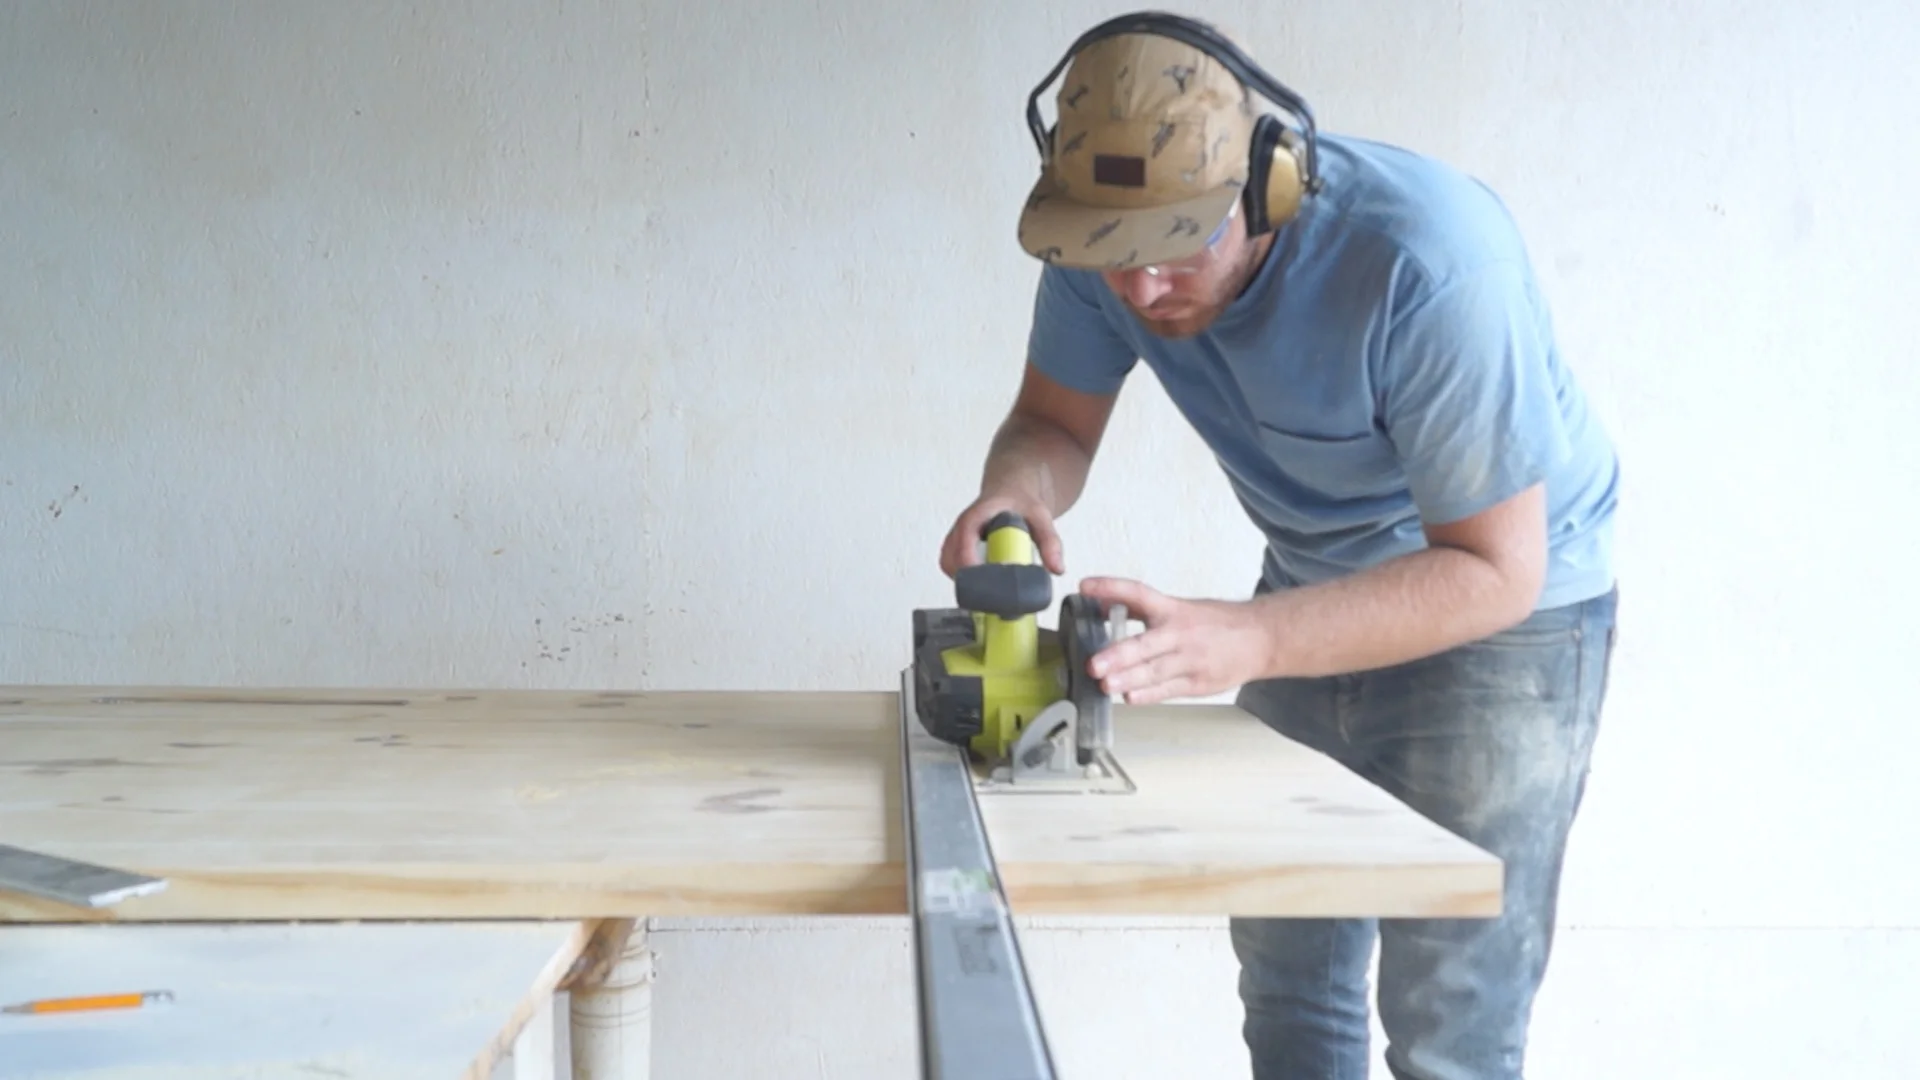
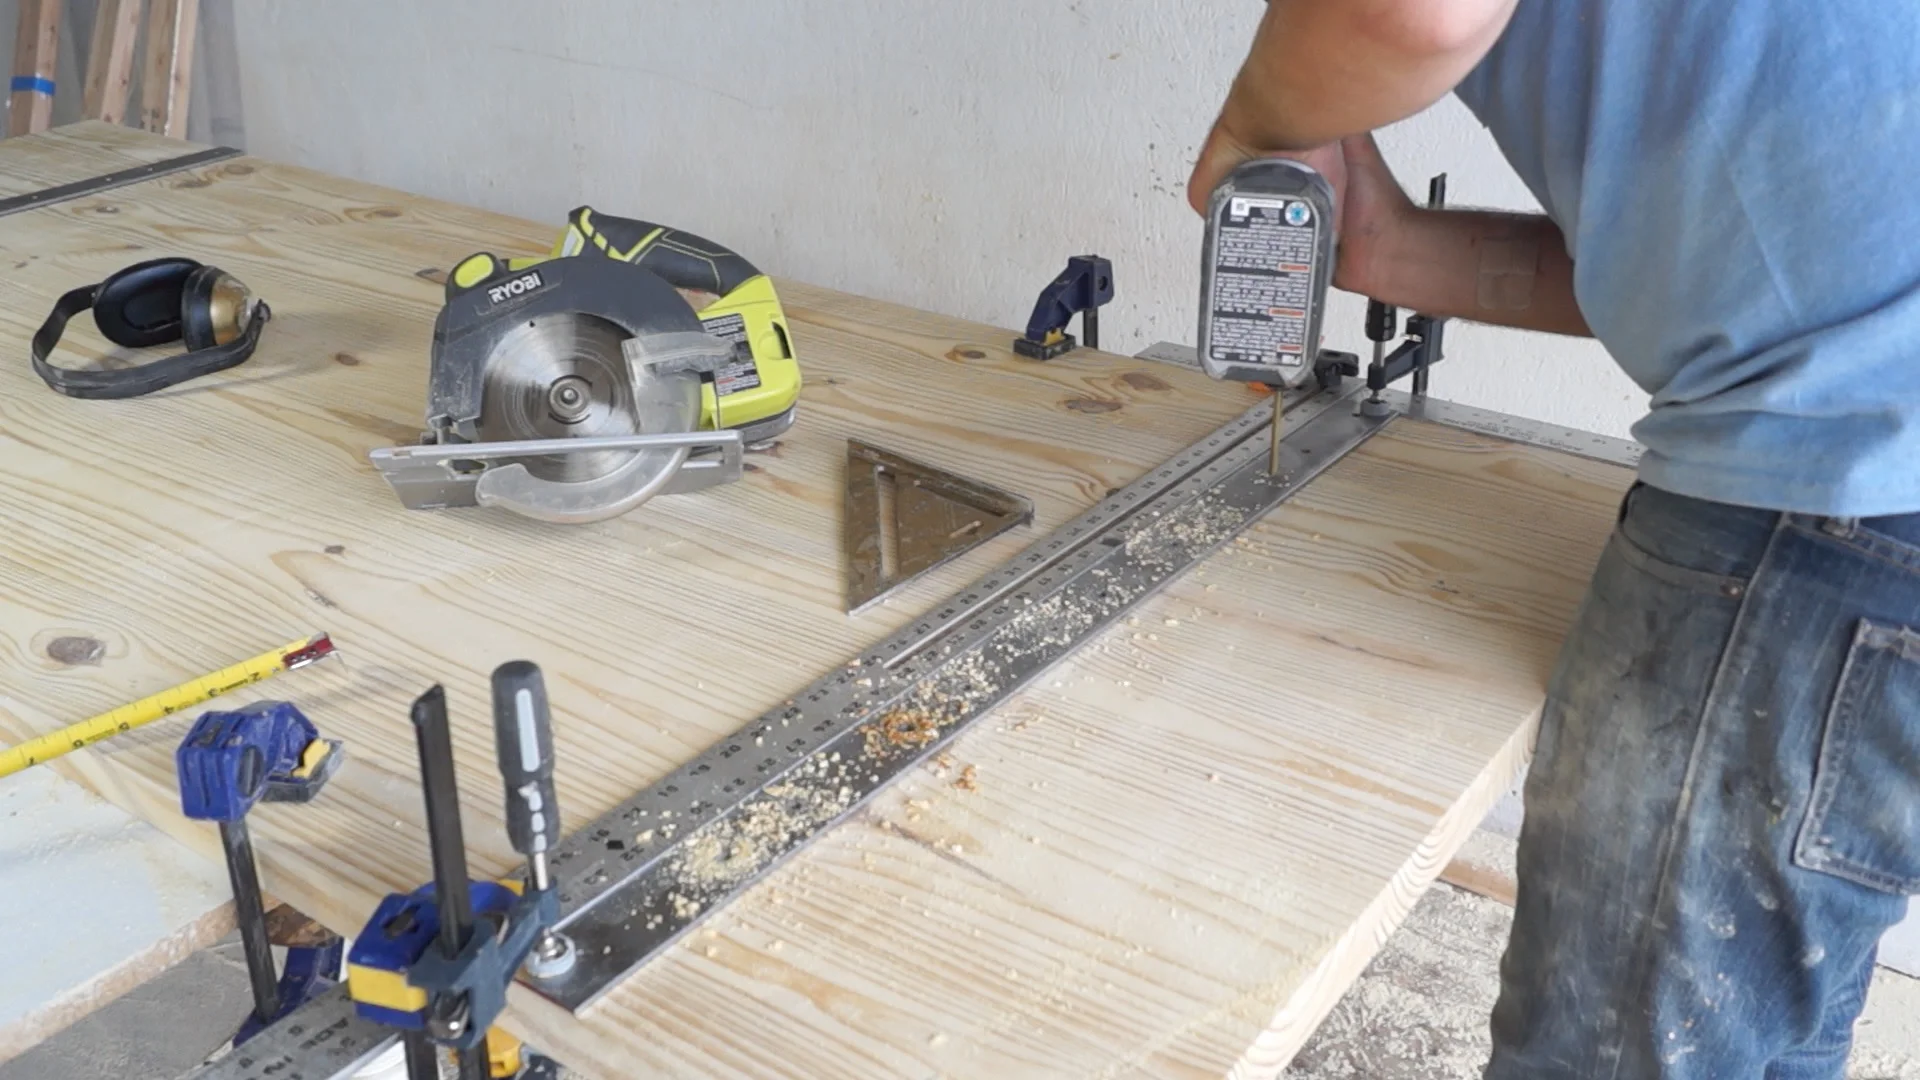
STEP FOUR: CUT THE DOOR TO SIZE
I used a clamping straight edge along with a circular saw to square up one end of the door and then cut it to size.
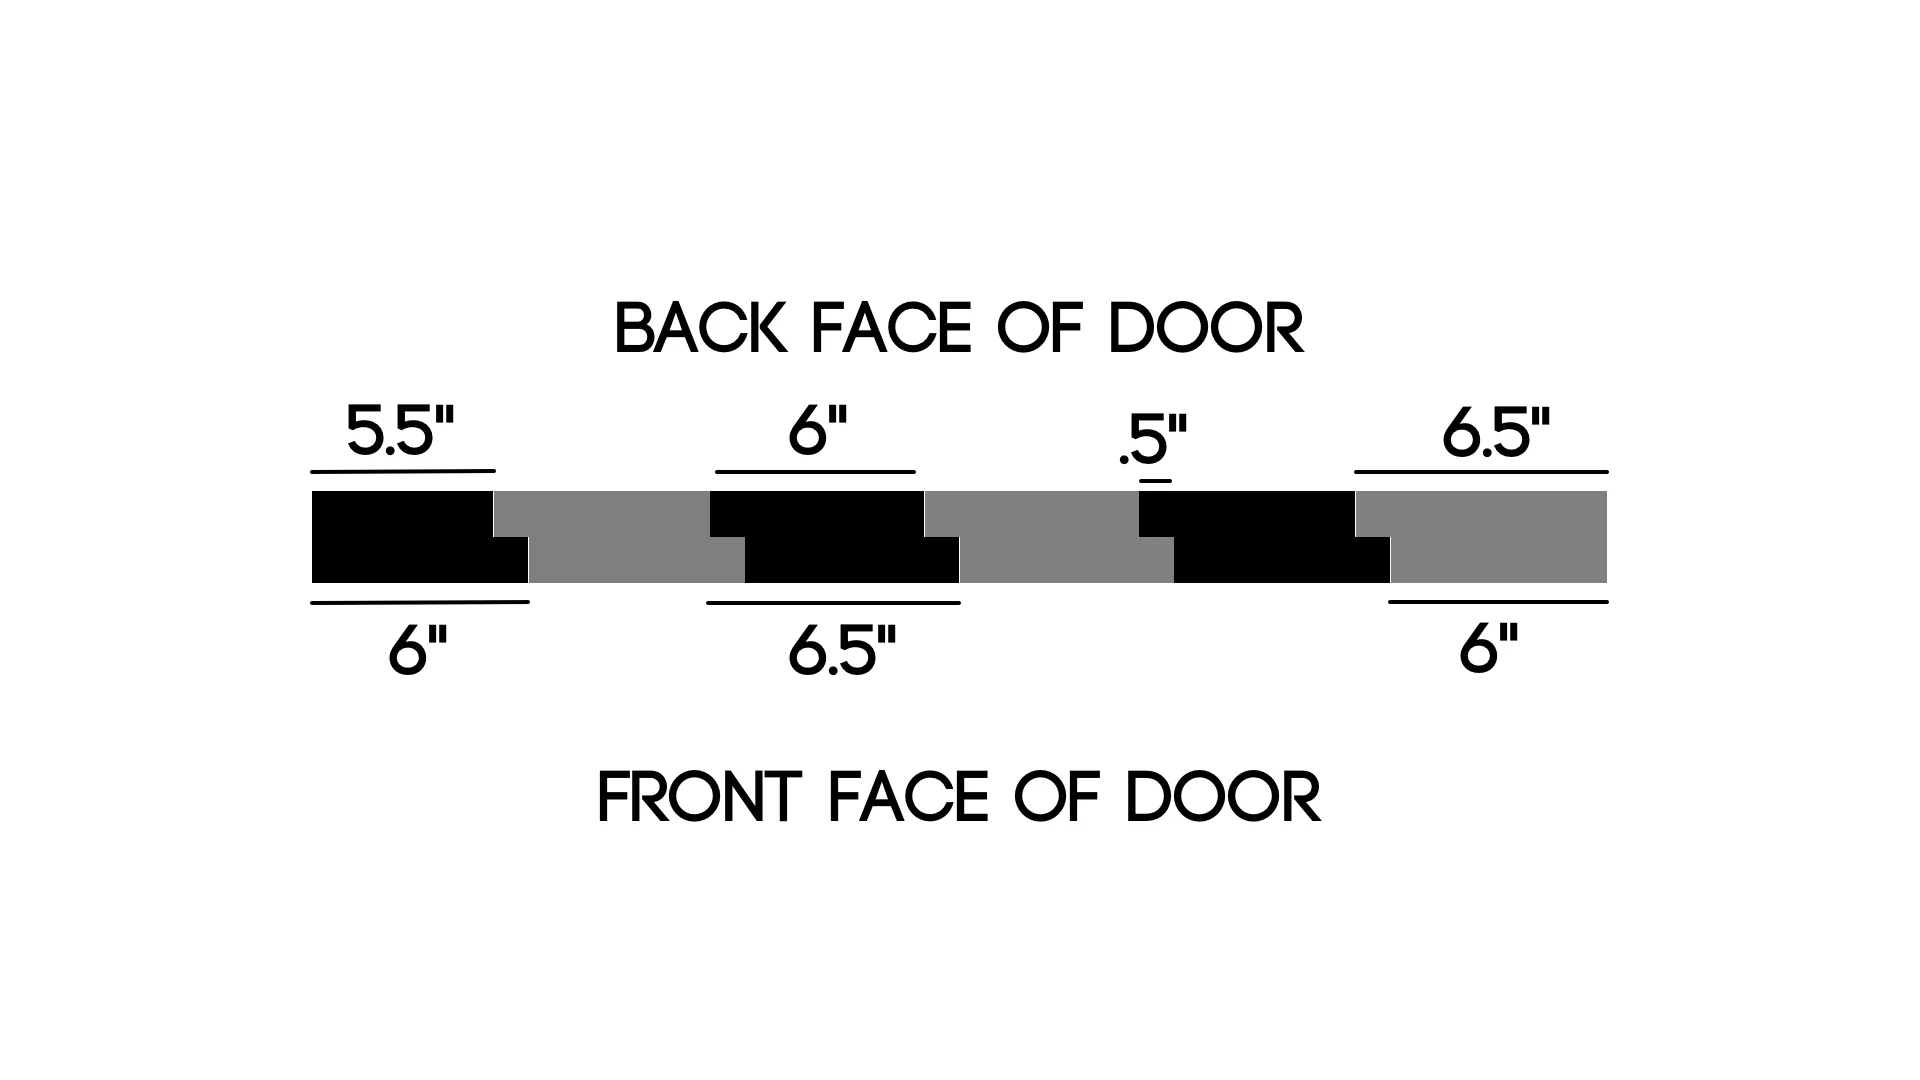
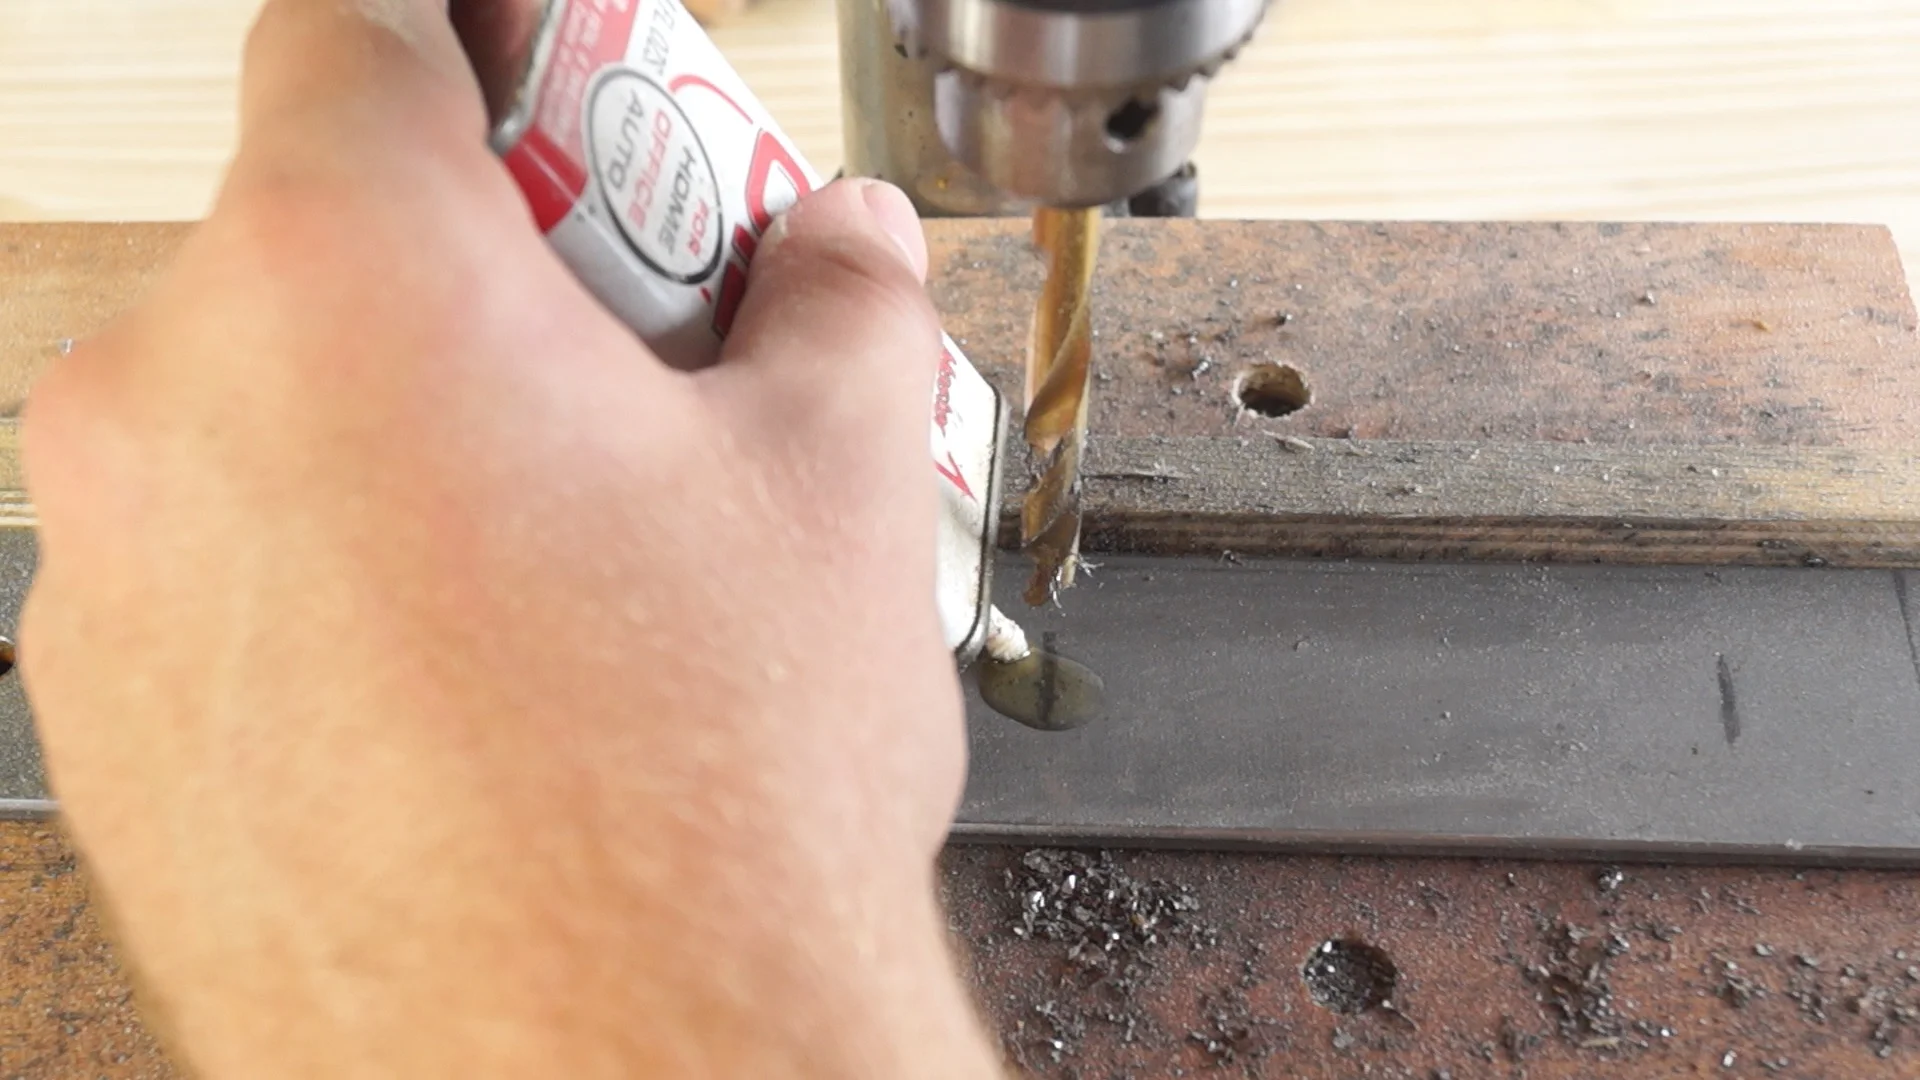
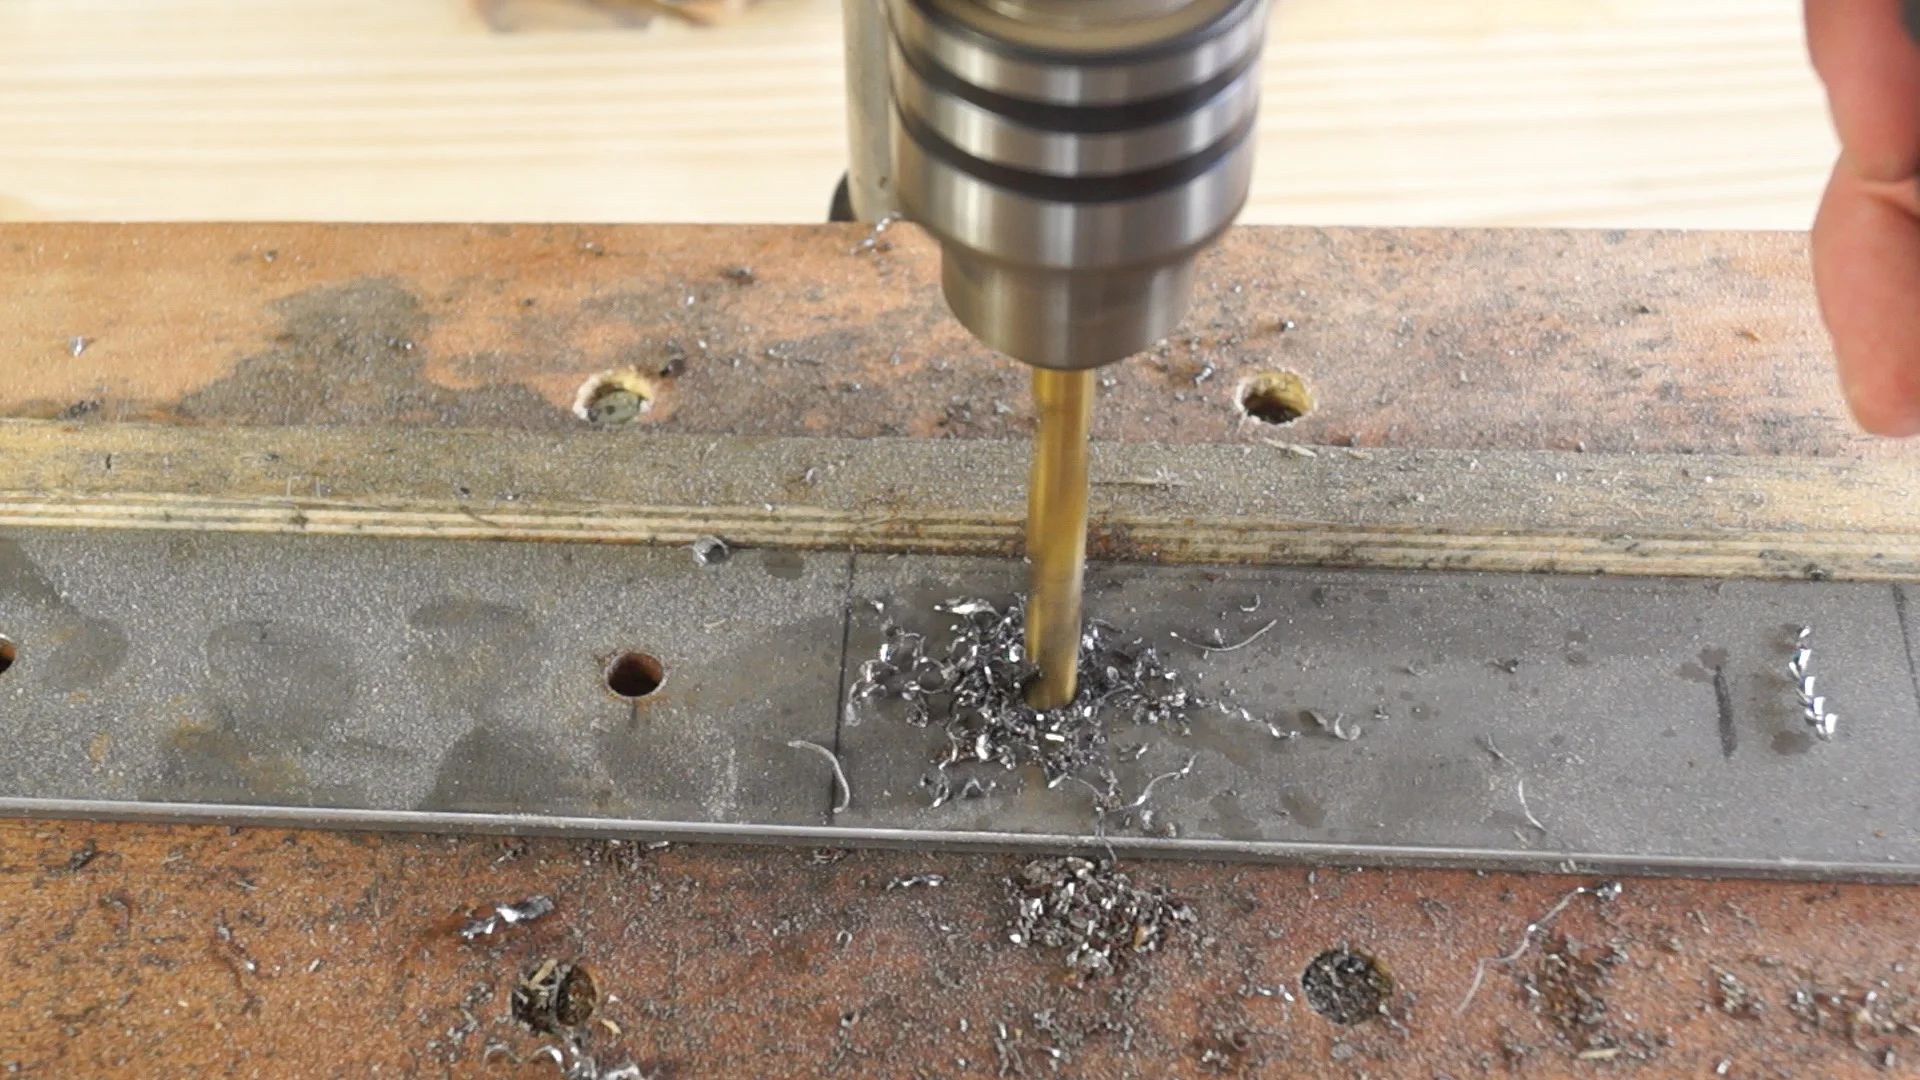
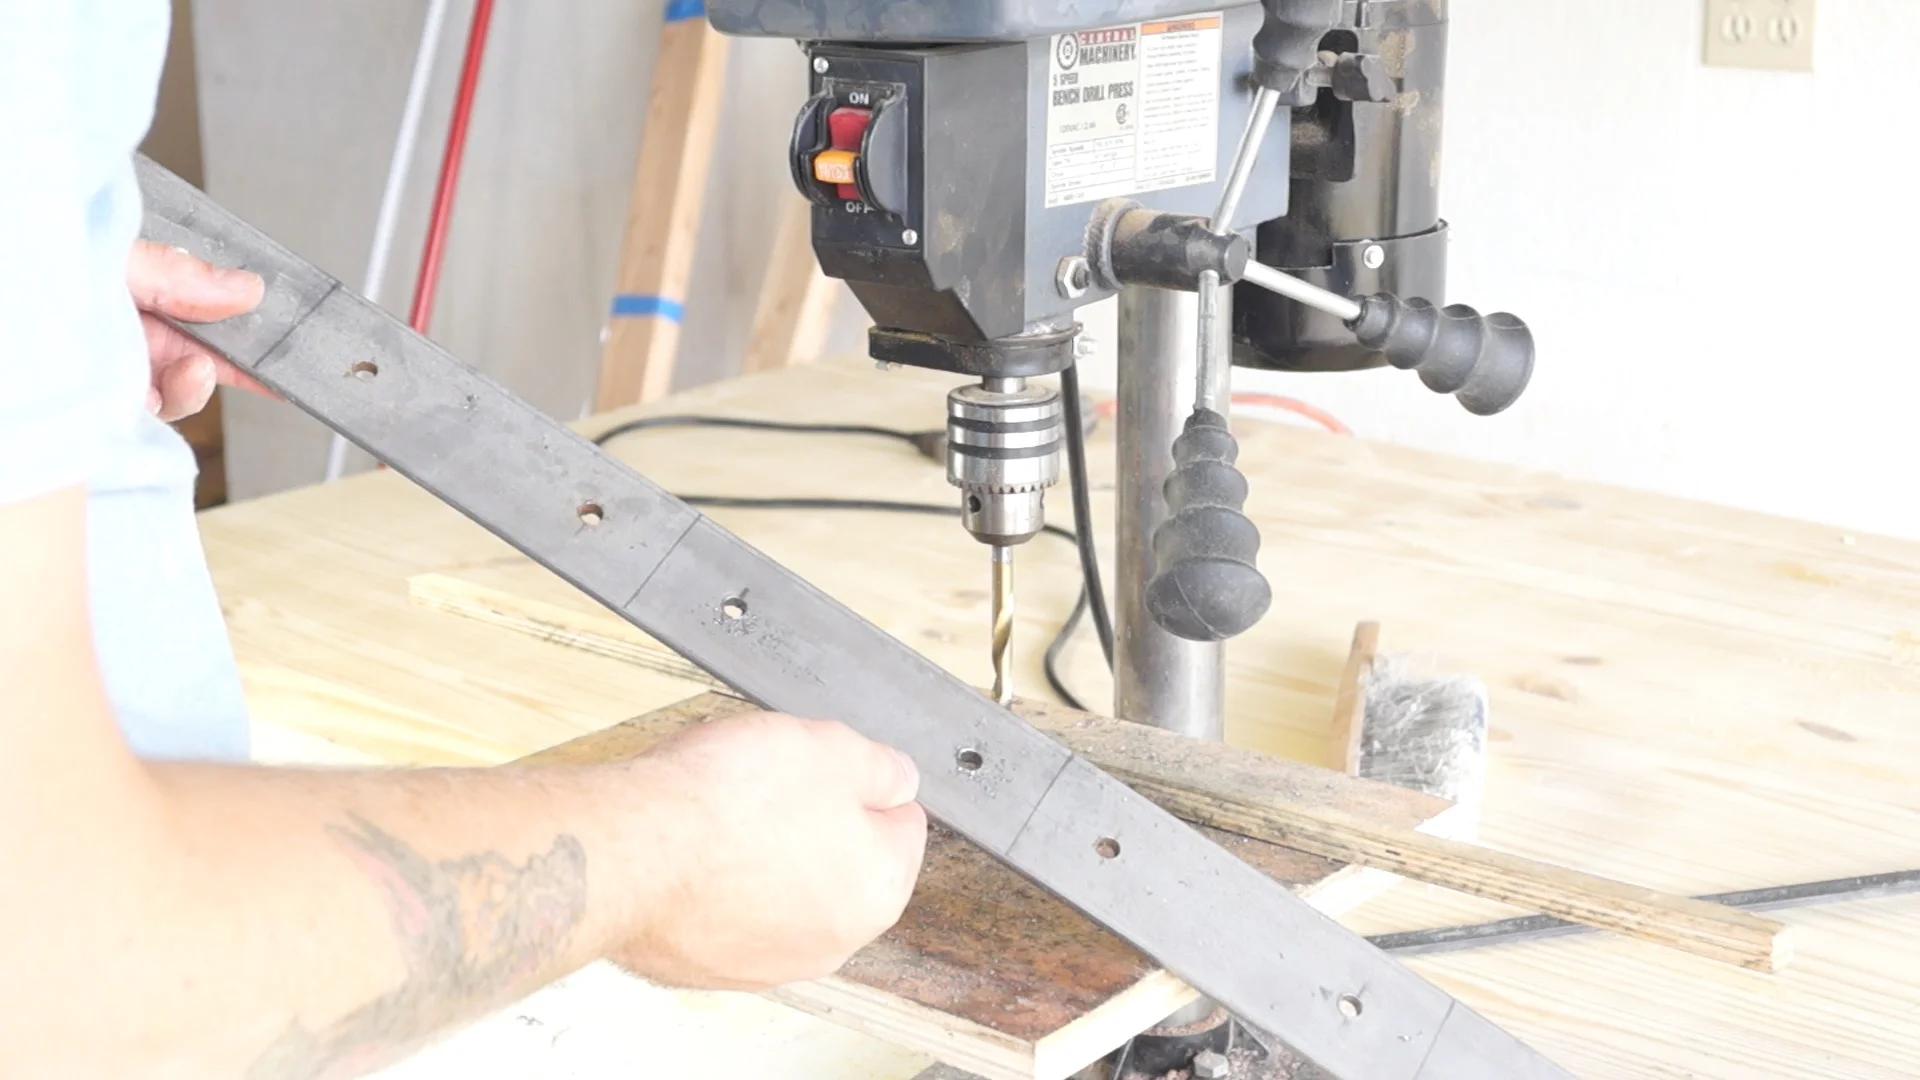
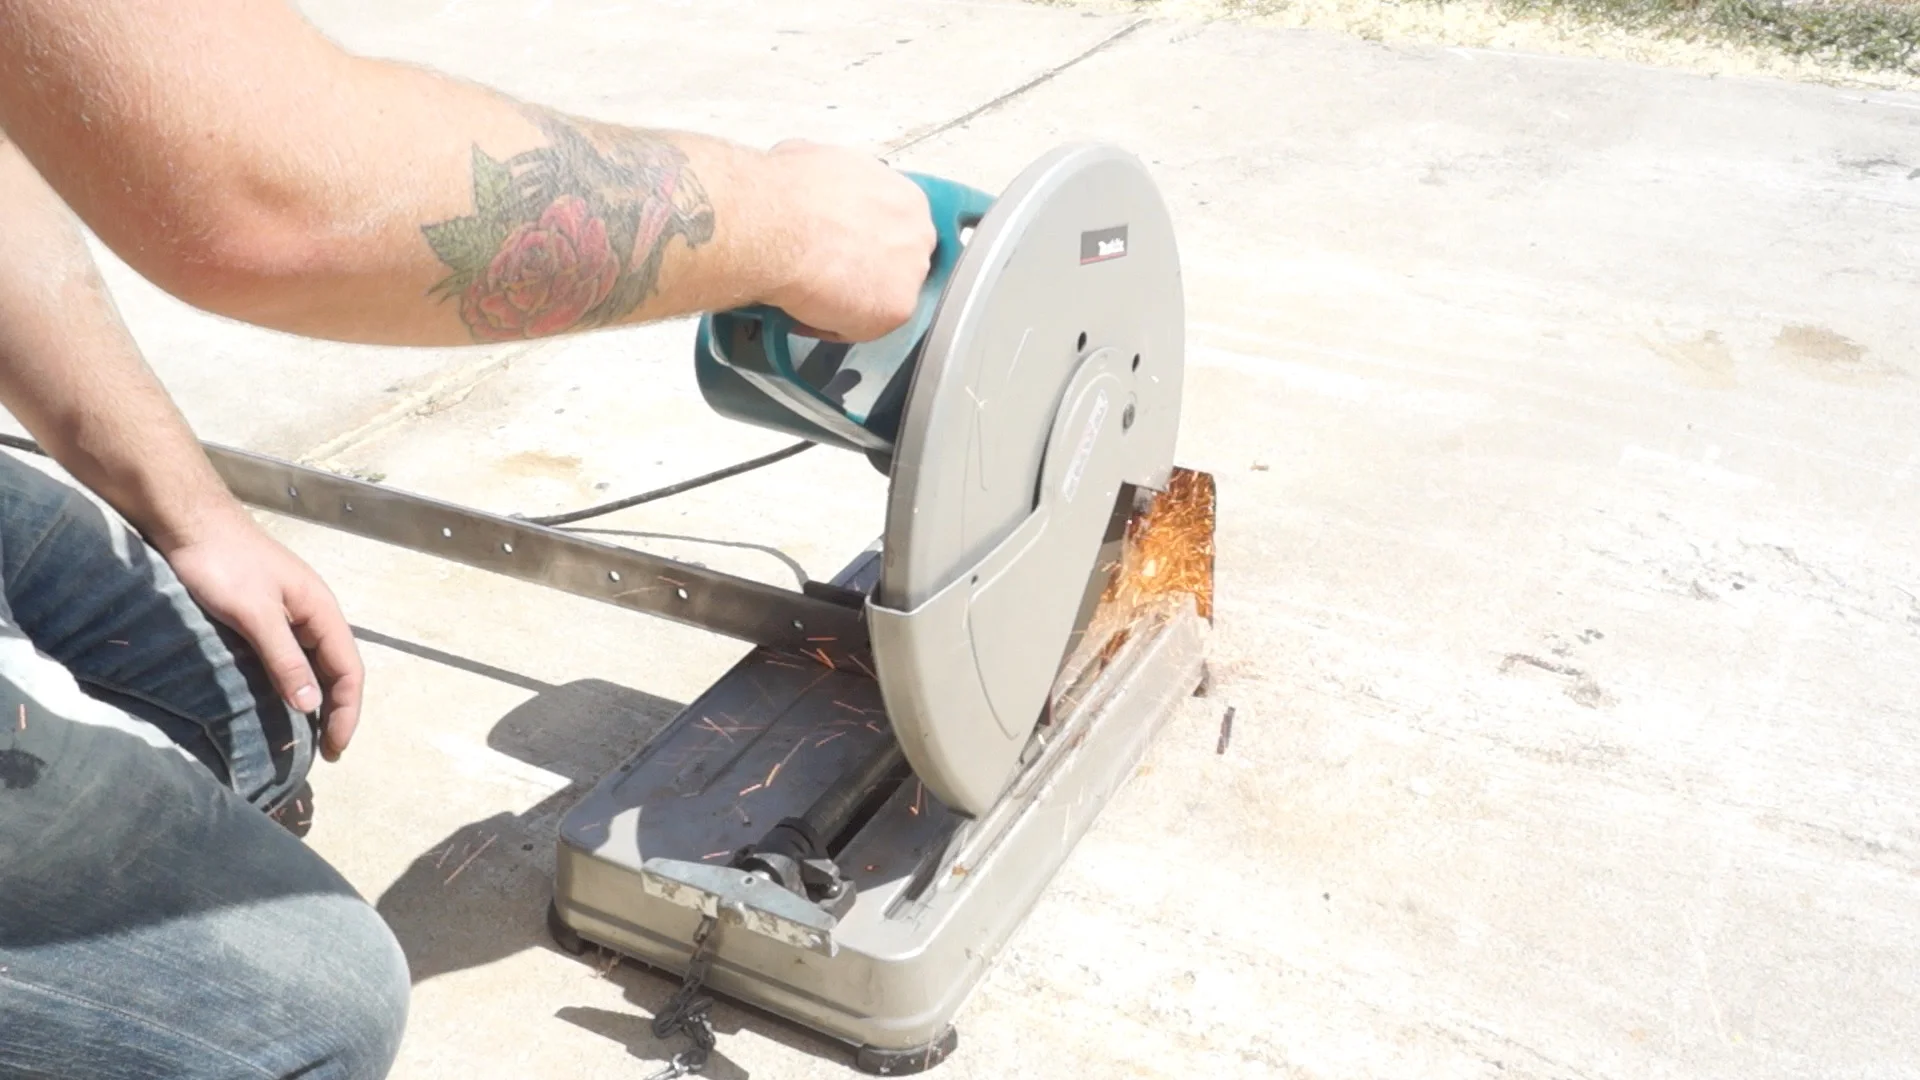
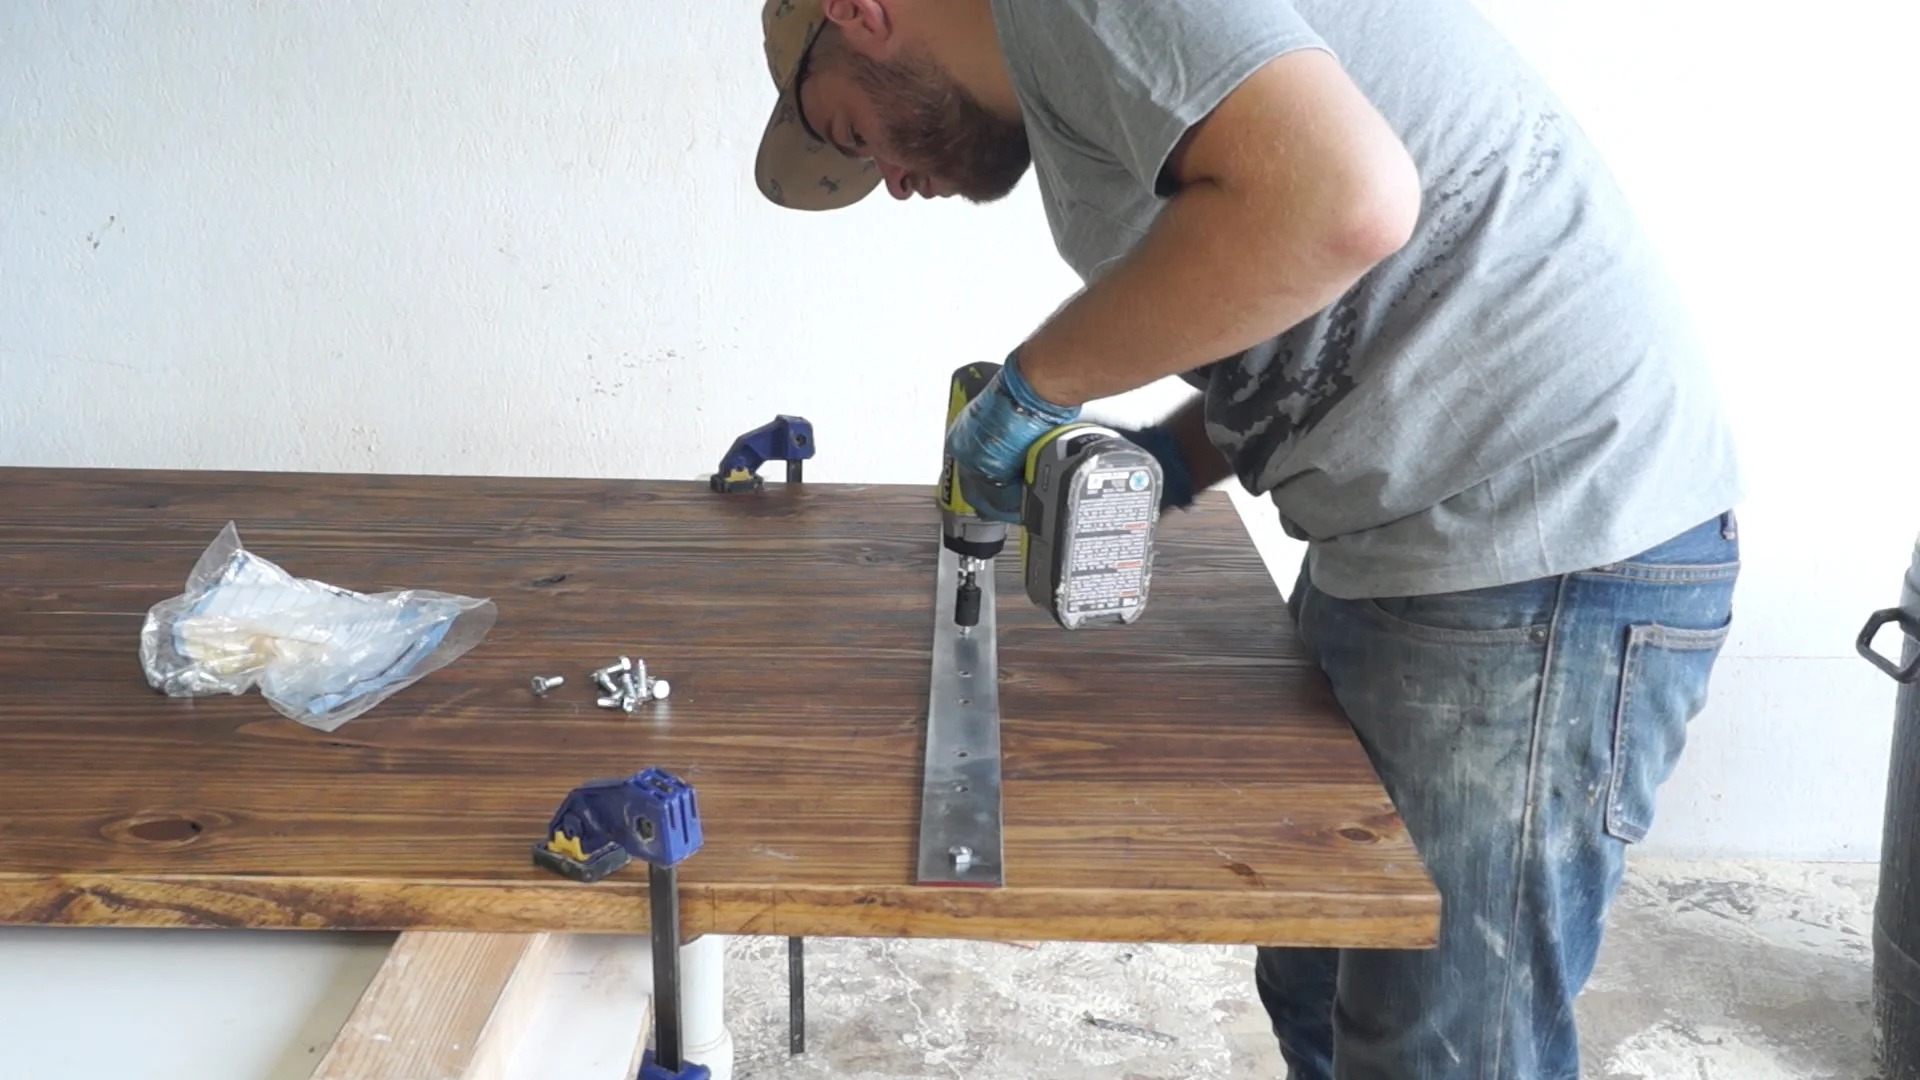
STEP FIVE: METAL STRAPS
I started with my two 36" flat bar steel pieces. First I drilled the holes using a fence on my drill press to maintain a consistent edge.
STEP SIX: INSTALL, UNINSTALL, SAND, STAIN, AND REINSTALL.
After cutting my steel pieces to size, I installed the bars on my door using a drywall square as a guide.

After I knew the bar fit, I uninstalled it and sanded my door up to 220 grit. Then I sanded it with a special walnut stain.
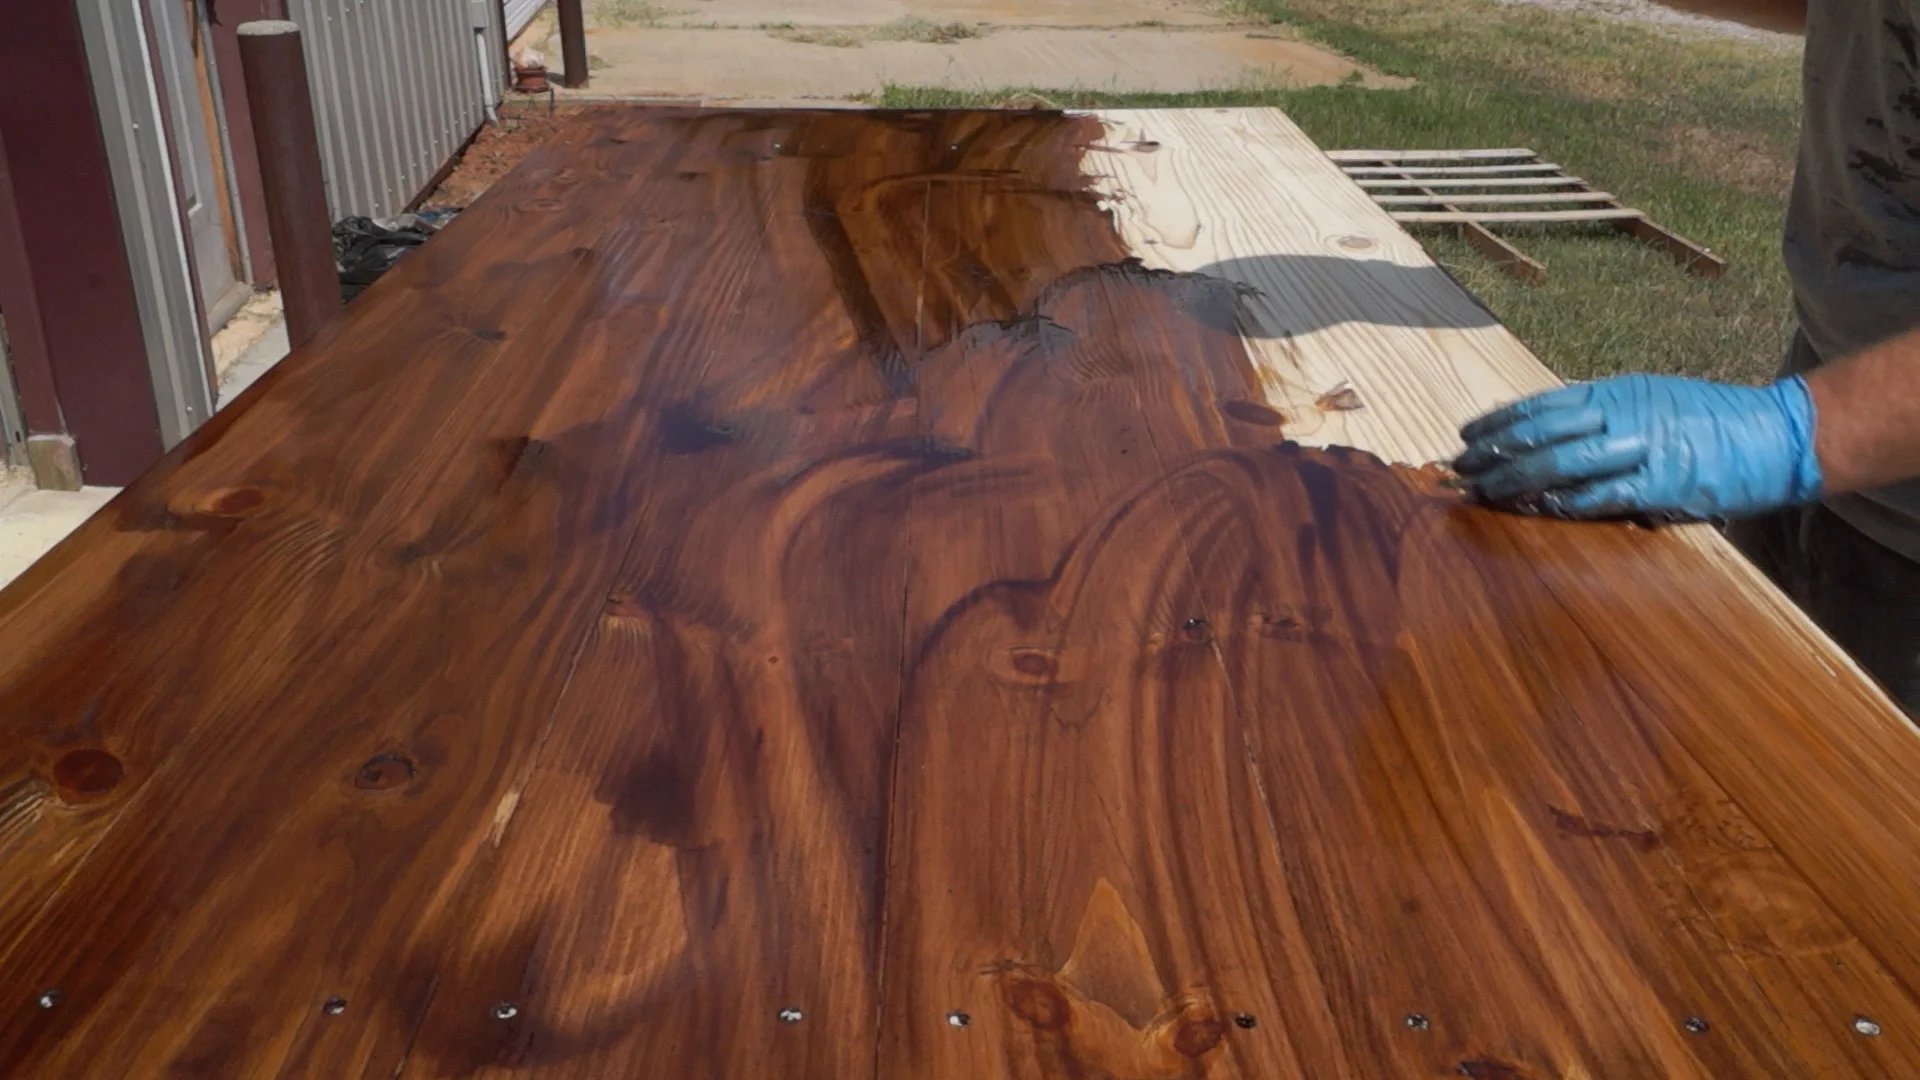
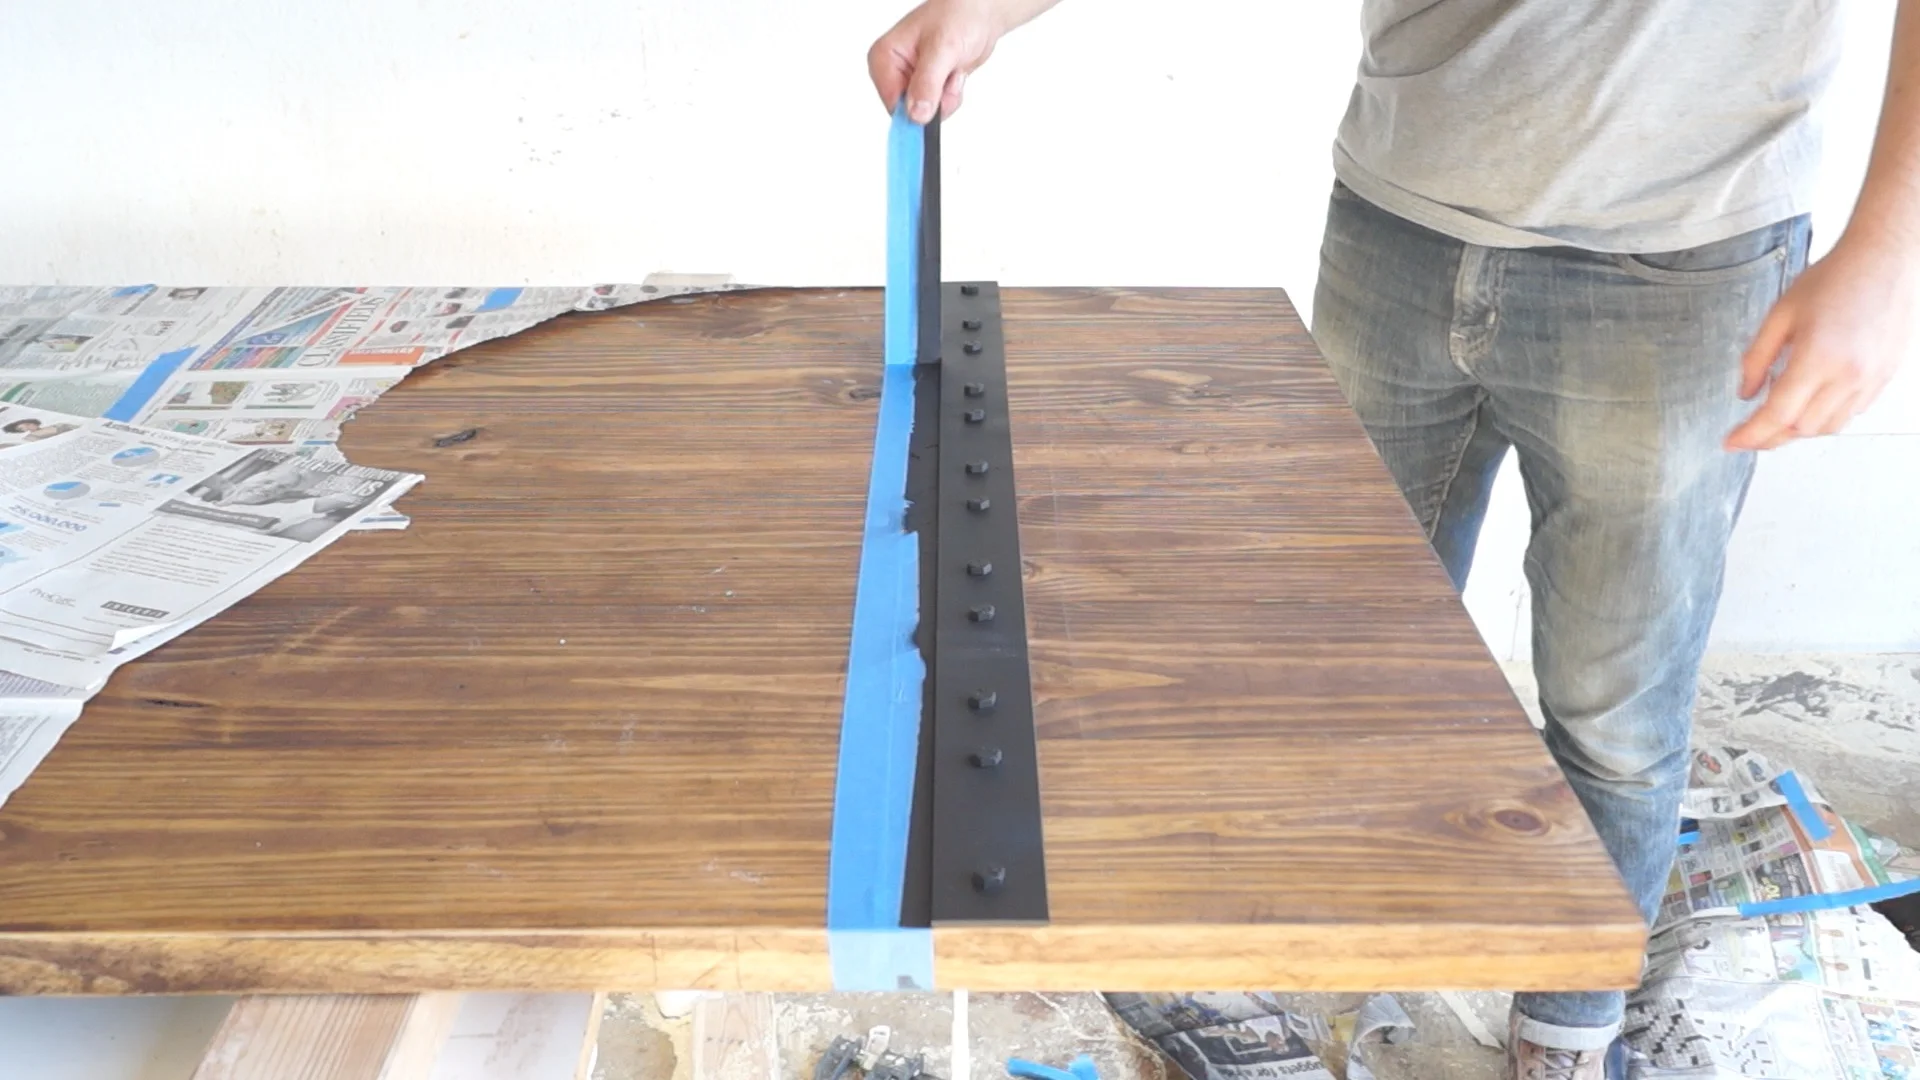
Once the stain dried, I reattached the metal straps on the door.
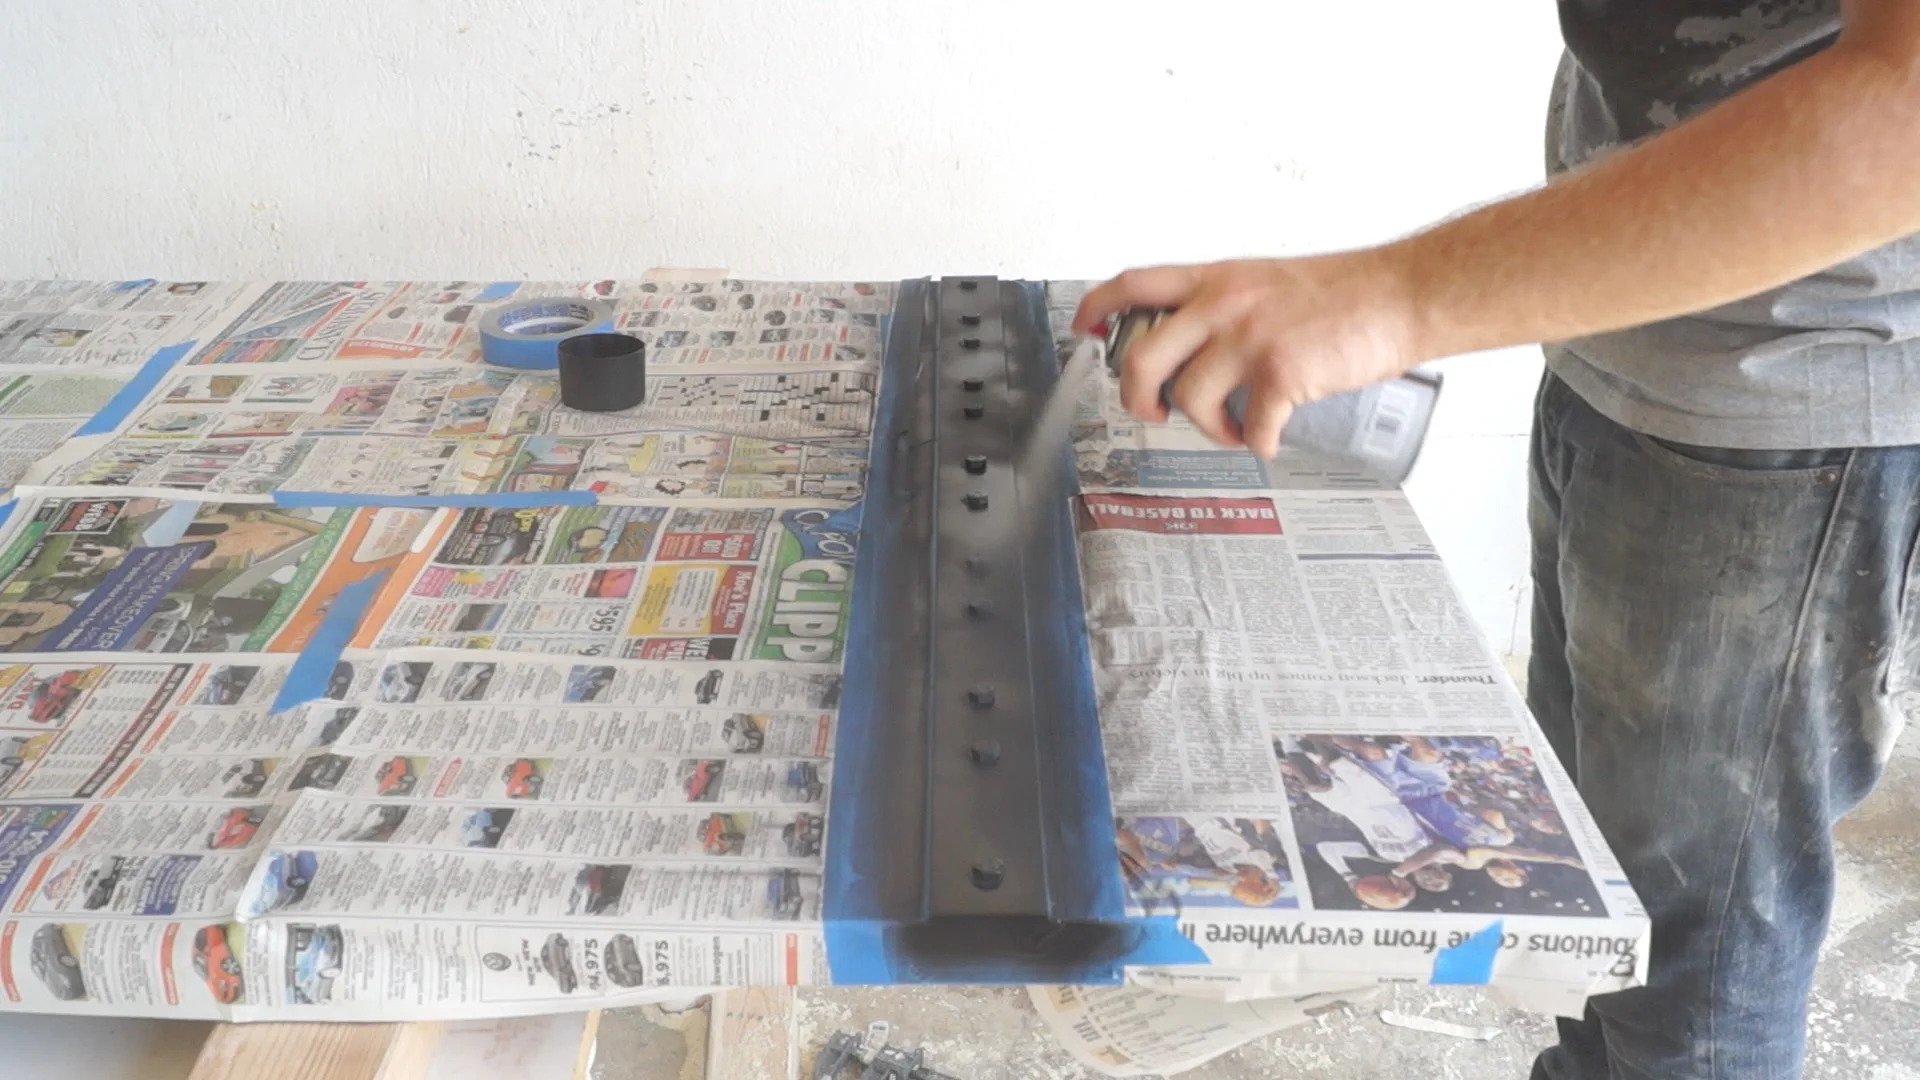
STEP SEVEN: PAINT!
I painted the steel with a flat black spray paint to match the sliding door hardware.
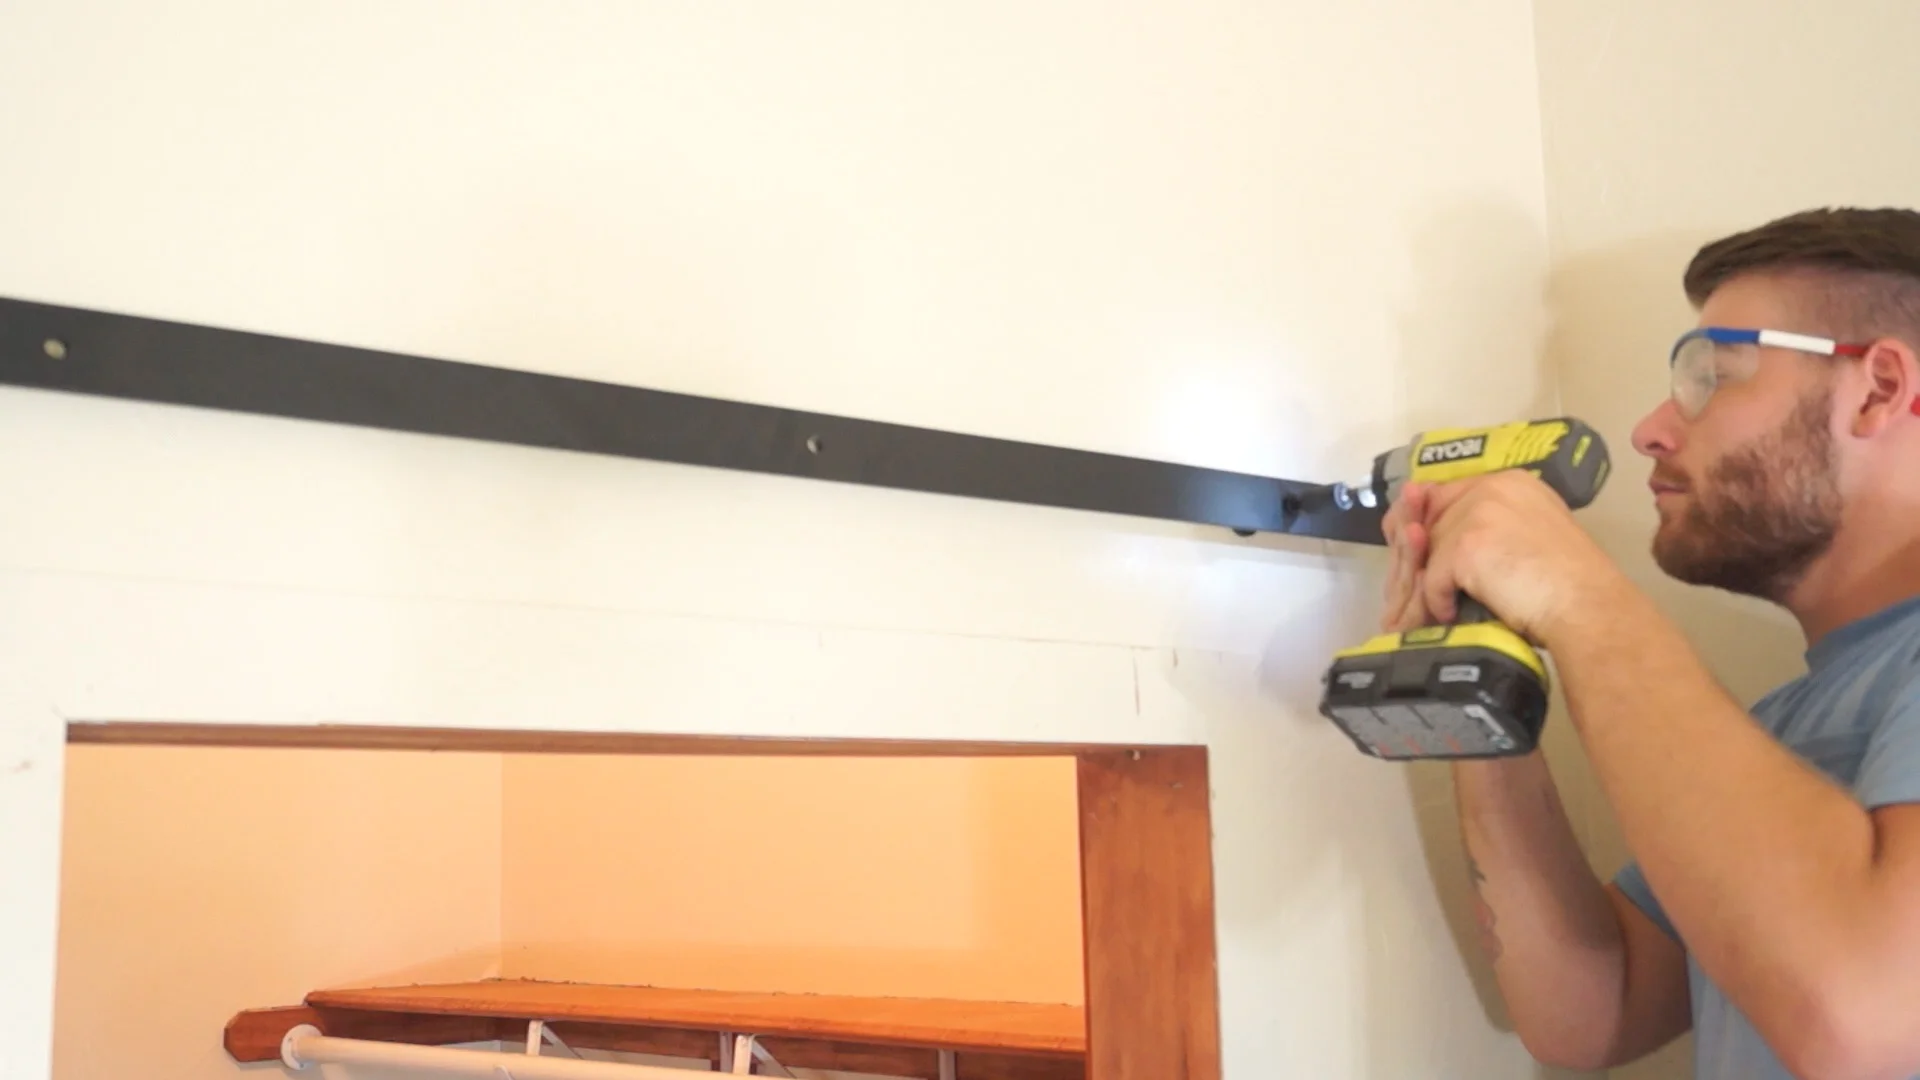
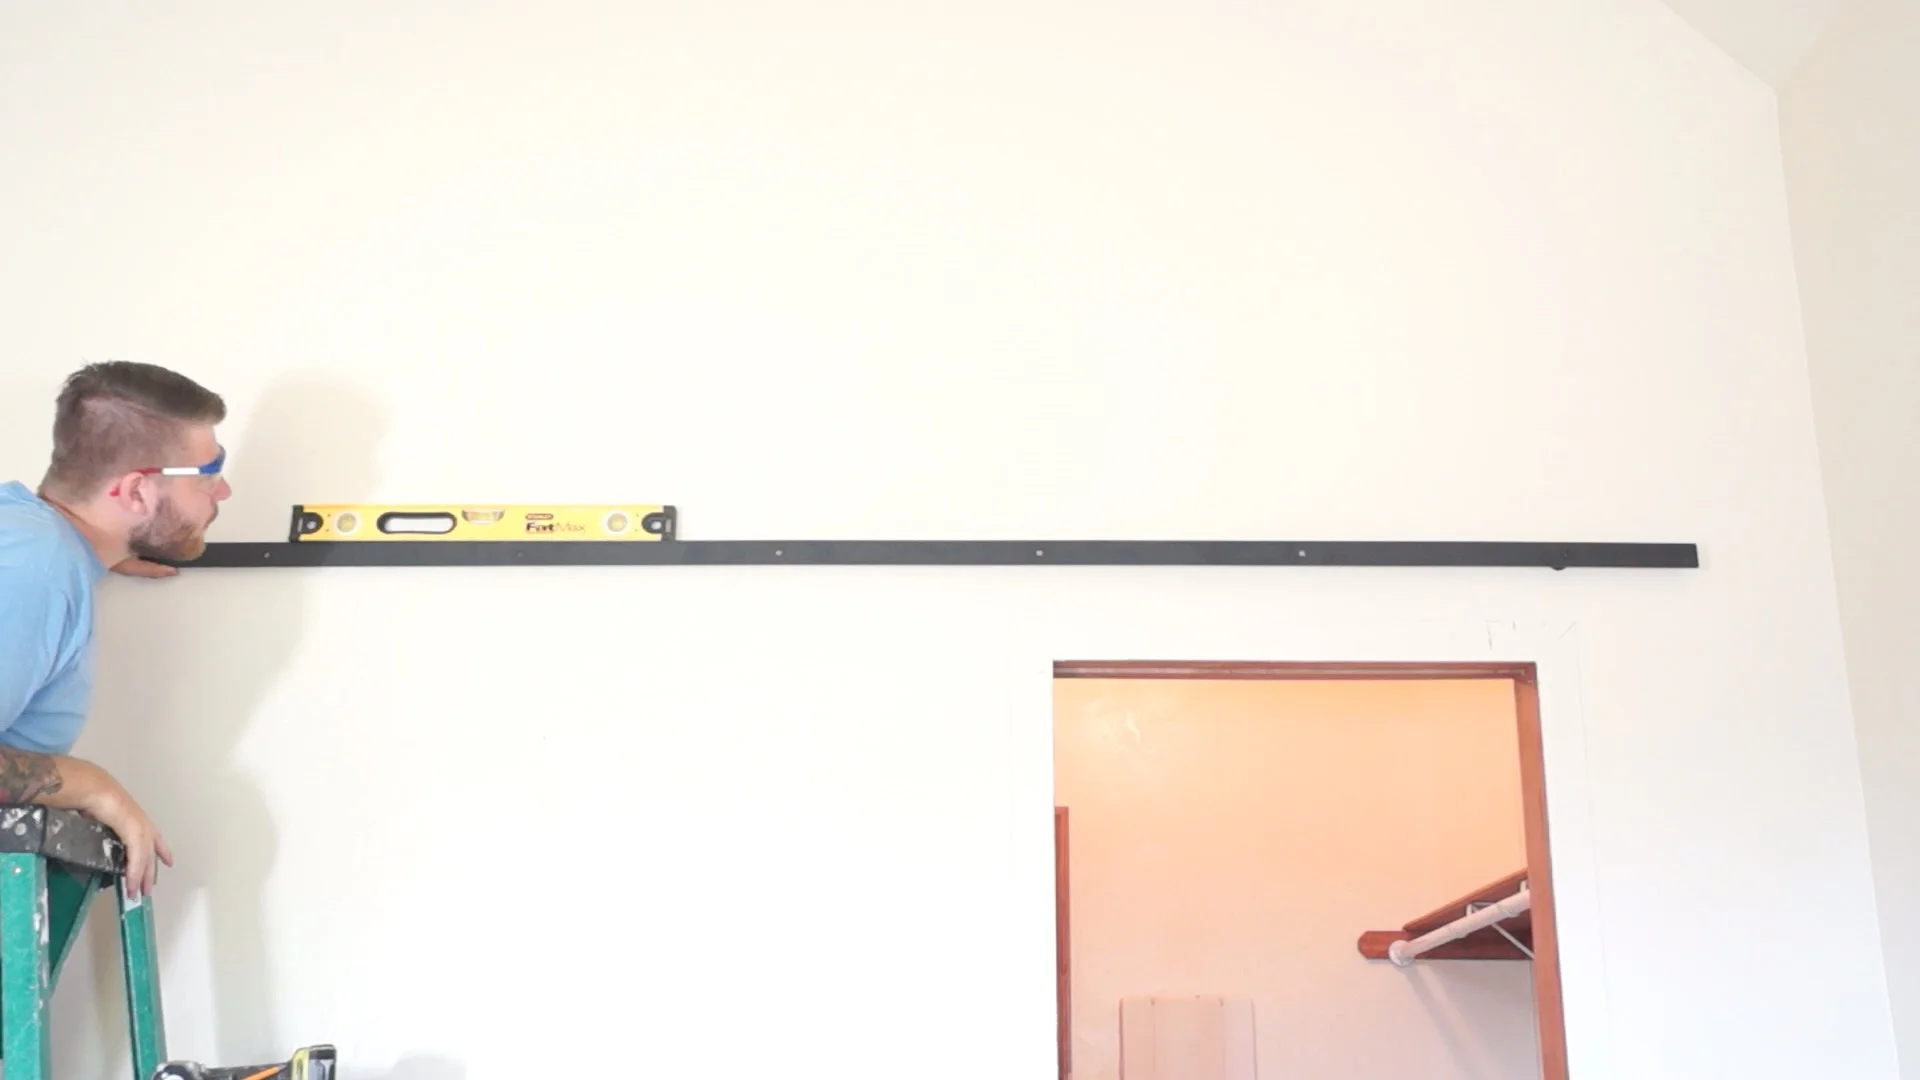
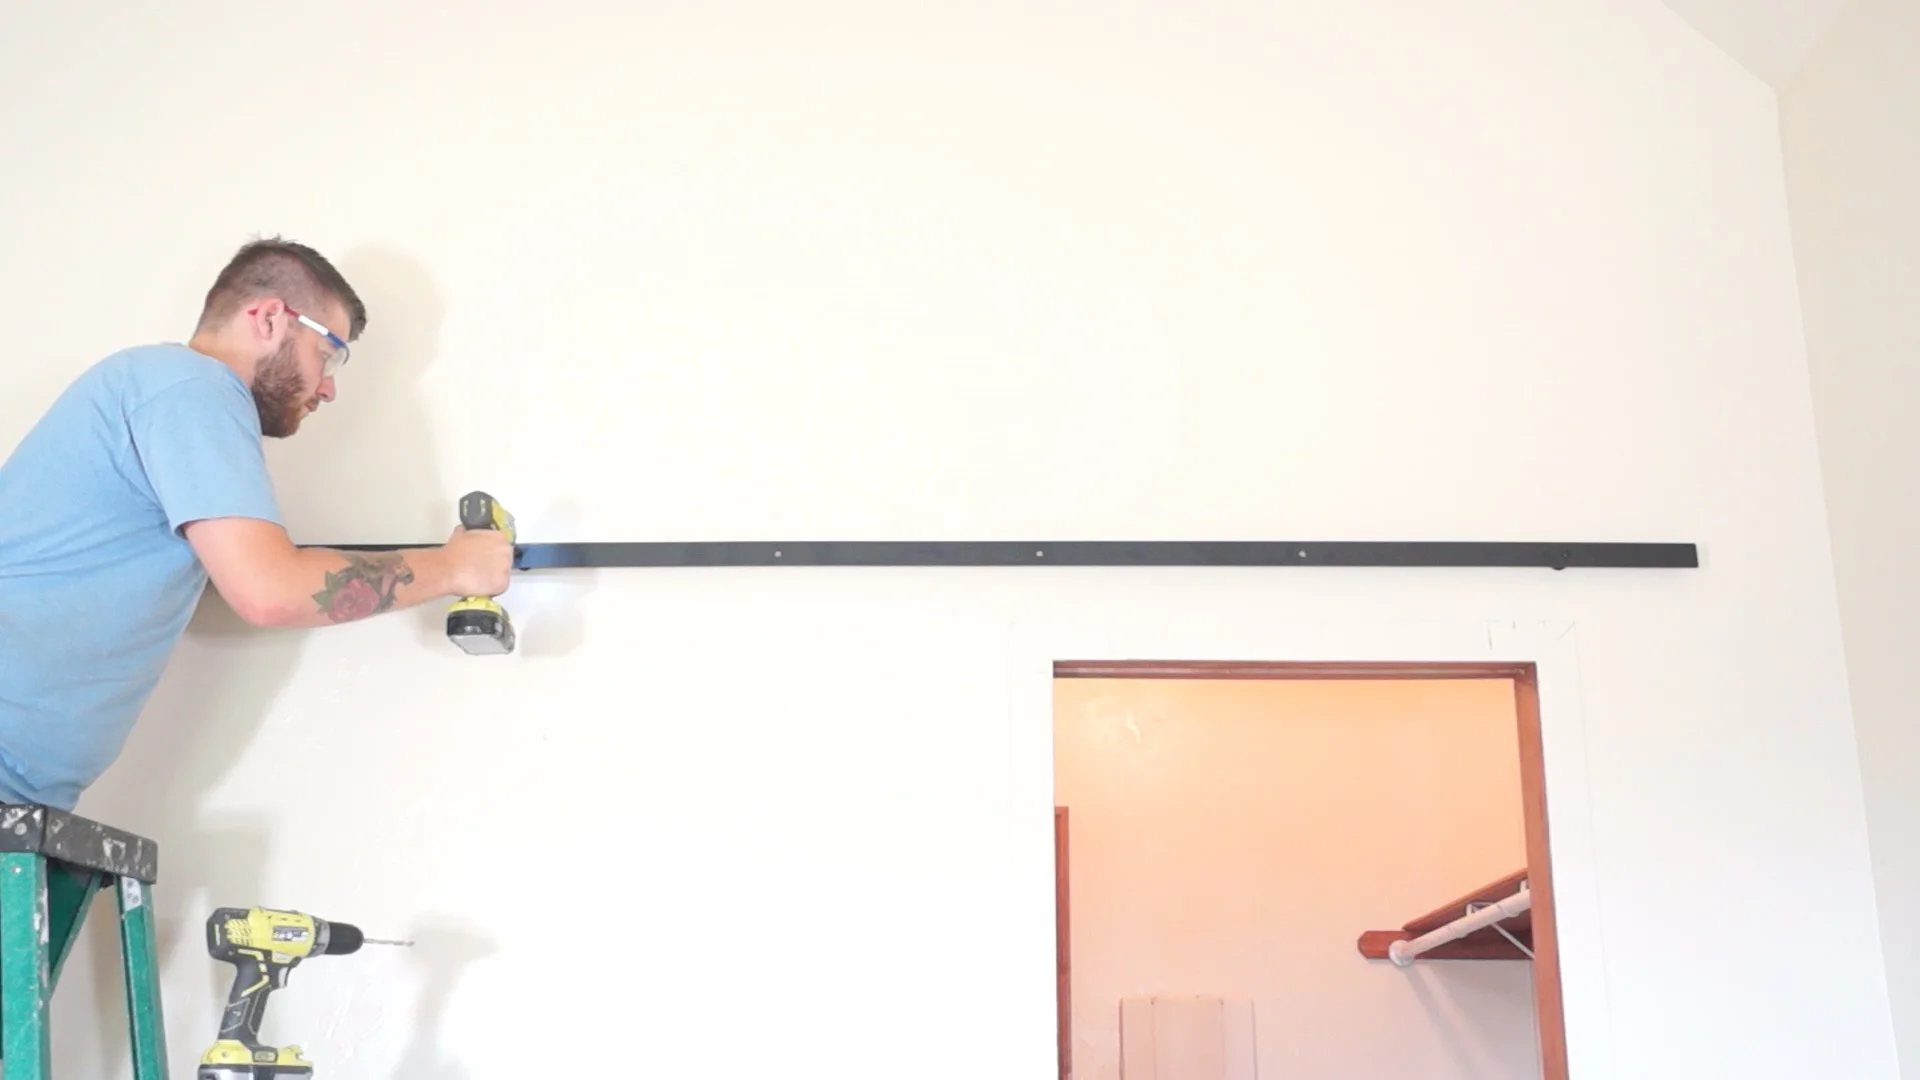
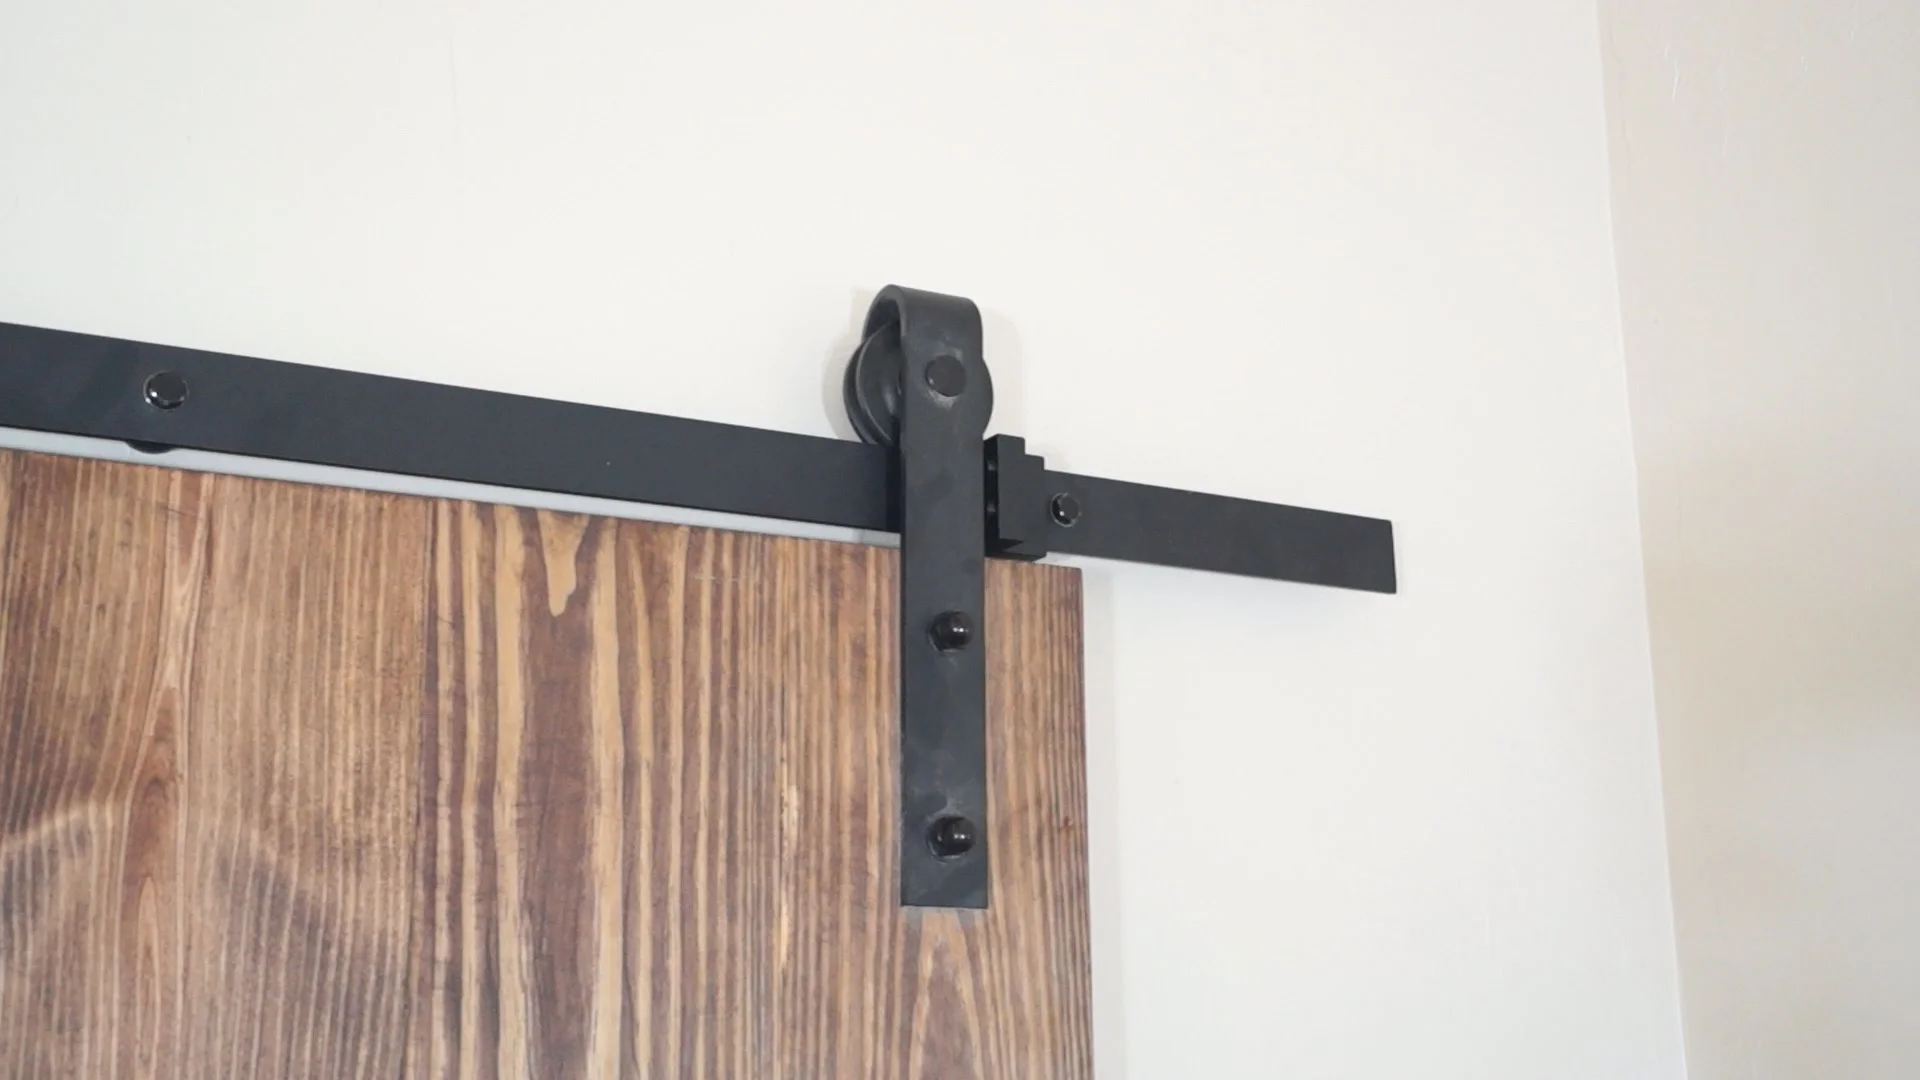
STEP EIGHT: INSTALL THE BAR
Before I start installing the sliding barn door hardware, I should note I did do an in depth video for Industrial by Design to help guide the process. The following will simply be an overview.
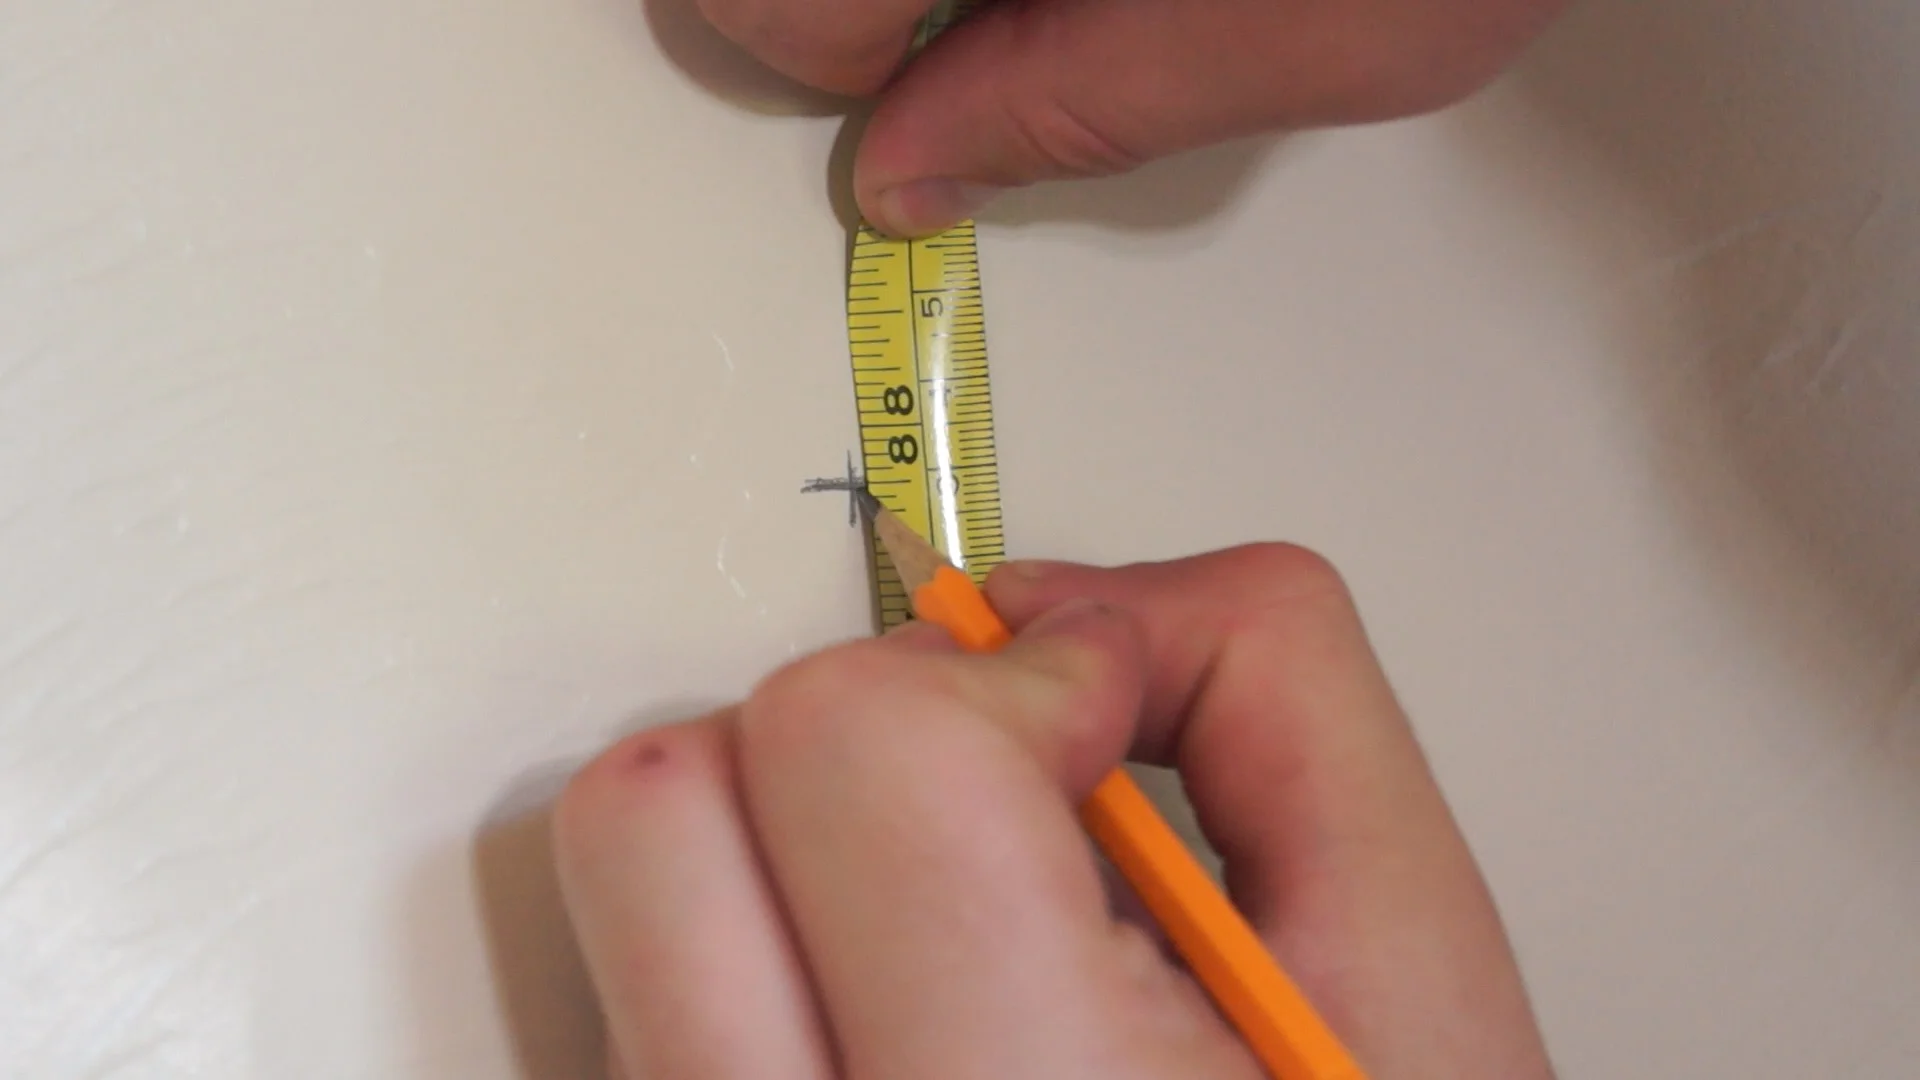
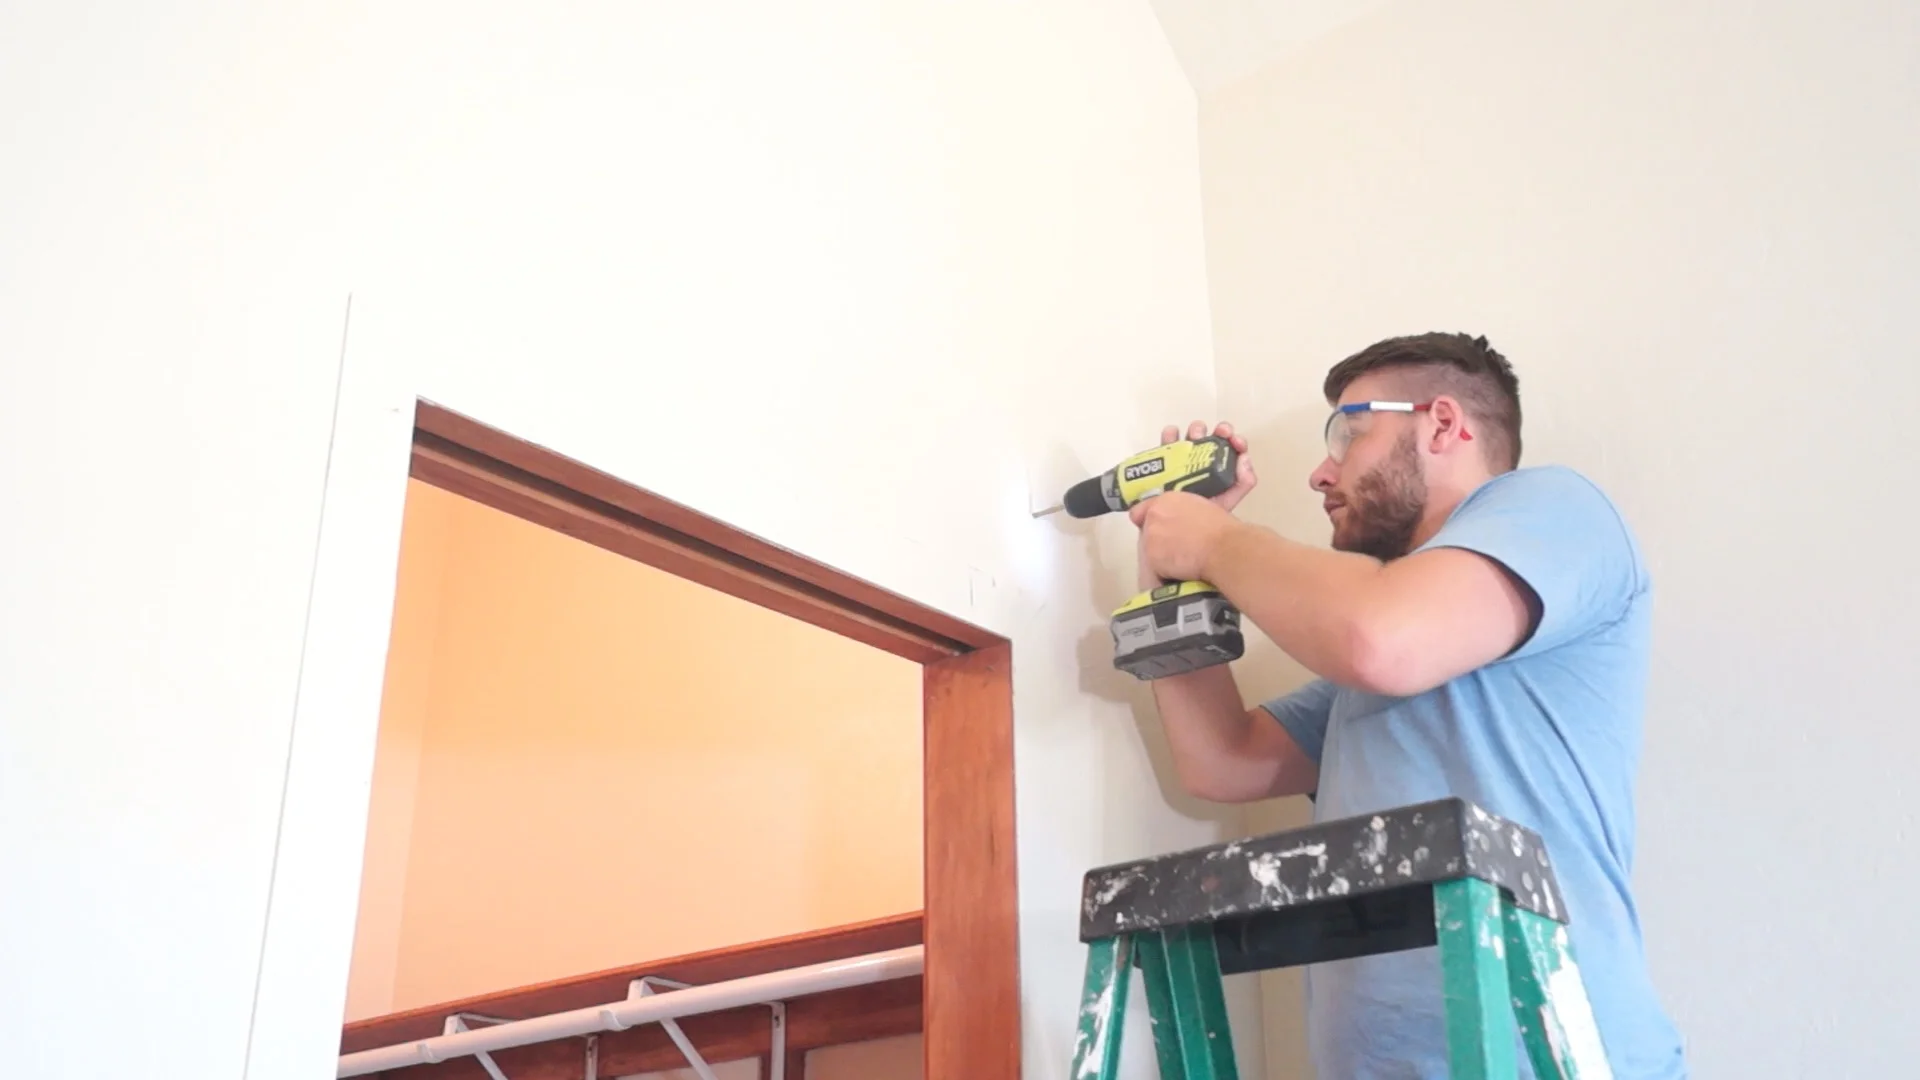
I used a stud finder to find where to drill my first hole. After attaching one screw into the wall I used a level and screwed in the opposite side of the bar.
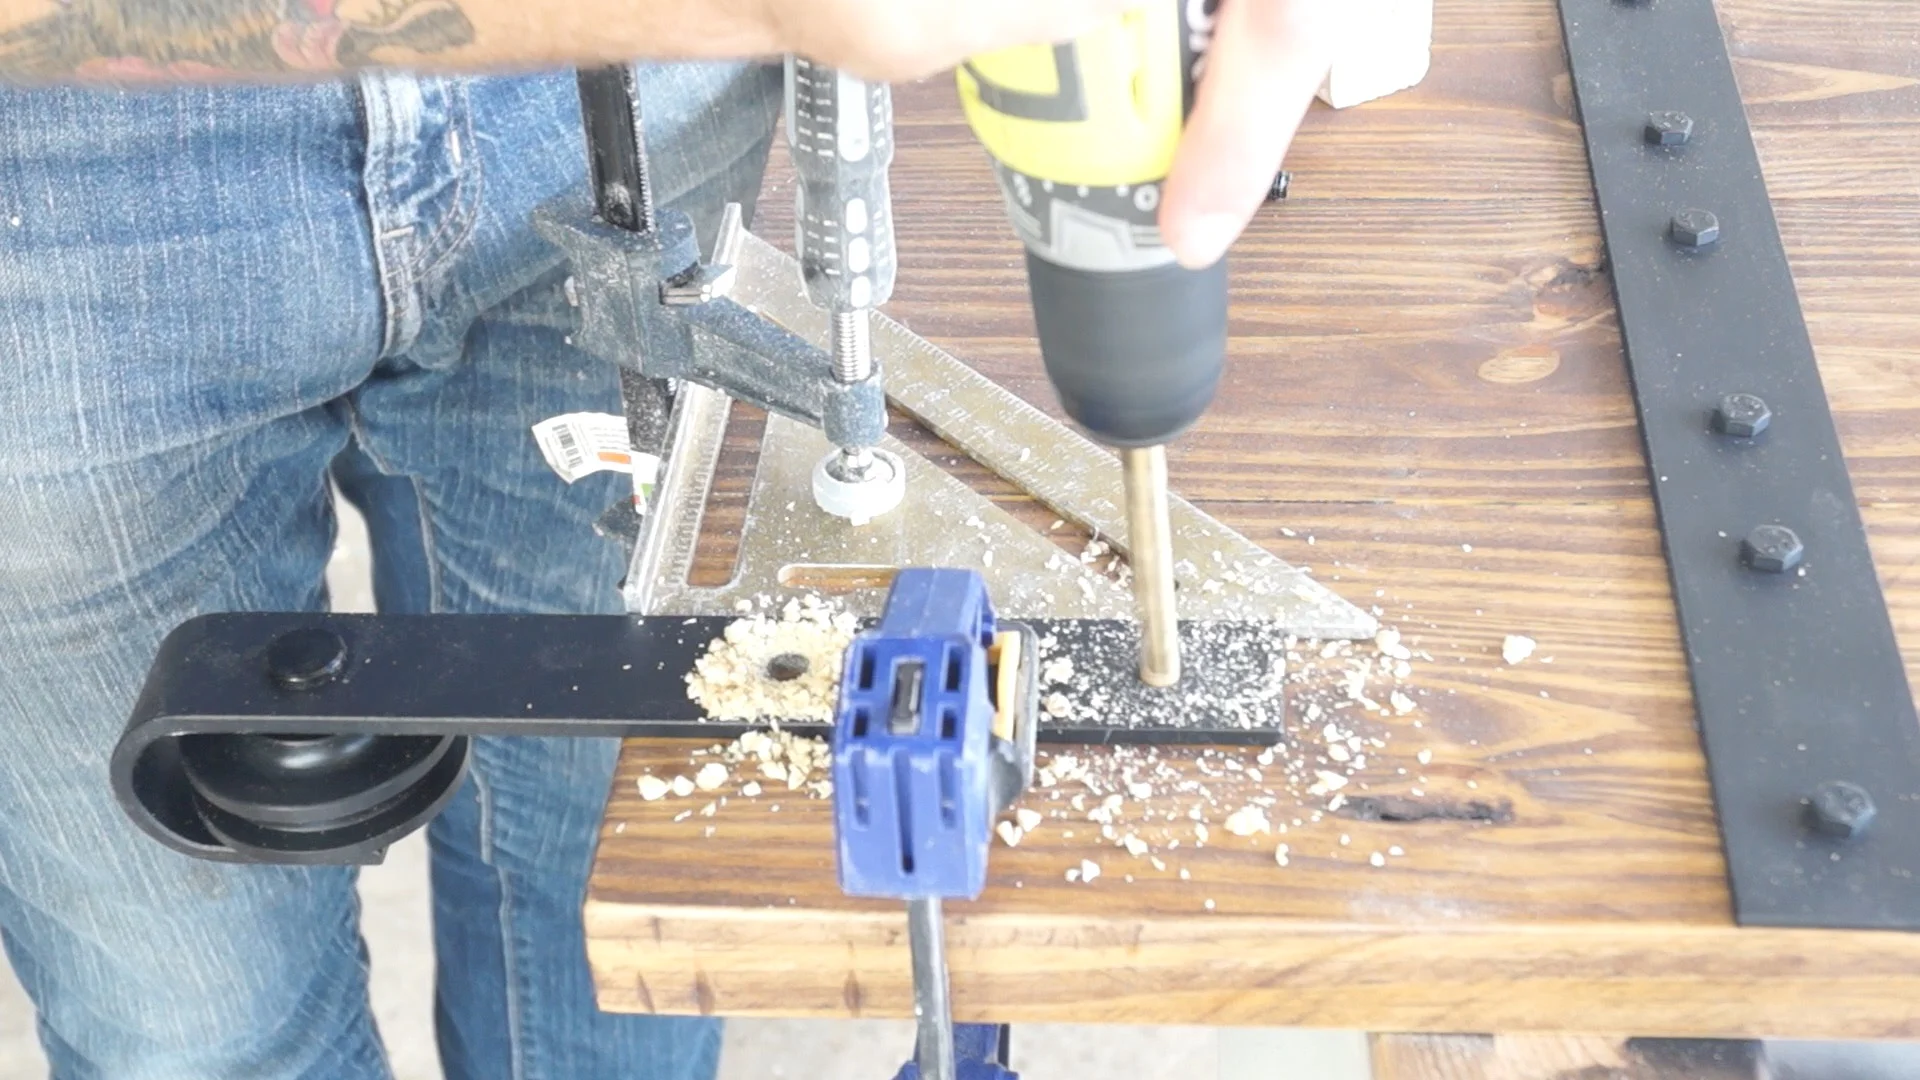
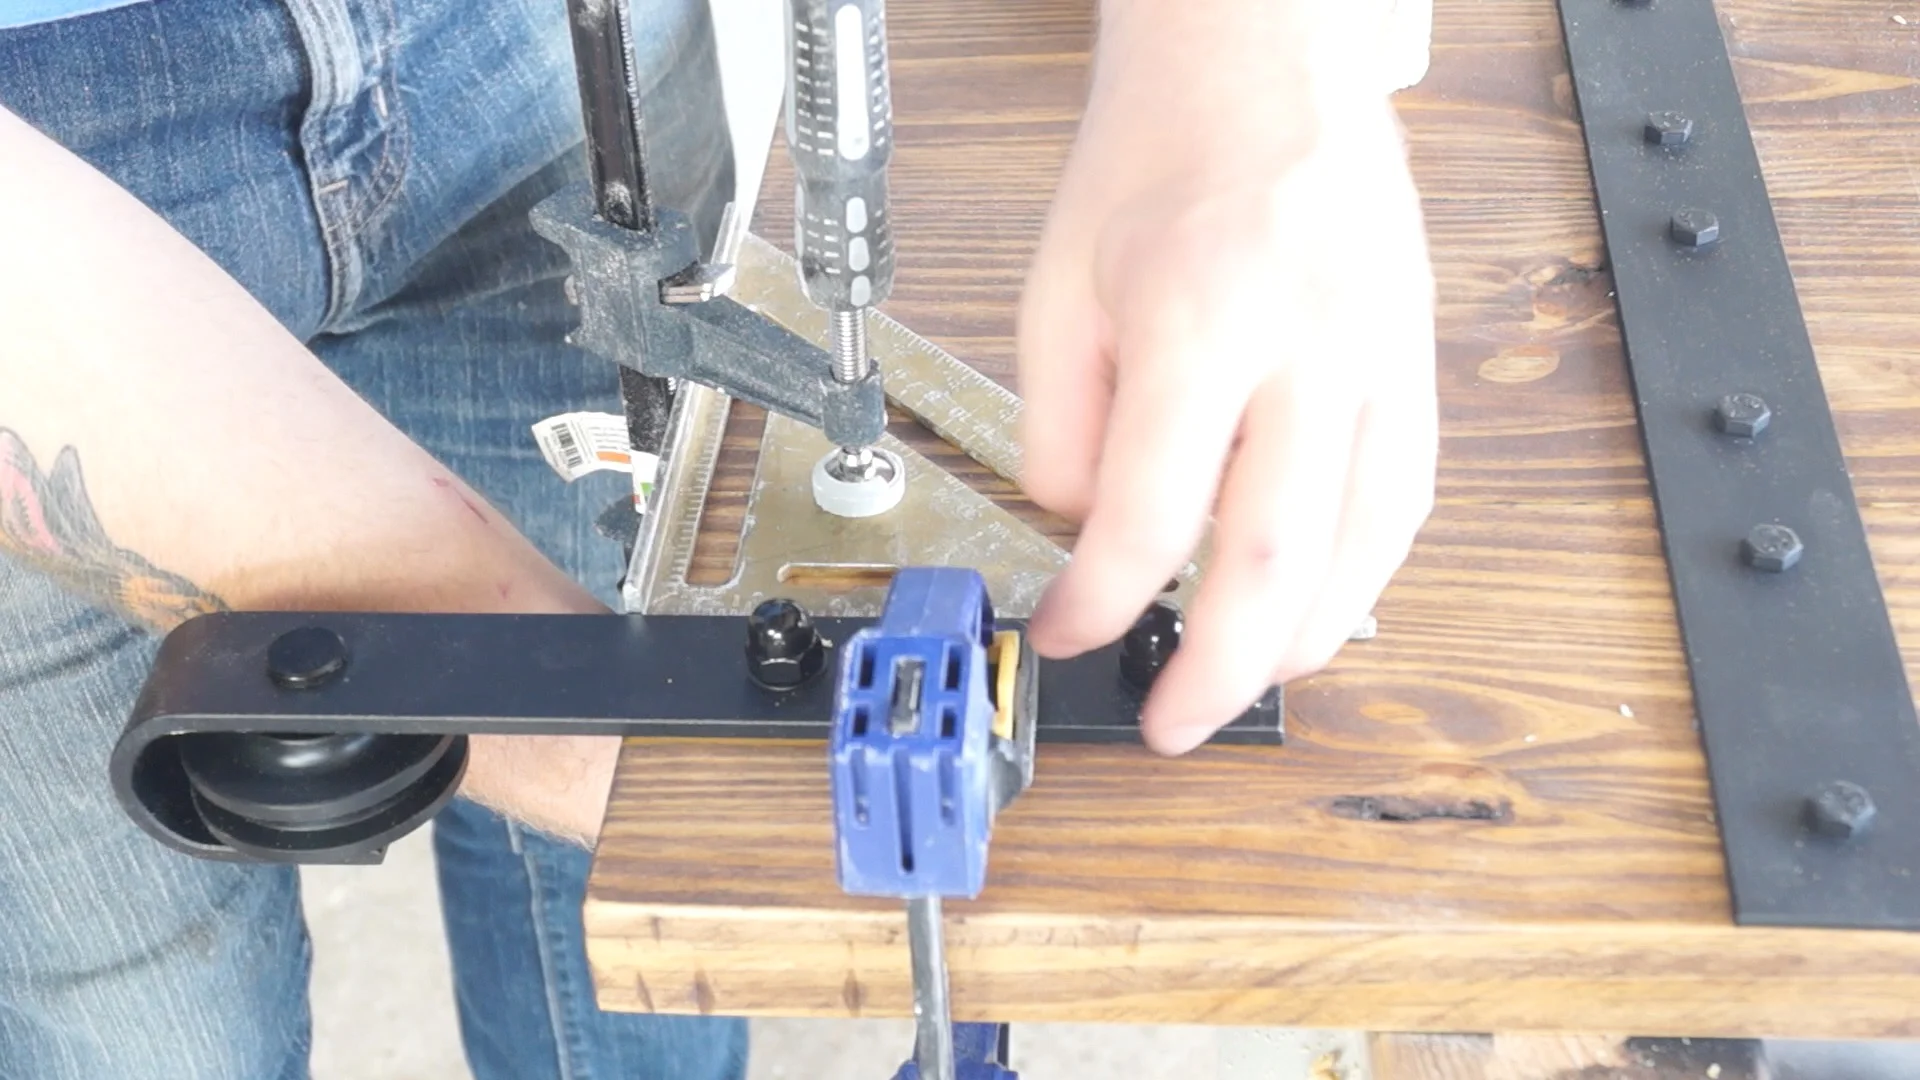
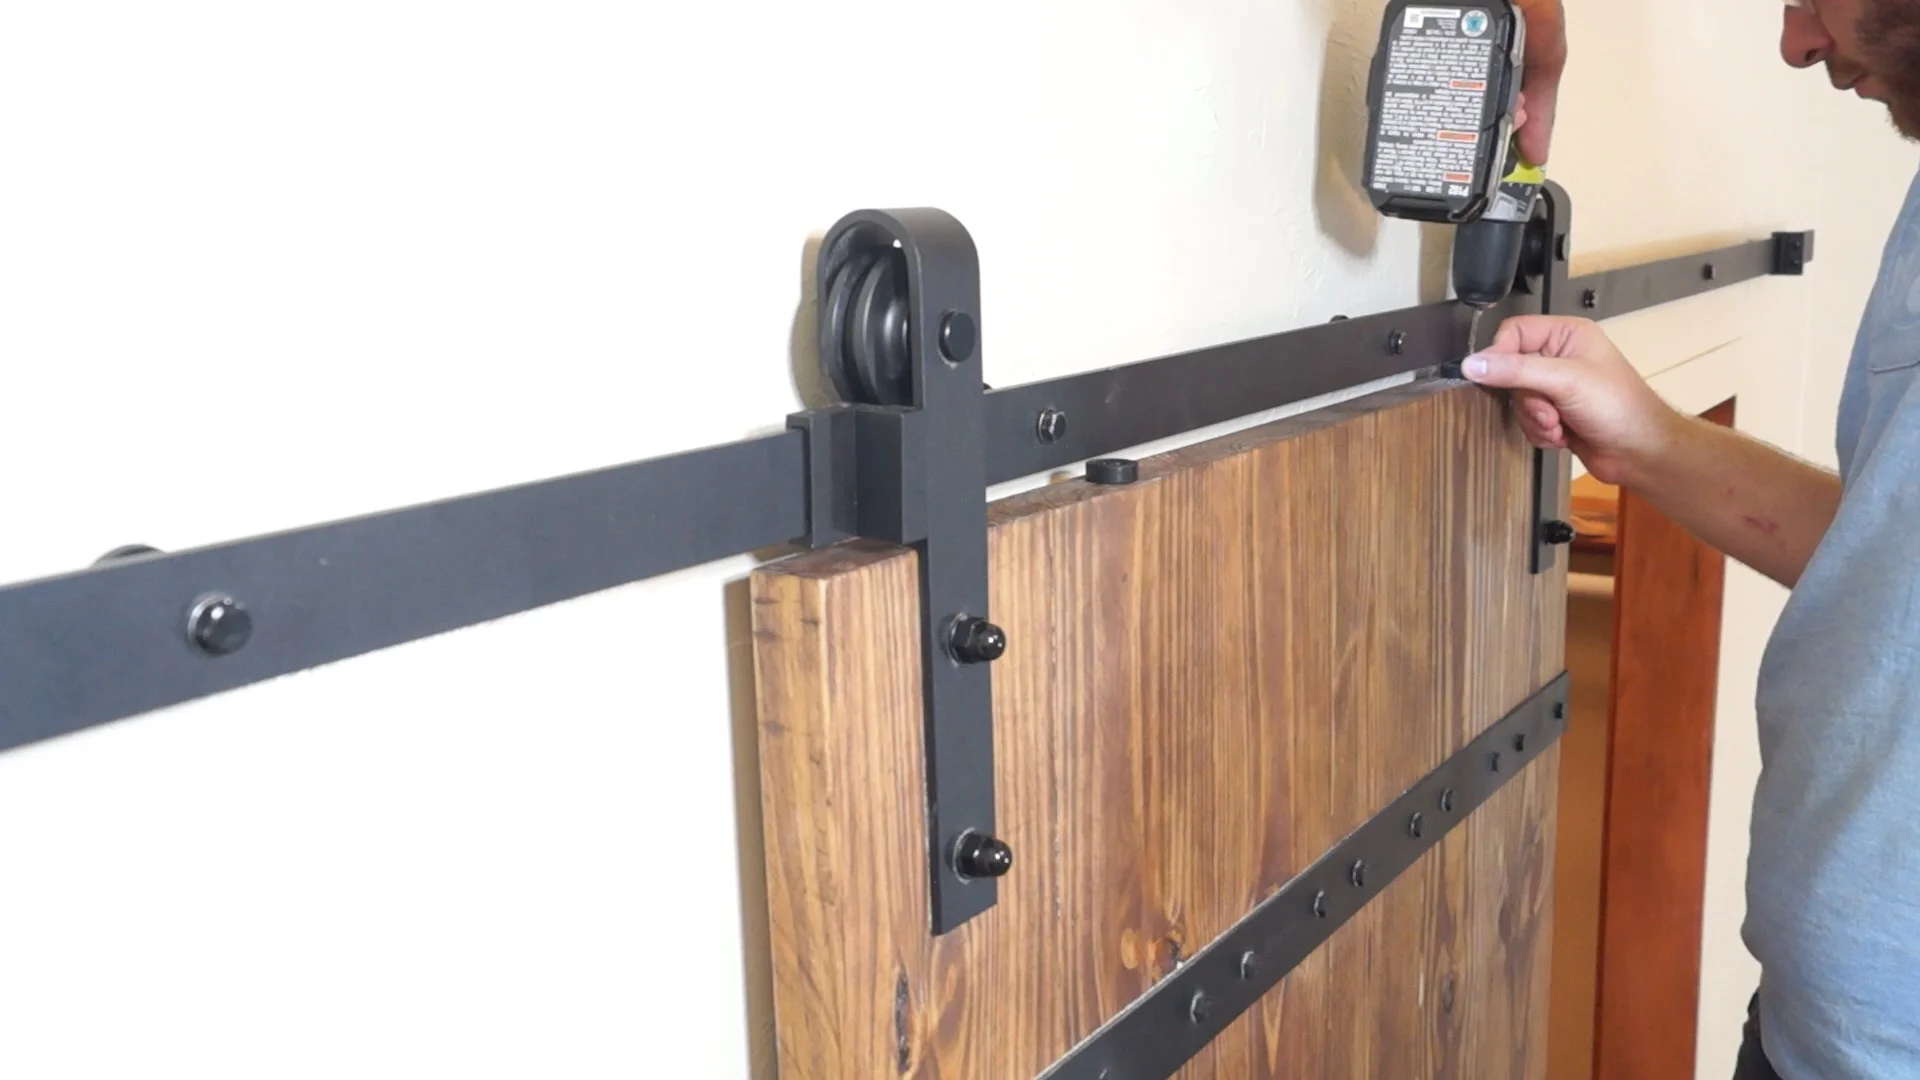
STEP NINE: INSTALL THE STRAPS ON THE DOOR
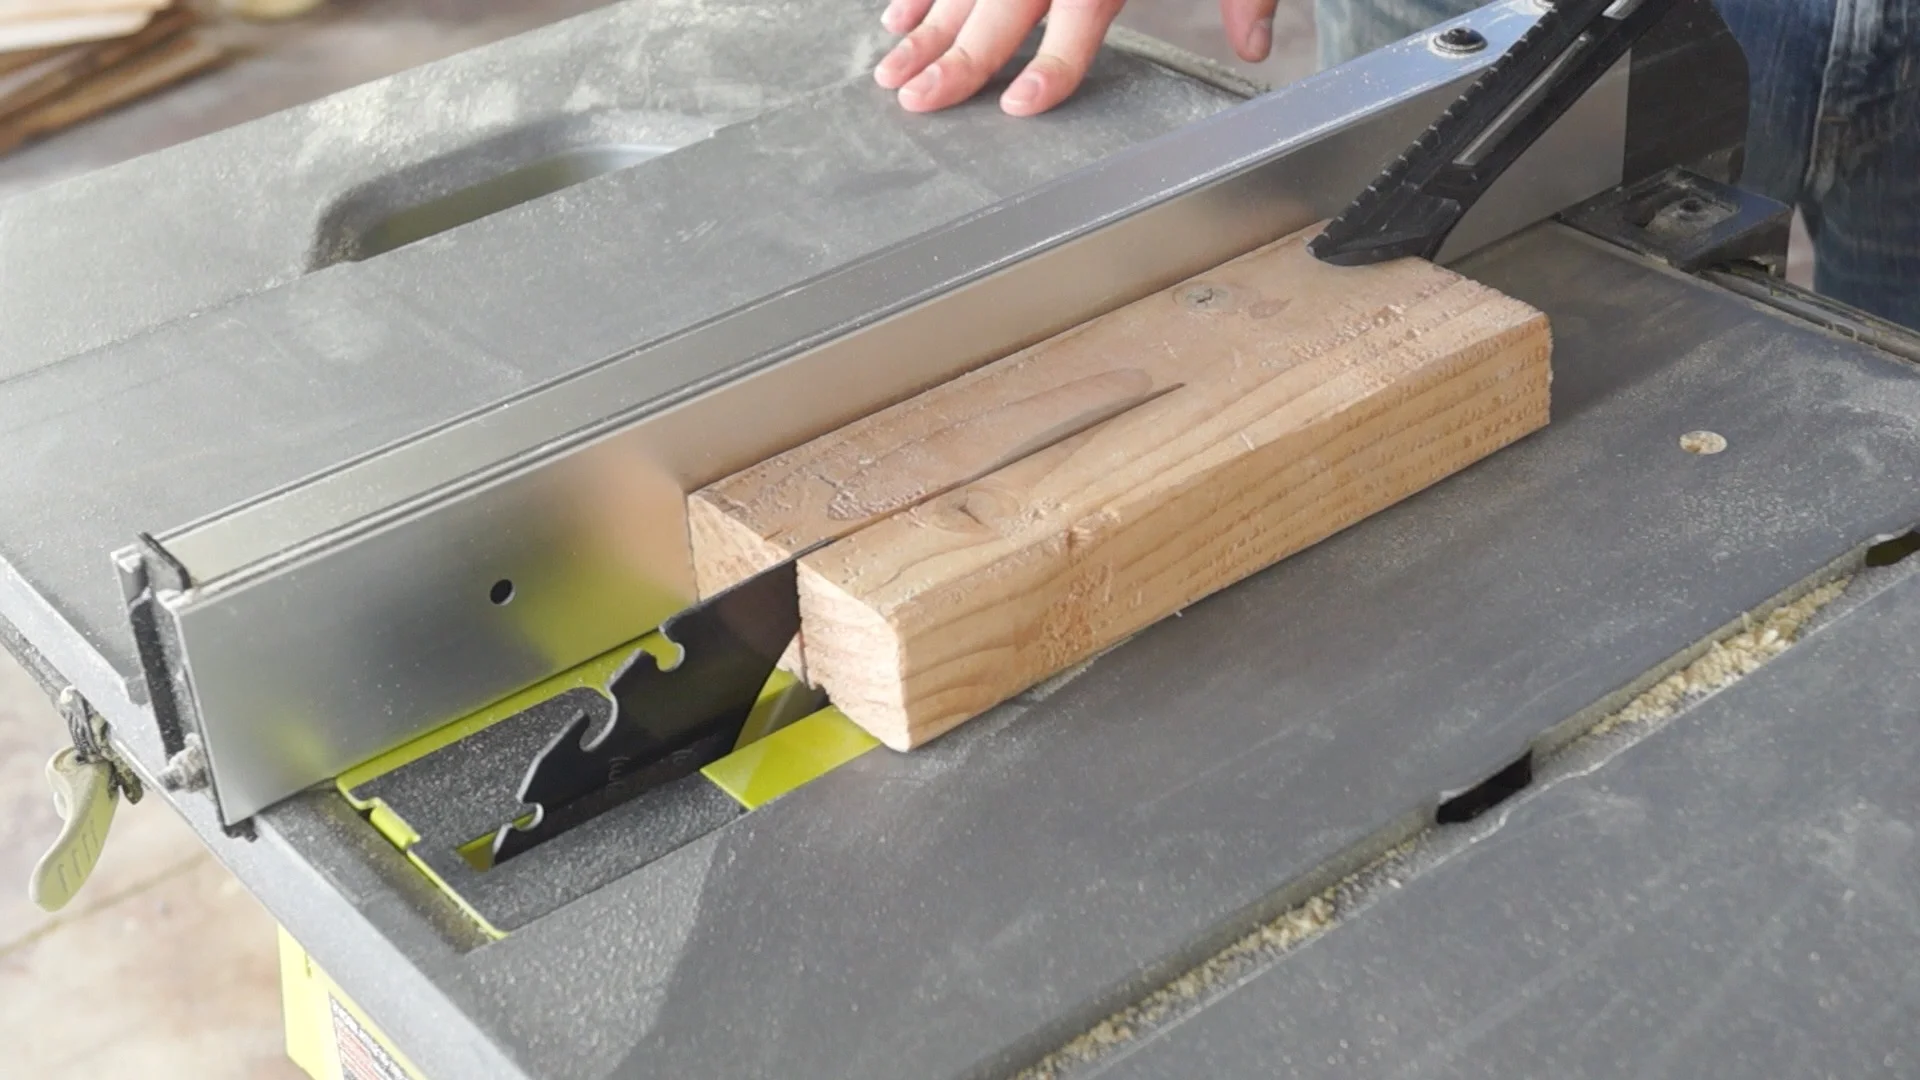
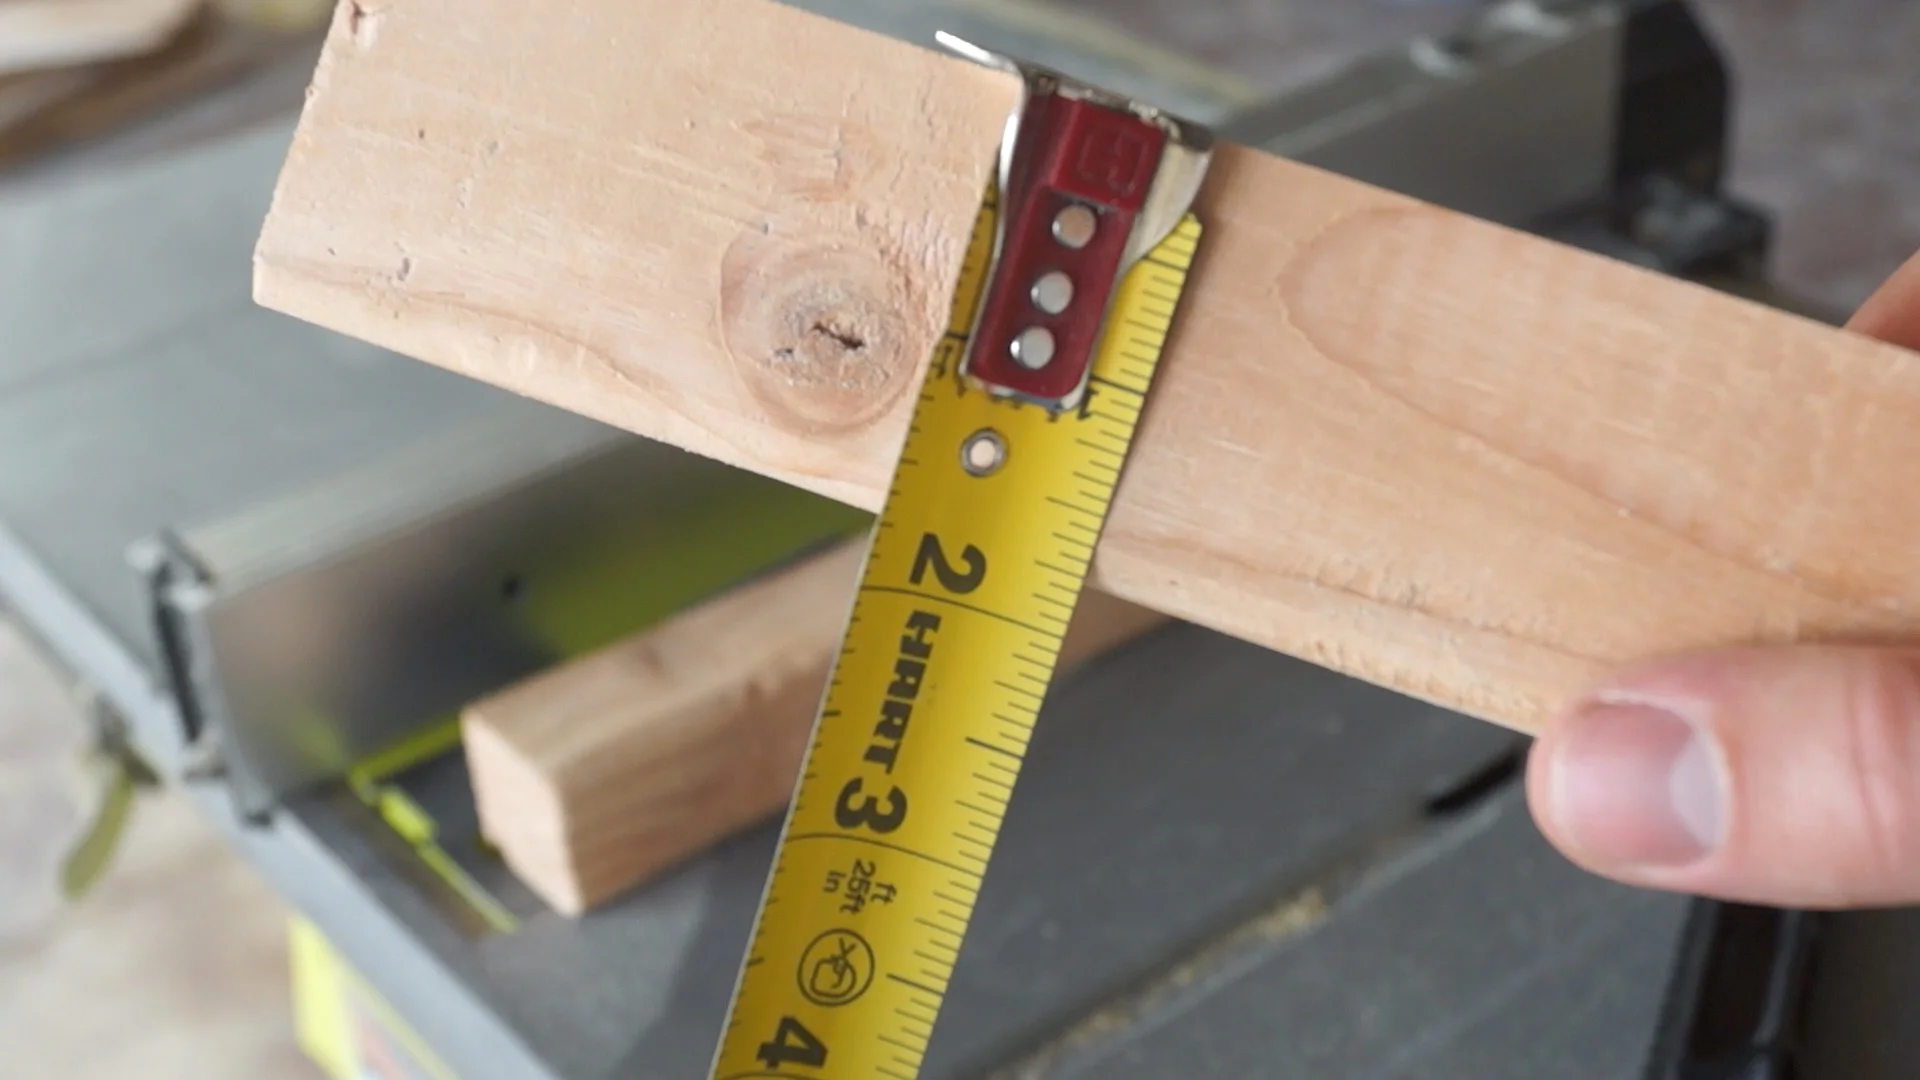
With the rail attached to the wall, It was time to attach the straps and casters to the door. A speed square will make installing it a lot easier. Along with a space block I cut to 1 13/16" on the table saw.
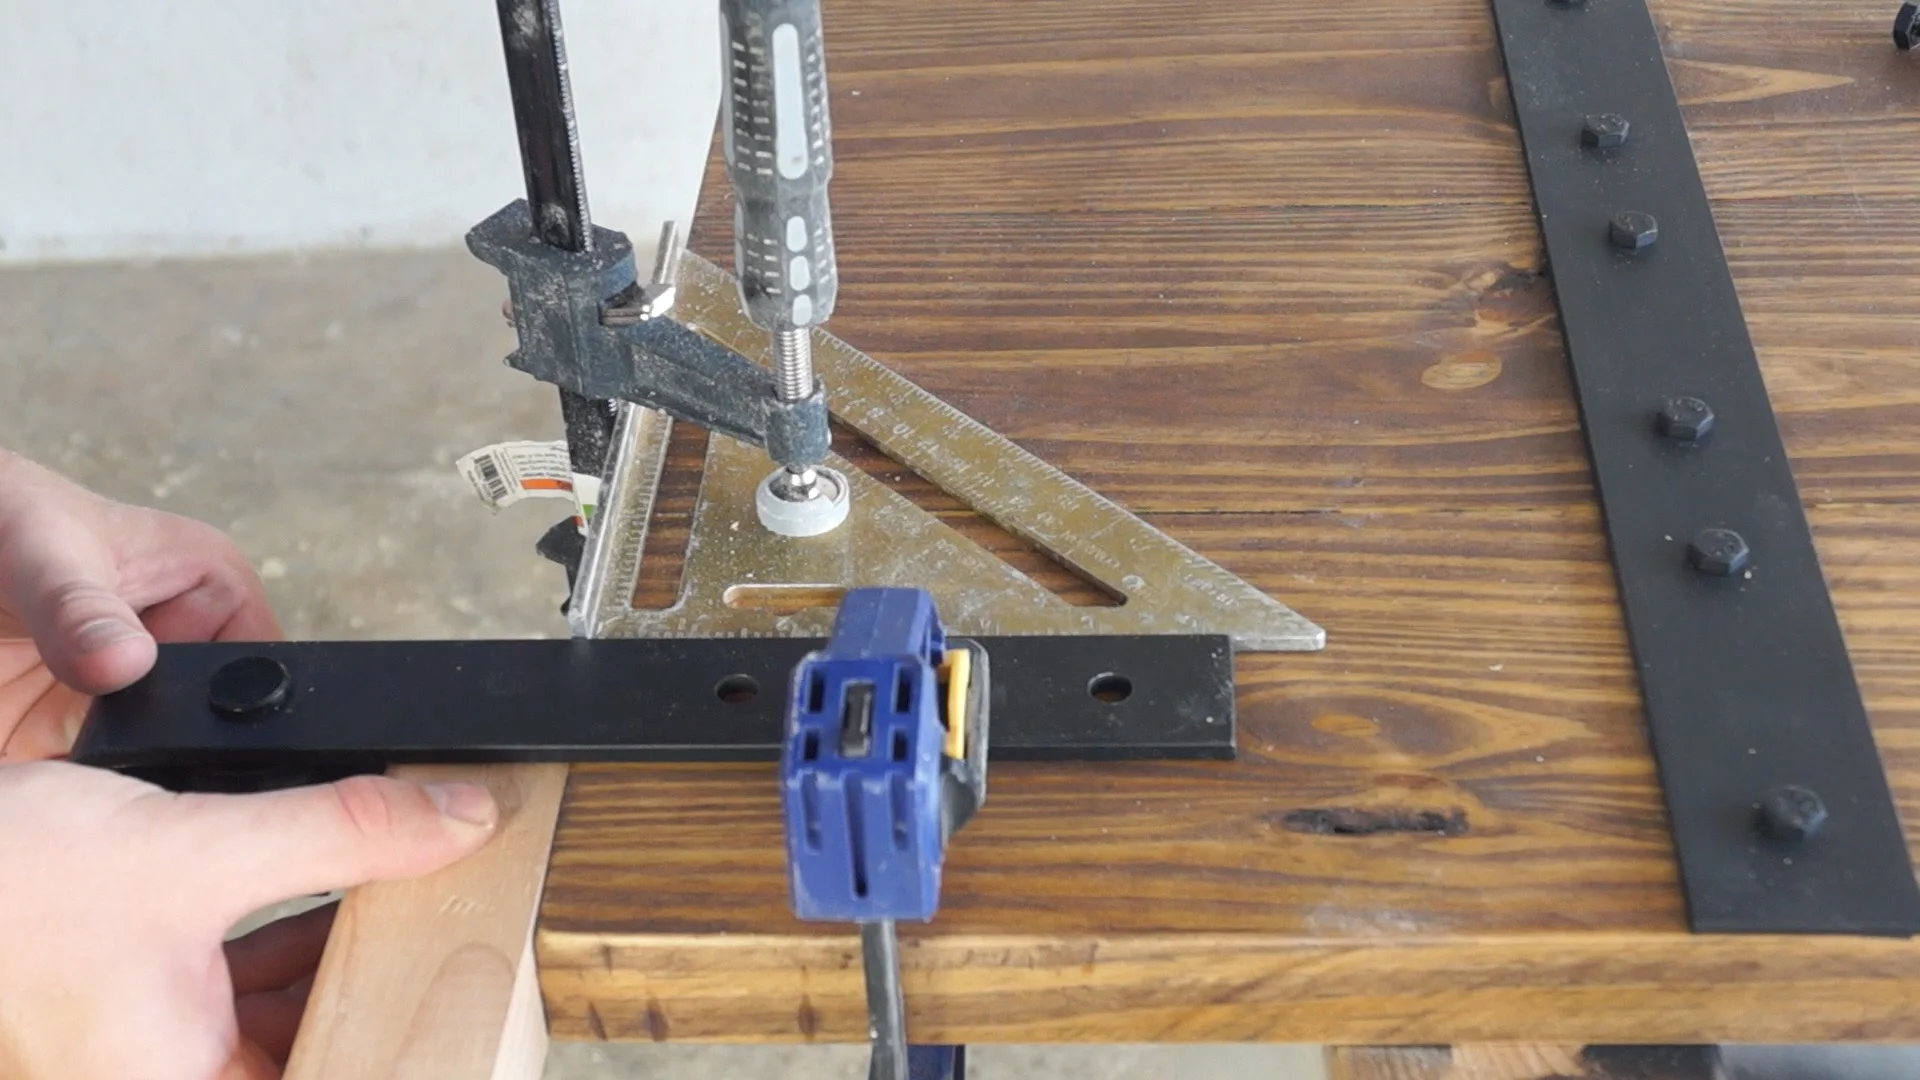
With everything square and lined up, I could install the bolts.
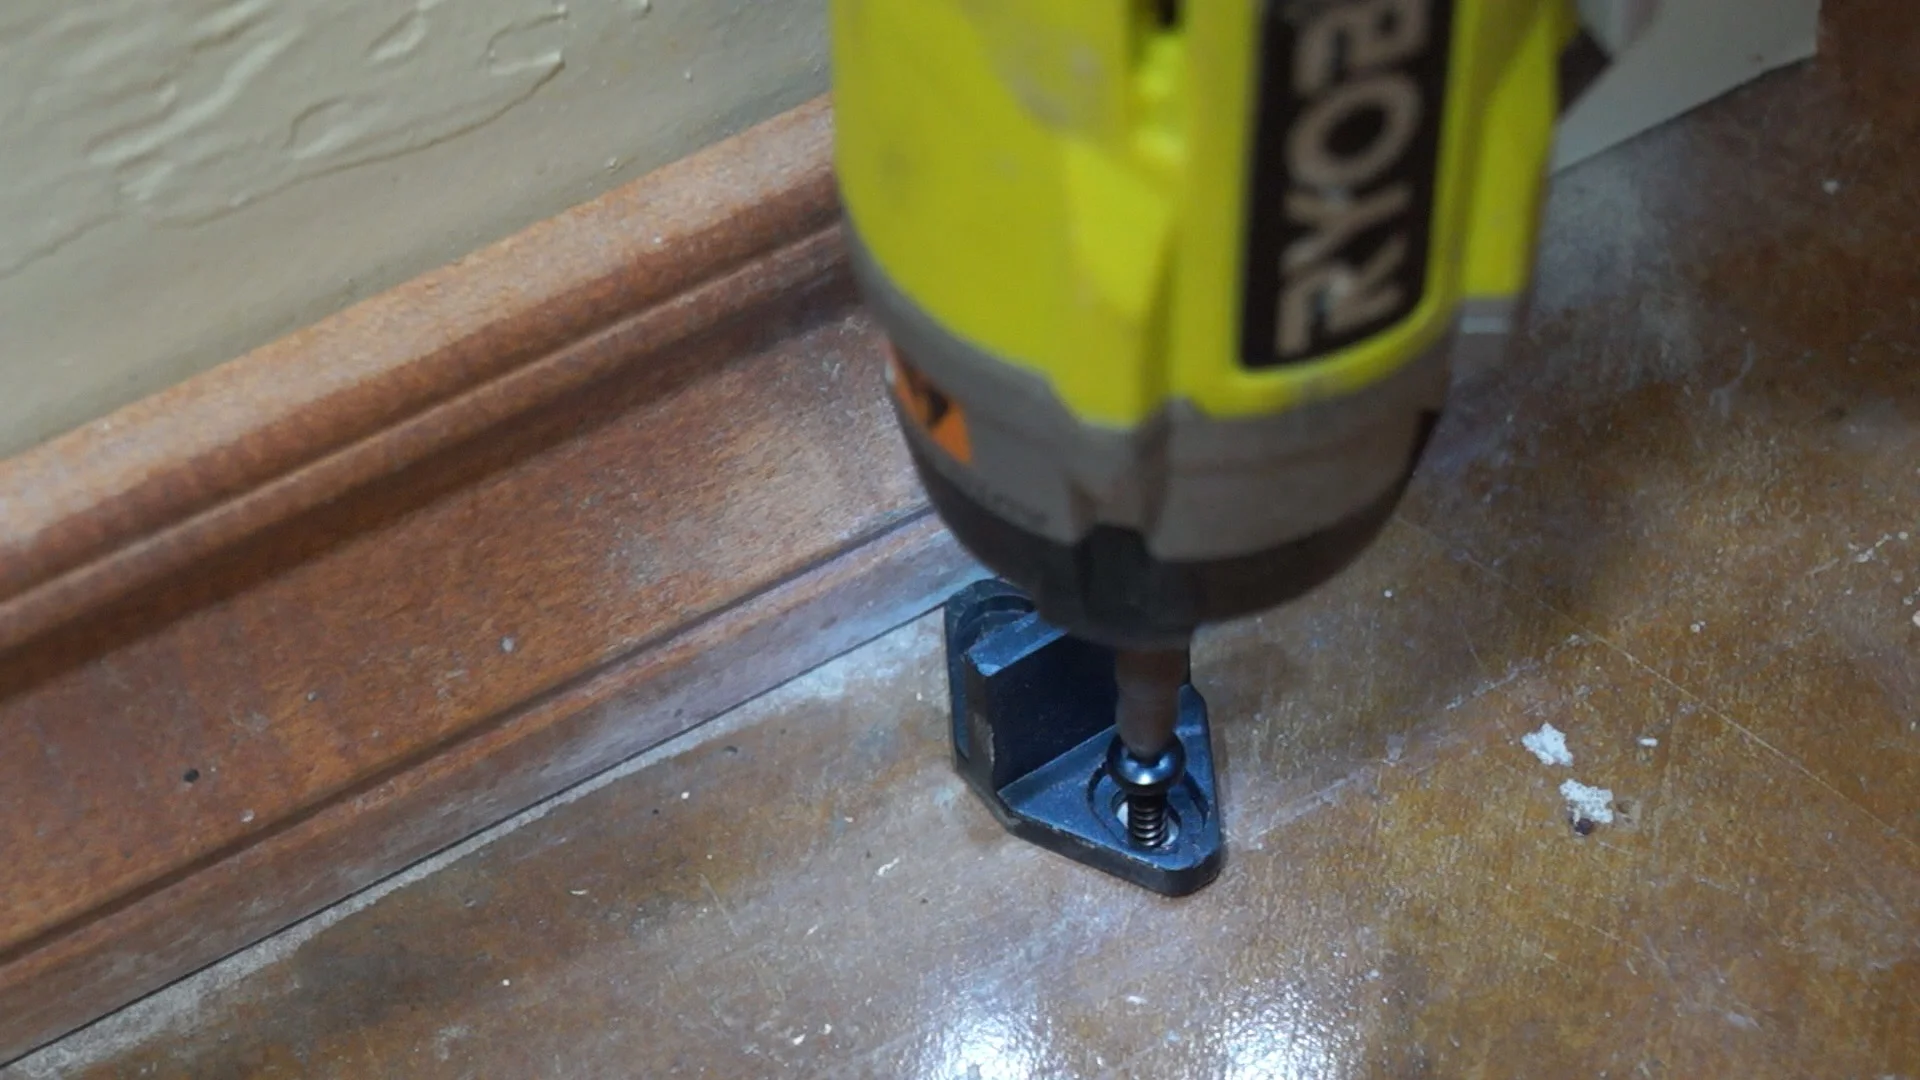
STEP TEN: DOOR STOPS
Next, I put the door on the rail and found where to put the door stops. They attach quickly with the included allen wrench.

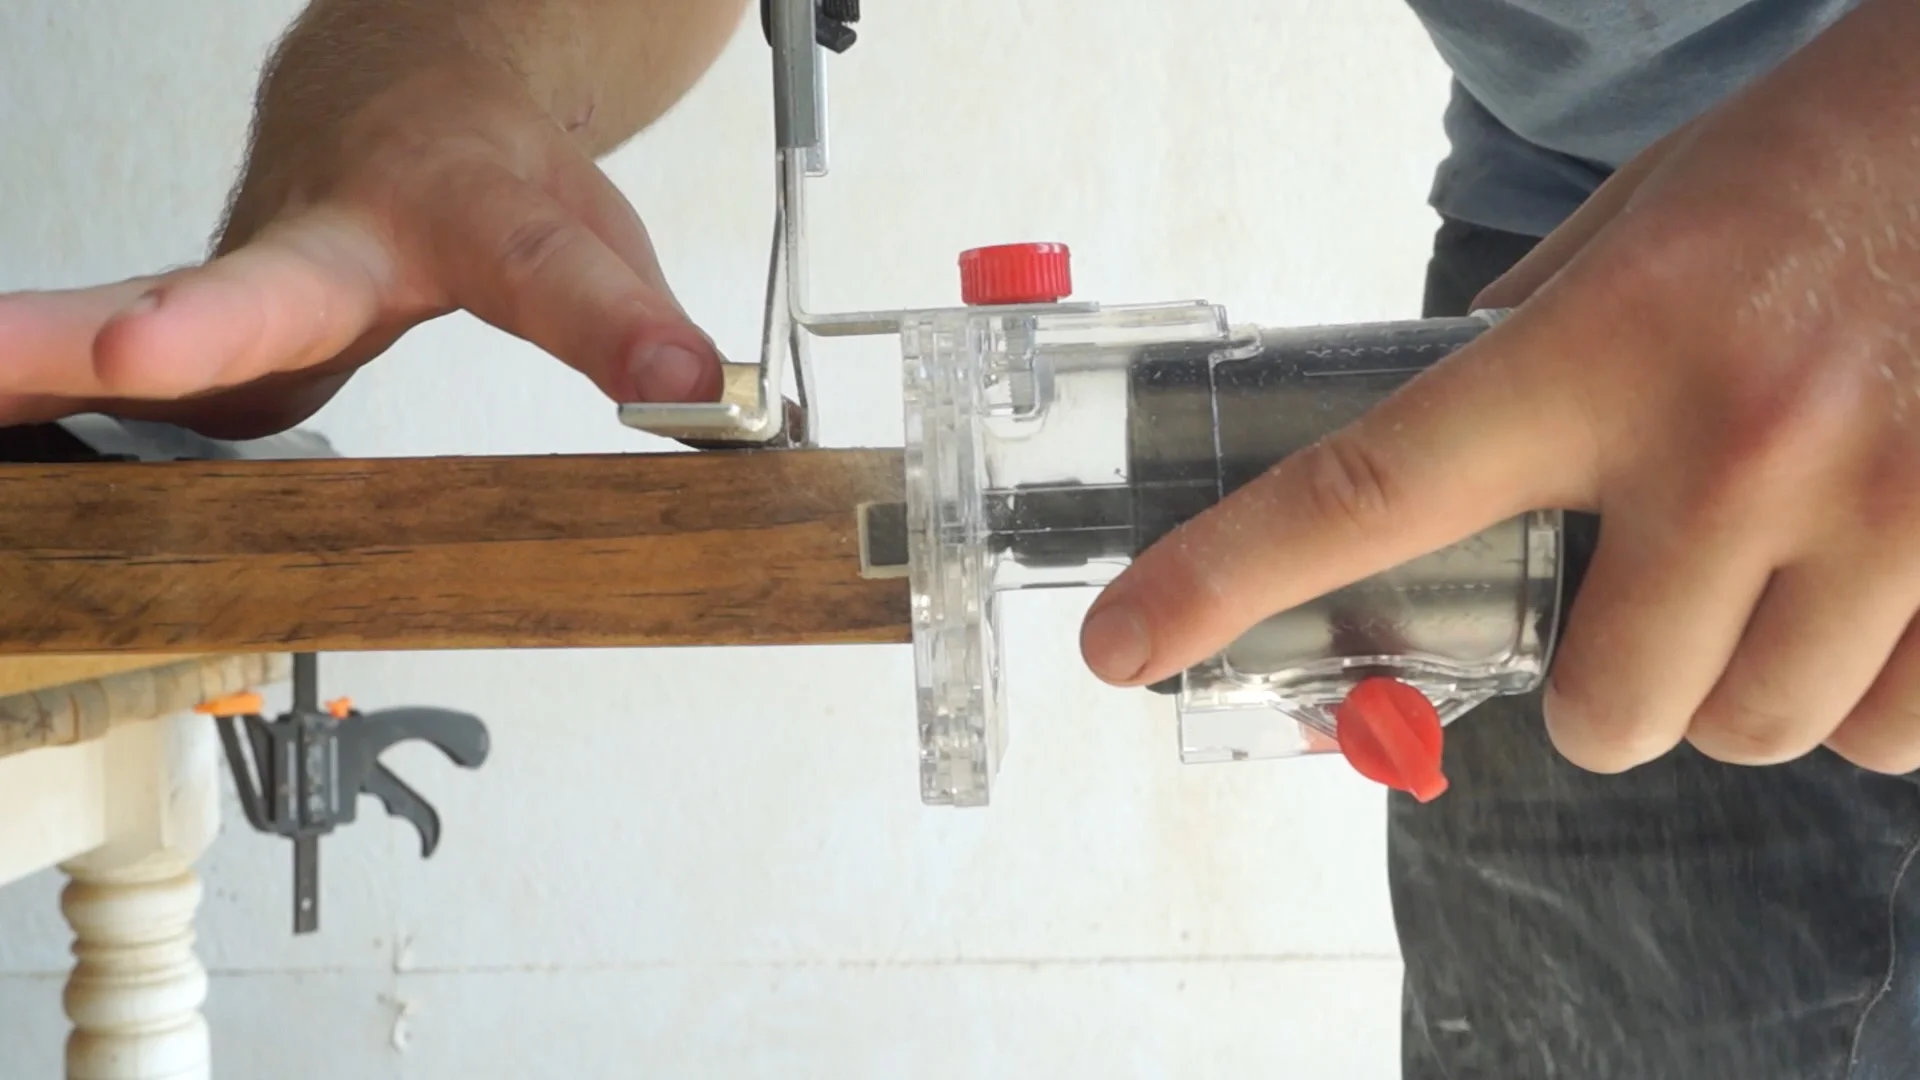
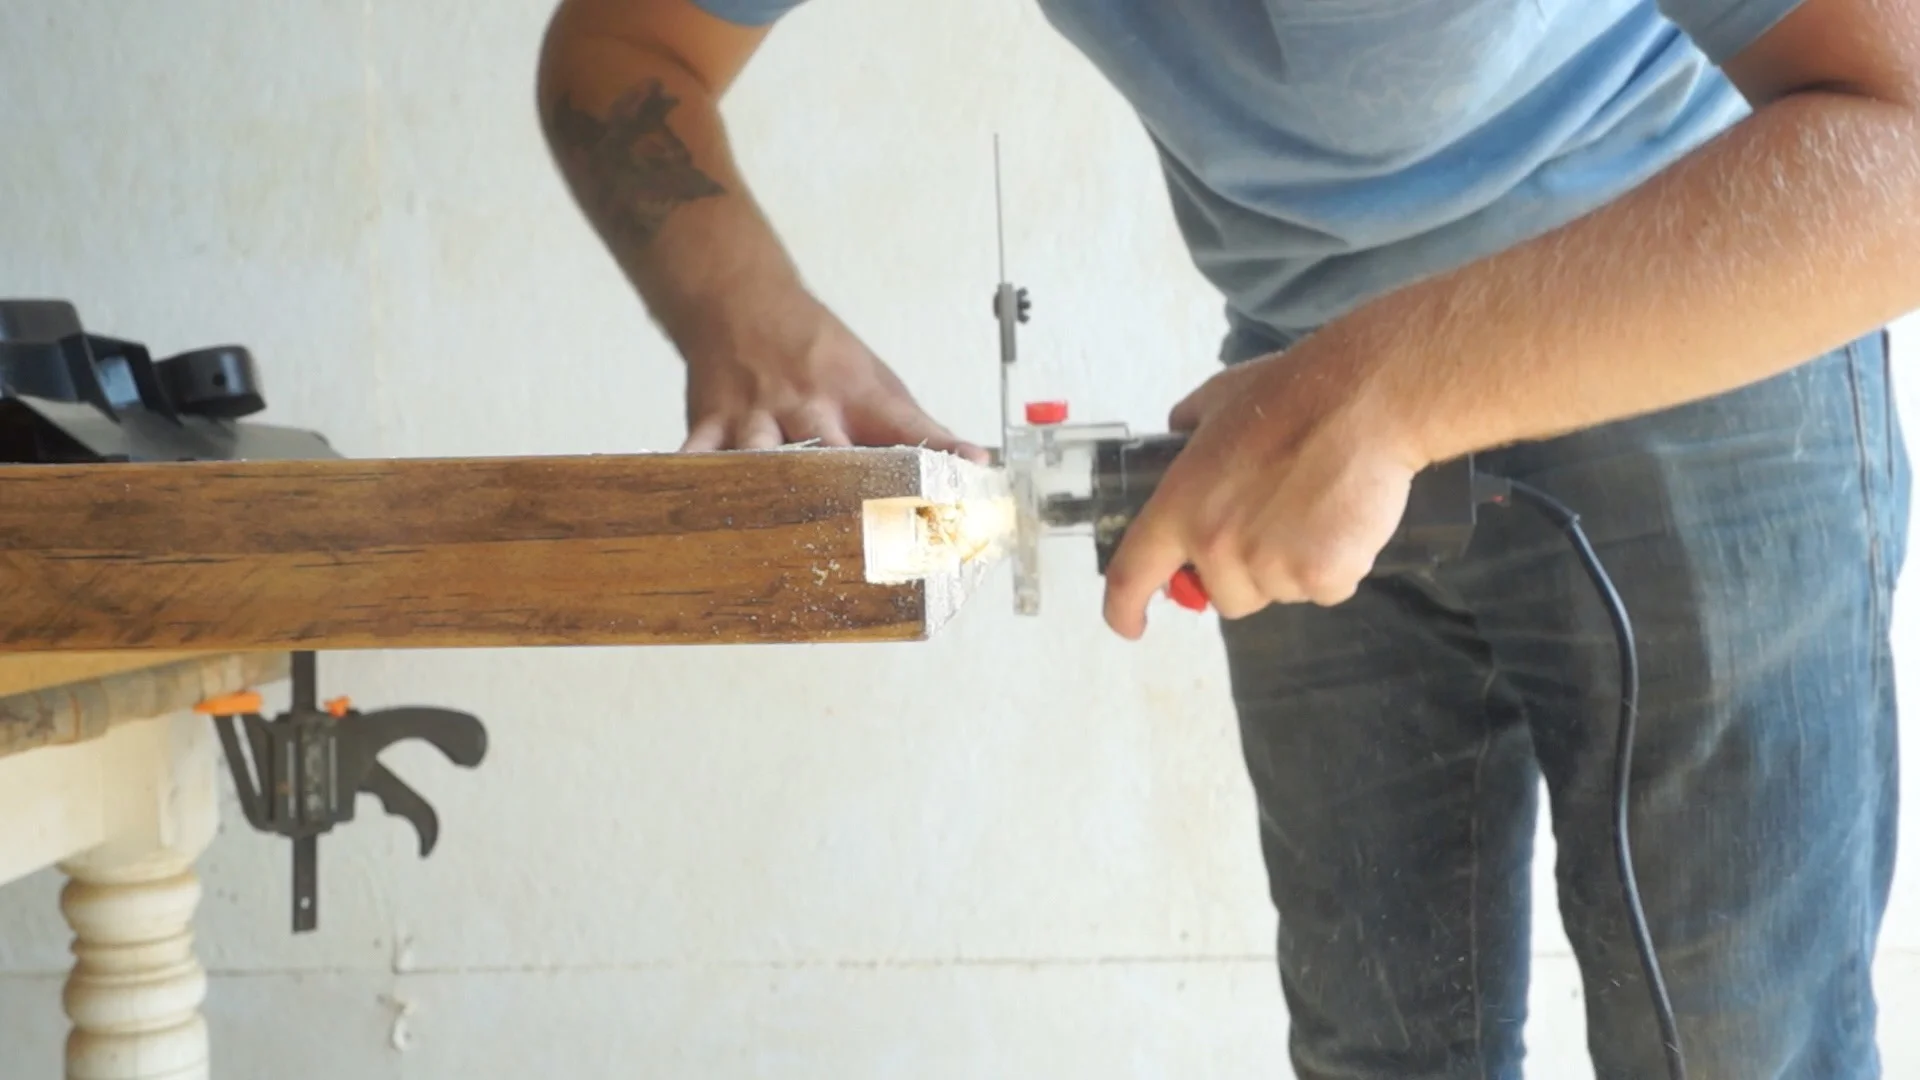
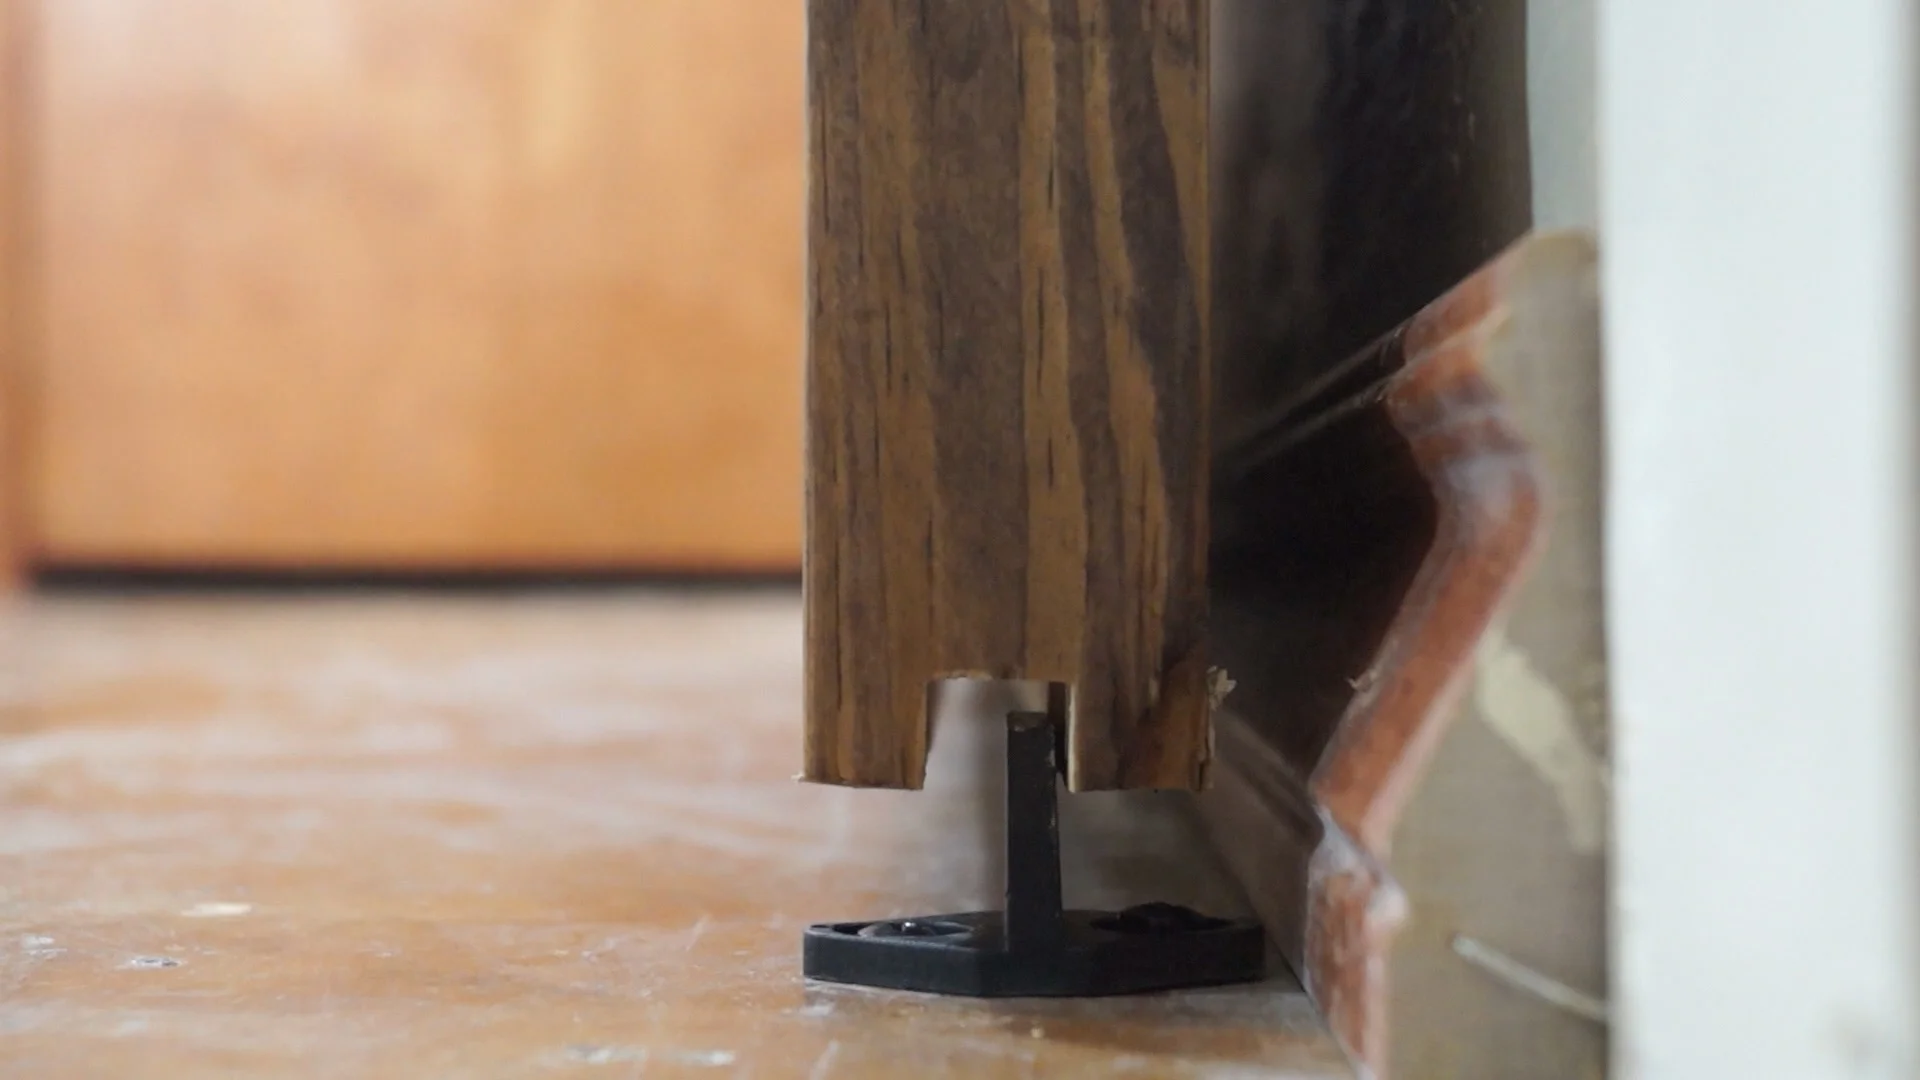
STEP ELEVEN: INSTALL THE FLOOR GUIDE
The floor guide rides in a groove I routed into the bottom of the door with a 1/2" straight bit and an edge guide.
STEP TWELVE: PLASTIC CAPS
The two plastic caps on the top of the door simply screw in and make it so that the door isn't able to fall of the rail accidentally.

That's all there is to it! I hope you enjoyed it and go out and make your own. If you do, don't forget to tag me in a picture of it!
MORE COOL PROJECTS


GET IN TOUCH