diy no-weld coffee table
modern builds: s.02 Ep.08

This project was a lot of fun. I've had the idea of wanting to make some sort of no-weld metal coffee table base since I saw David Picutto make one on his channel Make Something: https://goo.gl/J5qRgS He used a technique called aluminum brazing, which was cool, but from what I've heard a little messy and frustrating.
I was grabbing some round dowels for another project when I noticed Home Depot sold square wooden dowels... I assume for craft projects and what not. For some reason it sparked an idea, so I grabbed a piece of 3/4" square aluminum tubing and found that a 5/8" square dowel had a really nice friction fit. Of course it's easy to make your own out of scrap wood too.
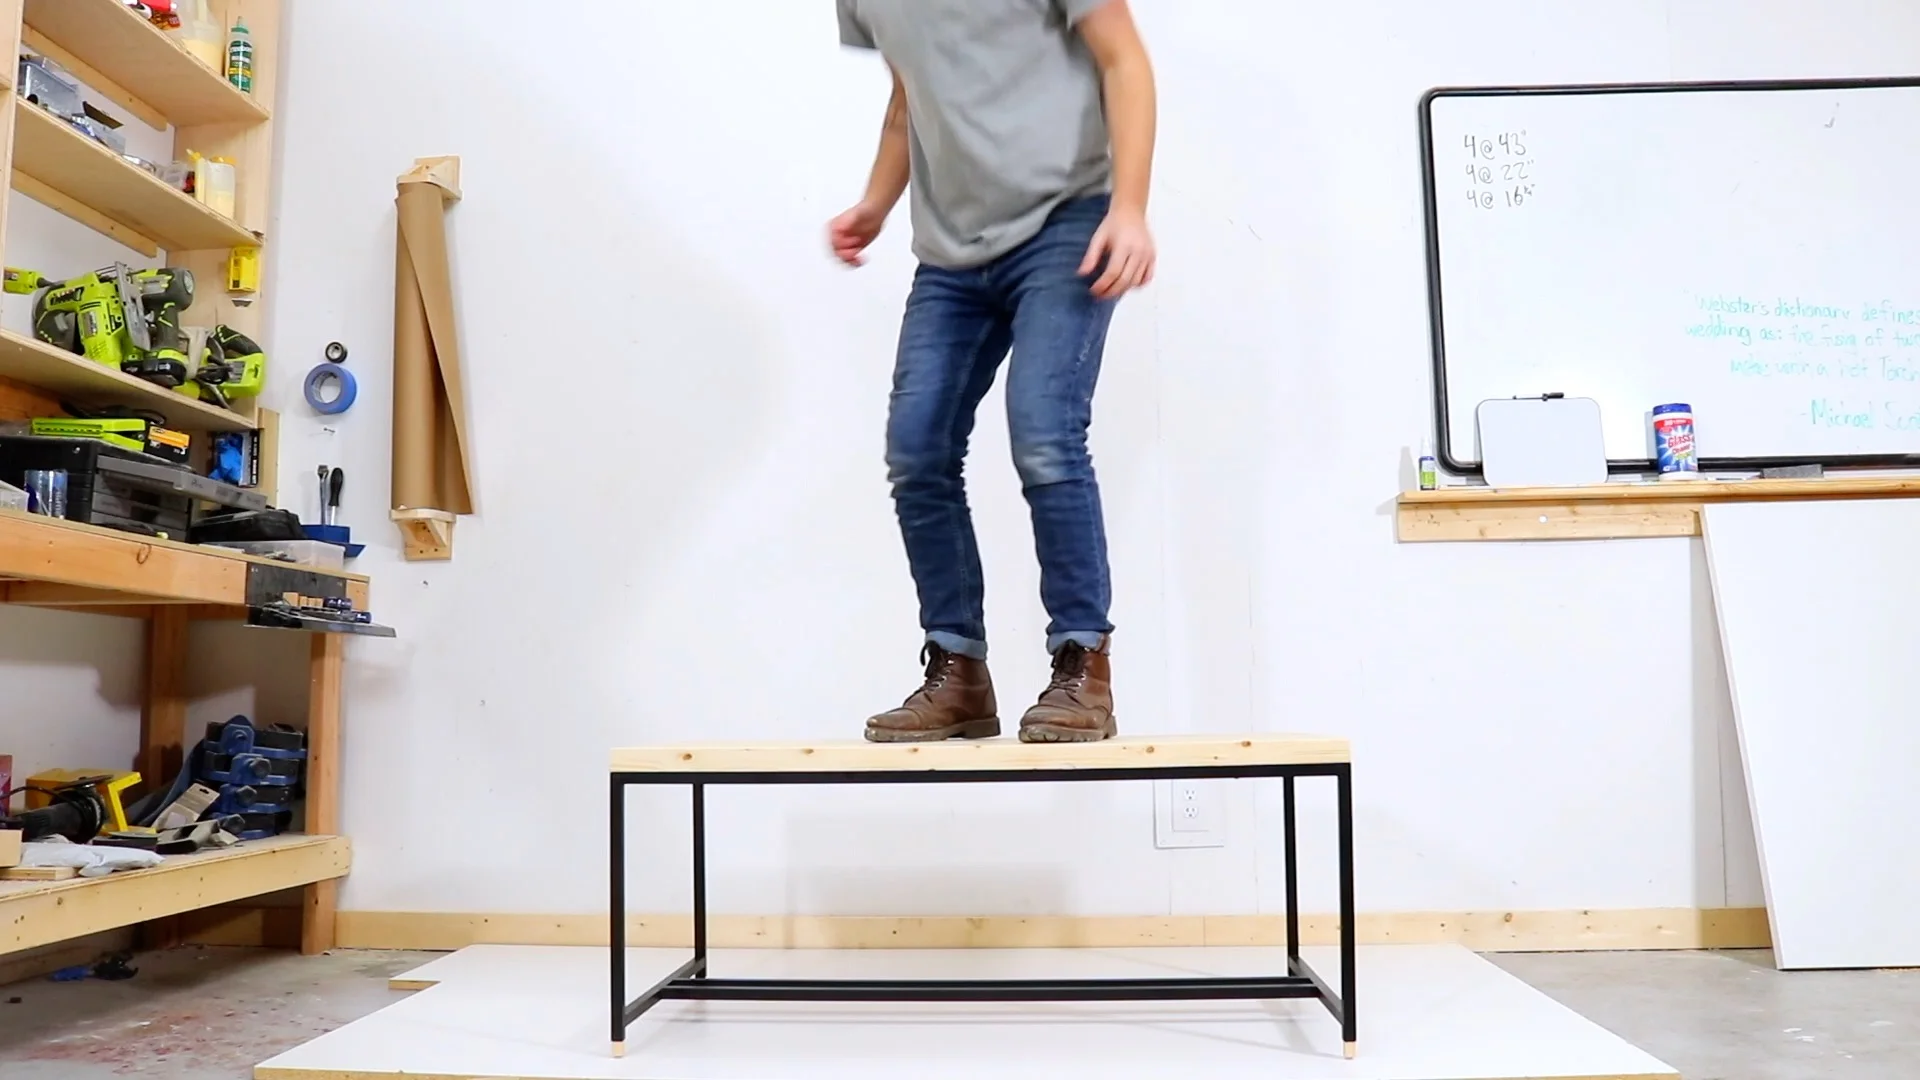
Overall, the base looks great and is definitely strong enough, but it's not as strong as steel. As I mentioned towards the end of the video, I think this is a great DIY solution, but I wouldn't feel comfortable selling this table. It has a bit of wobble, but is strong enough that I could jump on it (gently). Since building it, there are a couple of things I would do differently to strengthen the base. One idea would be to used metal, right angle brackets to reinforce each of the joints on the underside. Staggering the joints, like I did with the bottom two stretchers help too. That way there aren't two screws intersecting at the joint.
Materials and supplies:
- 3/4"Square Aluminum Tube: https://goo.gl/u6HqLP
- 5/8" Square Pine Dowels: https://goo.gl/6h4khm
- 10 - 8' Pine 1x4's
- 3/4" Angle Brackets: http://amzn.to/2FjiPrU
- Epoxy I Used: http://amzn.to/2CJywHj
- Wood Glue: http://amzn.to/2Fha9lF
- Flat Black Spray Paint: http://amzn.to/2CHbzUW
- Wood Finish: http://amzn.to/2qI1JAD


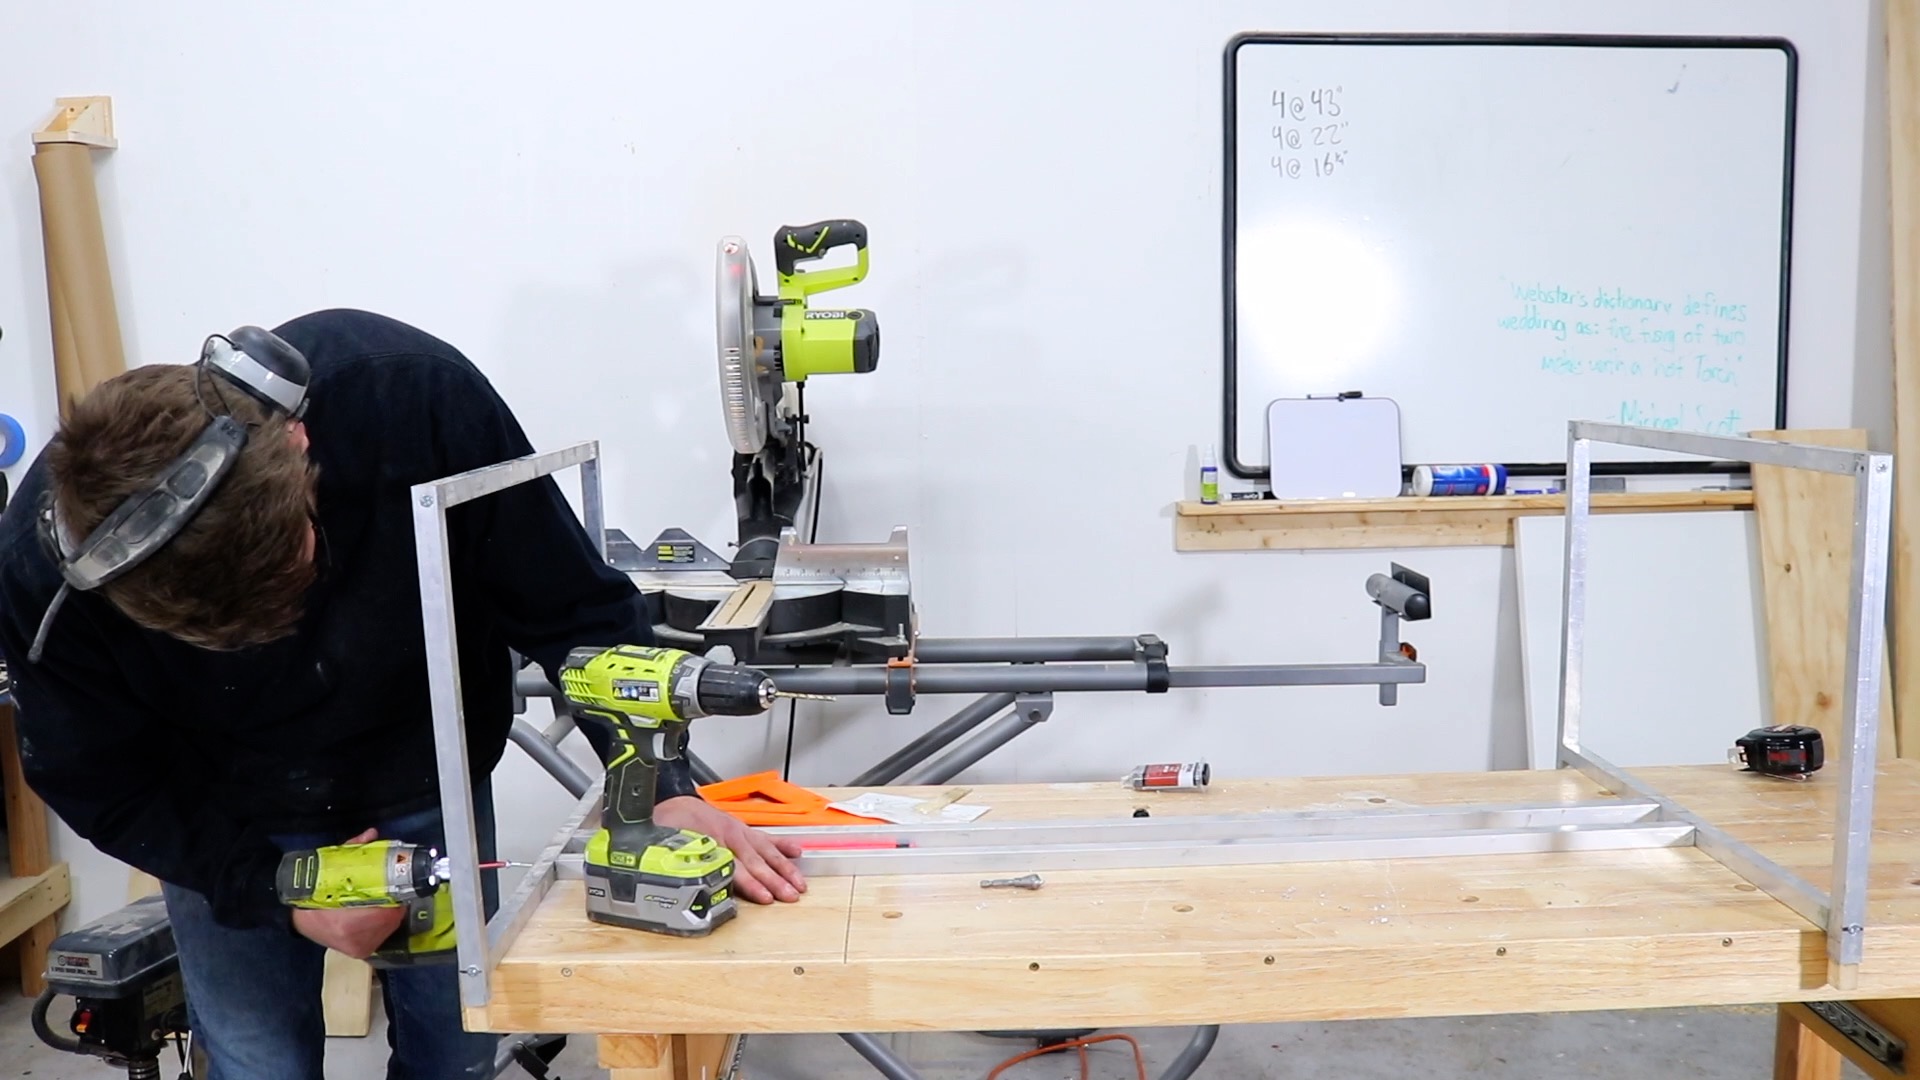
The beauty of aluminum is you can cut it with the same tools you use to cut wood. Aluminum is a lot softer than the metal in saw blades. Be sure, though, to cut a lot slower than you would with wood so that you get a clean cut.
The dowels had a pretty tight friction fit on their own, but I went ahead and added 5 minute epoxy to attach everything. I applied it to the dowels, then knocked them into the tubing with a rubber mallet. If I were to build this project again, I'd make it so that the dowels ra
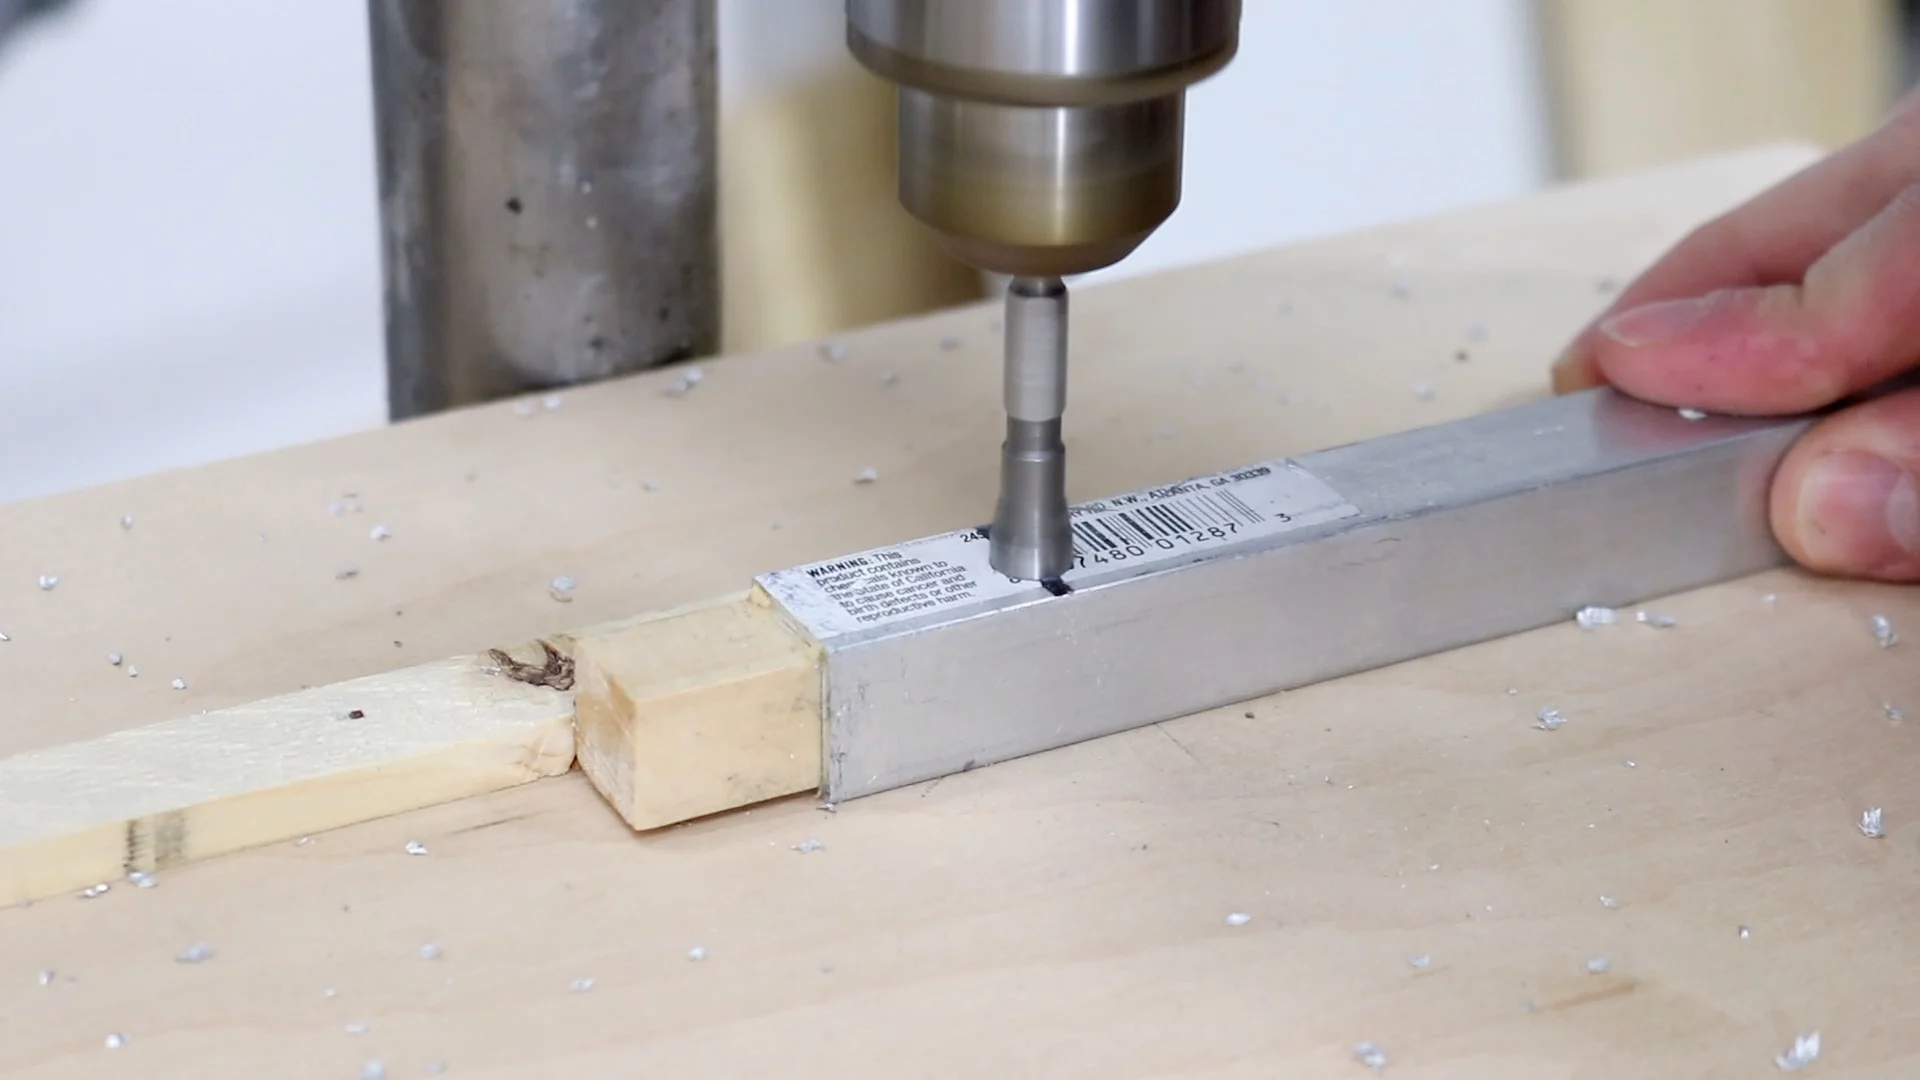
You could drill all the holes with a normal old drill, but I set up a quick fence and stop blocks on my drill press so that I had accurate, consistent holes that I knew were in the right place. After the holes were drilled I used a countersink bit so that the wood screws would sit flush with the rest of the aluminum.
I had this simple right-angle jig left over from my picture frame making video. I used it to make sure I attached everything square. After my two leg frames were assembled, I attached the four stretchers. I staggered my joints on the bottom stretchers to make the base stronger. In the top corners I have three pieces merging, which means I had two screws intersecting, and that definitely compromised the strength of the base, but I did it anyways... it just looked a little better.

I didn't have any bondo or metal putty in the shop, but I did have some wood filler laying around. To hide the screw heads and clean up my joints I slapped some on, then once it dried, I sanded the whole frame first with 150 grit, then 220 grit to prep it for paint.
I made sure to mask off the little wooden feet, then I painted the frame with five coats of flat black spray paint.
The table top is made up of cheap, pine 1x4's and cost about $15. I started by optionally running themthrough the planer to remove any cupping and to make sure they were all the same thickness. Then I quartered them by cutting them all in half on the miter saw, then I ripped them in half on my table saw.

I glued the table top in two halves for a couple reasons. One, it made everything a little less stressful. Each half was about 20 individual pieces, so I was definitely rushing to get everything in place before the glue started to set.
Secondly, this allowed me to run the two halves through the thickness planer after the glue dried to clean them up before glueing the two halves together.
I made sure to make the rough glue up oversize enough that I could use my circular saw and straight edge to cut it to its final dimensions.
After that I sanded the table top to 220 Grit and applied three coats of Minwax Polycrylic in Matte finish.


If you have any questions or find any issues with the article, feel free to get in touch.
more cool projects: