INDUSTRIAL METAL & WOOD DINING TABLE W/ MATCHING BENCHES
modern builds: s.02 Ep.14

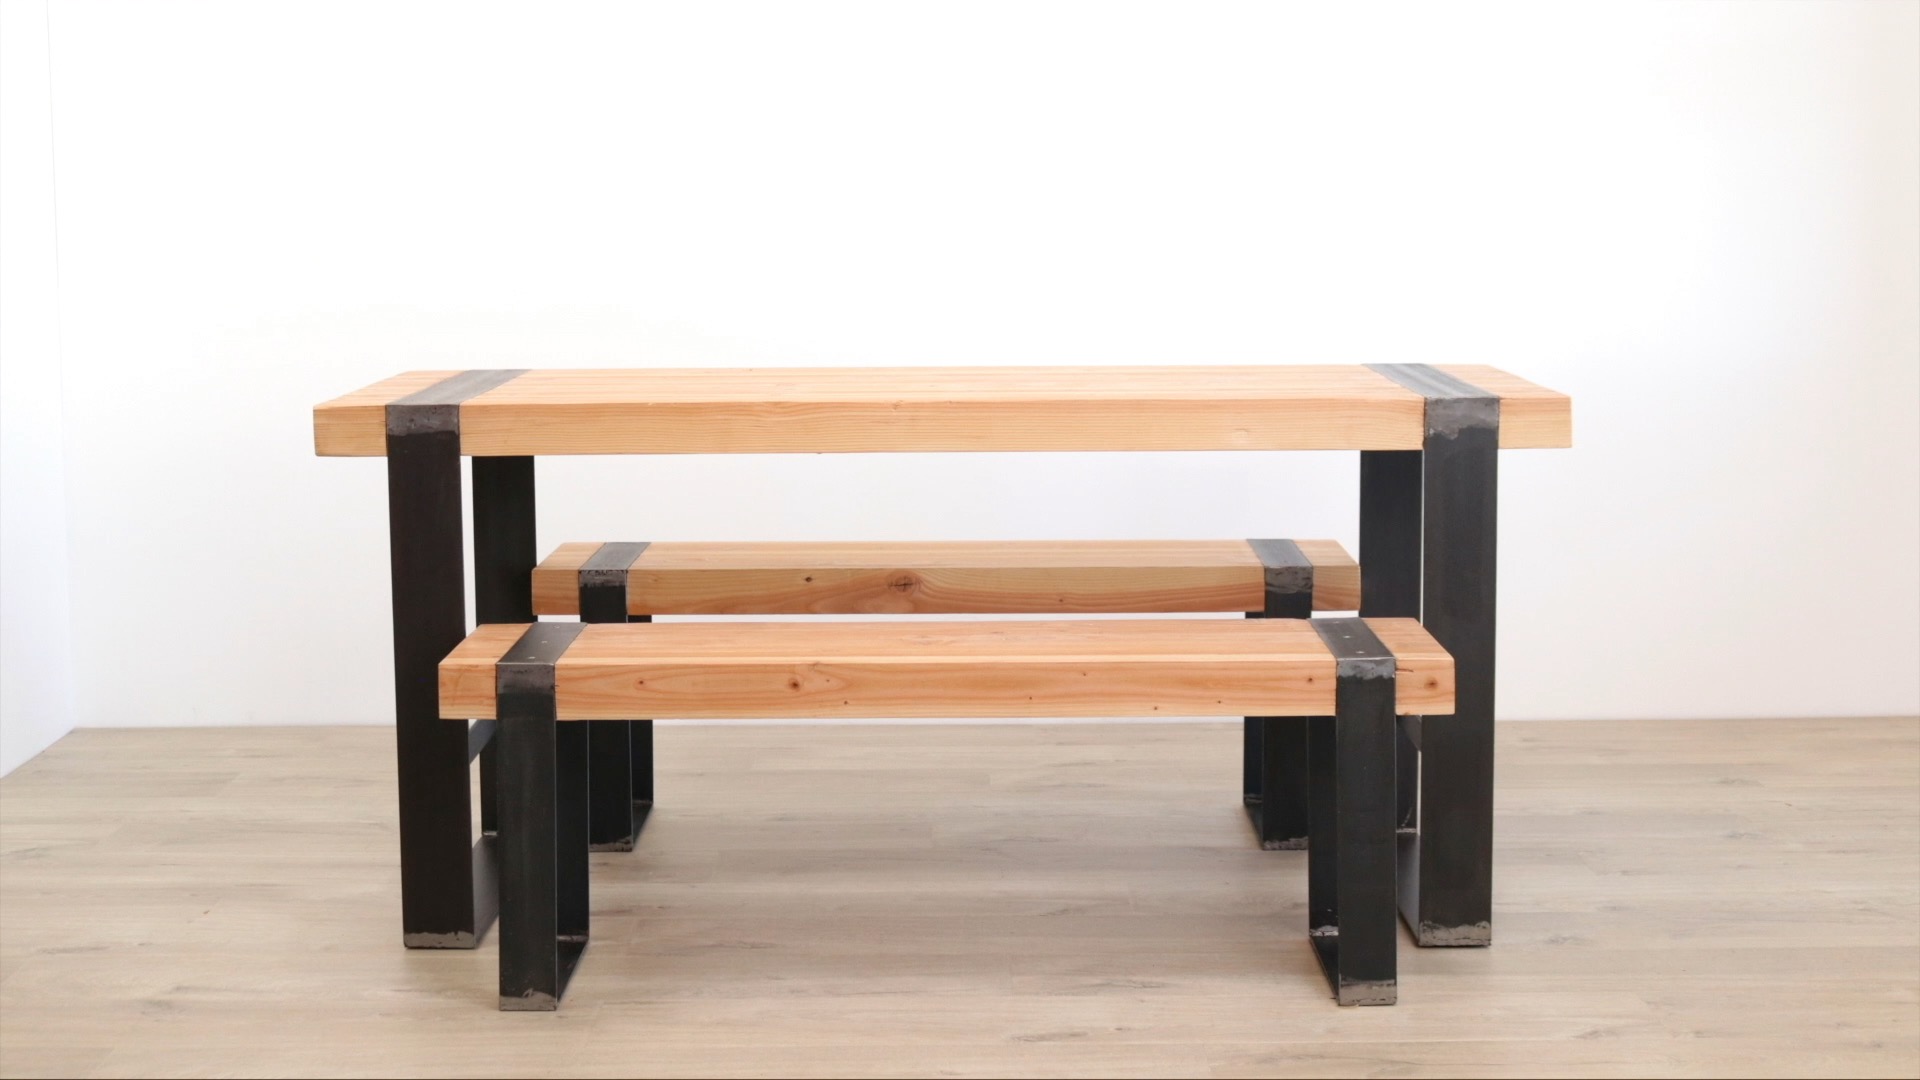
Metal and wood is a classic combo, and everybody loves a good dining set with benches to go along with it. I recently visited the local joshua tree steel yard to find 1/4" hot rolled steel in varying sizes. I started sketching and came up with this industrial set with square frame legs. The table used 4" wide steel and the benches use 3" wide steel. I glued up 2x4's for the table and bench tops and made a recess to that the steel sits flush with the wood on the top and sides.
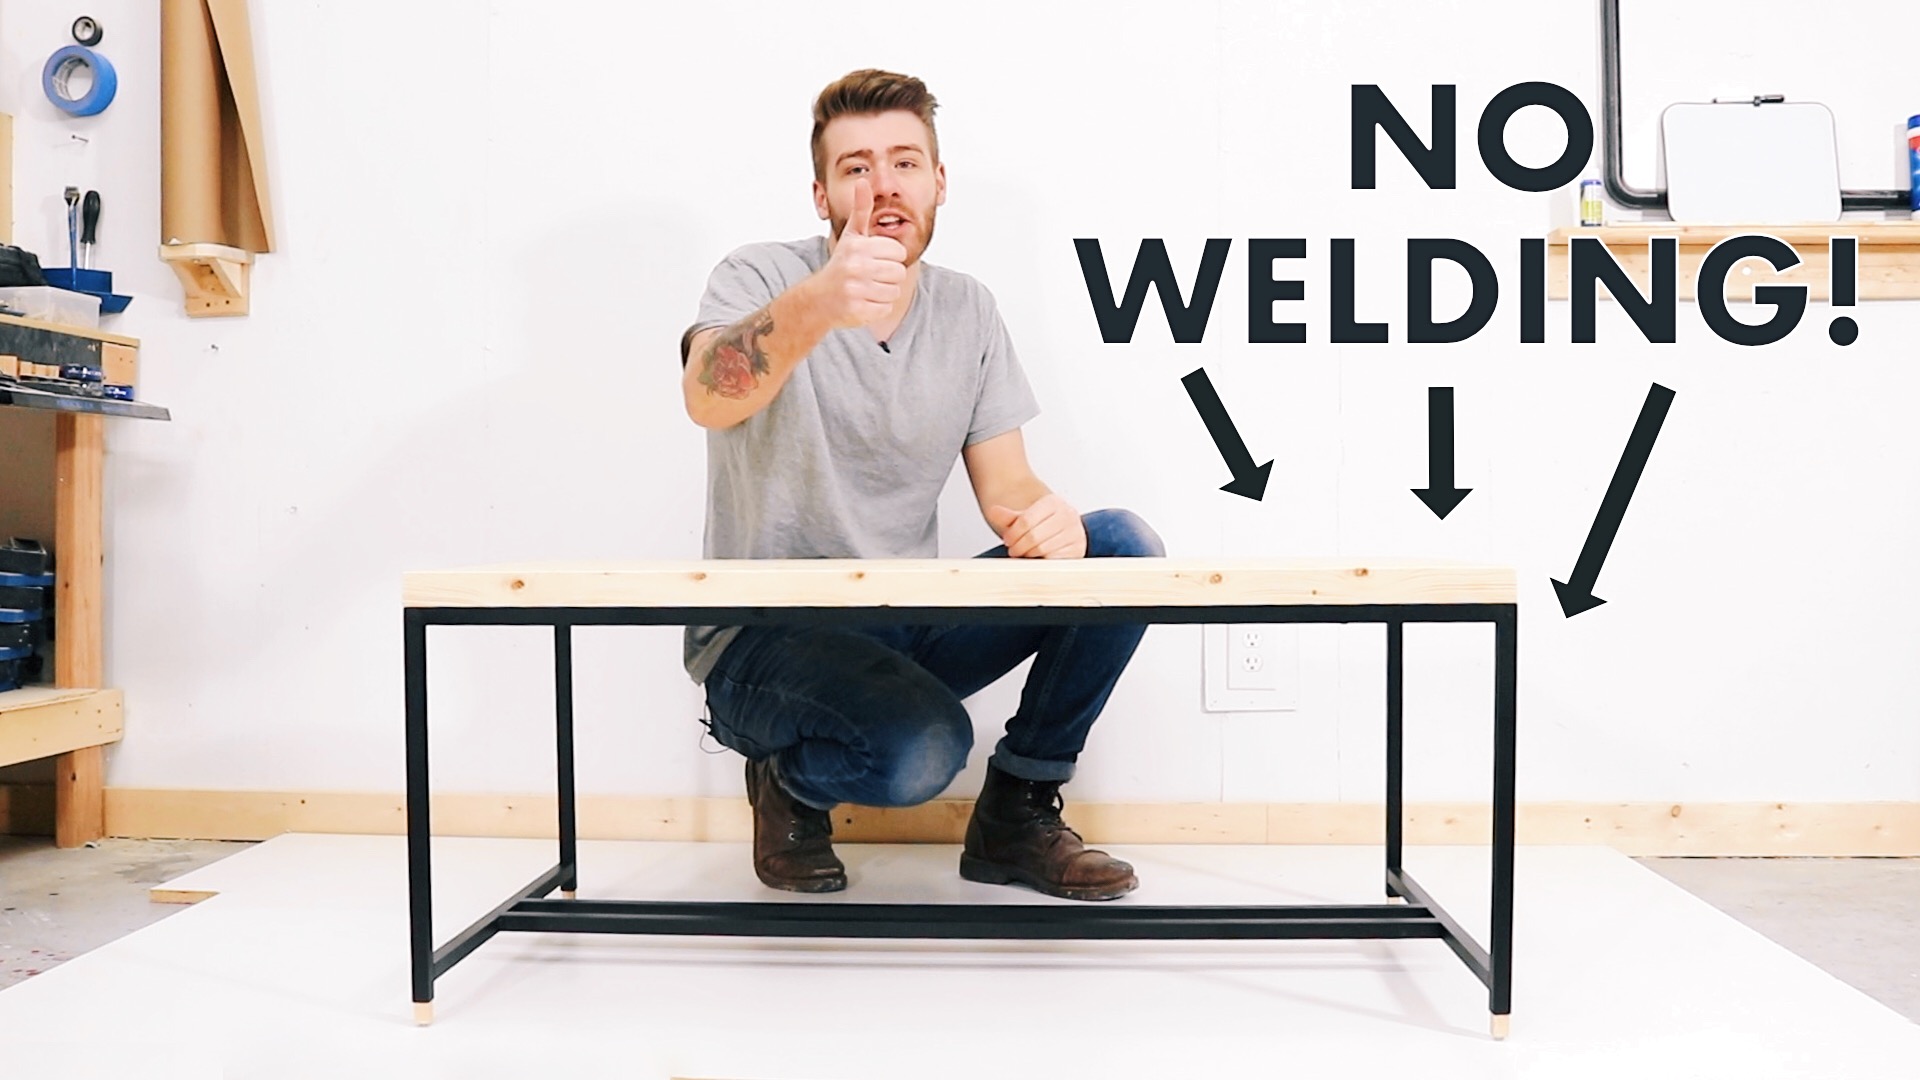
Overall, I'm really happy with this piece. My welds aren't beautiful, so I had to grind them down. After grinding them, I liked the contrast between the rough ground steel and the dark, untouched metal. I decided not to sand them or polish them further to maintain the industrial look.
The sketchup file for this project is shown below along with a cut list: Good luck building and don't forget to share it if you build it. tag @modernbuilds on Instagram.
Materials and supplies
2x4's
4" x 1/4" Hot Rolled Steel - For Table
3" x 1/4" Hot Rolled Steel - For Benches
2" x 1/4" Hot Rolled Steel - For Table Support
Wood Glue: https://amzn.to/2Jpof6I
Clear Coat: https://amzn.to/2uLJ8pe
Cut List:
2x4's :
16 @ 6' for table top
16 @ 4.5' for benches
4" Wide Steel:
4 @ 24"
4 @ 29.5"
3" Wide Steel:
8 @ 12"
8 @ 17.5"
2" Wide Steel:
2 @ 23.5"
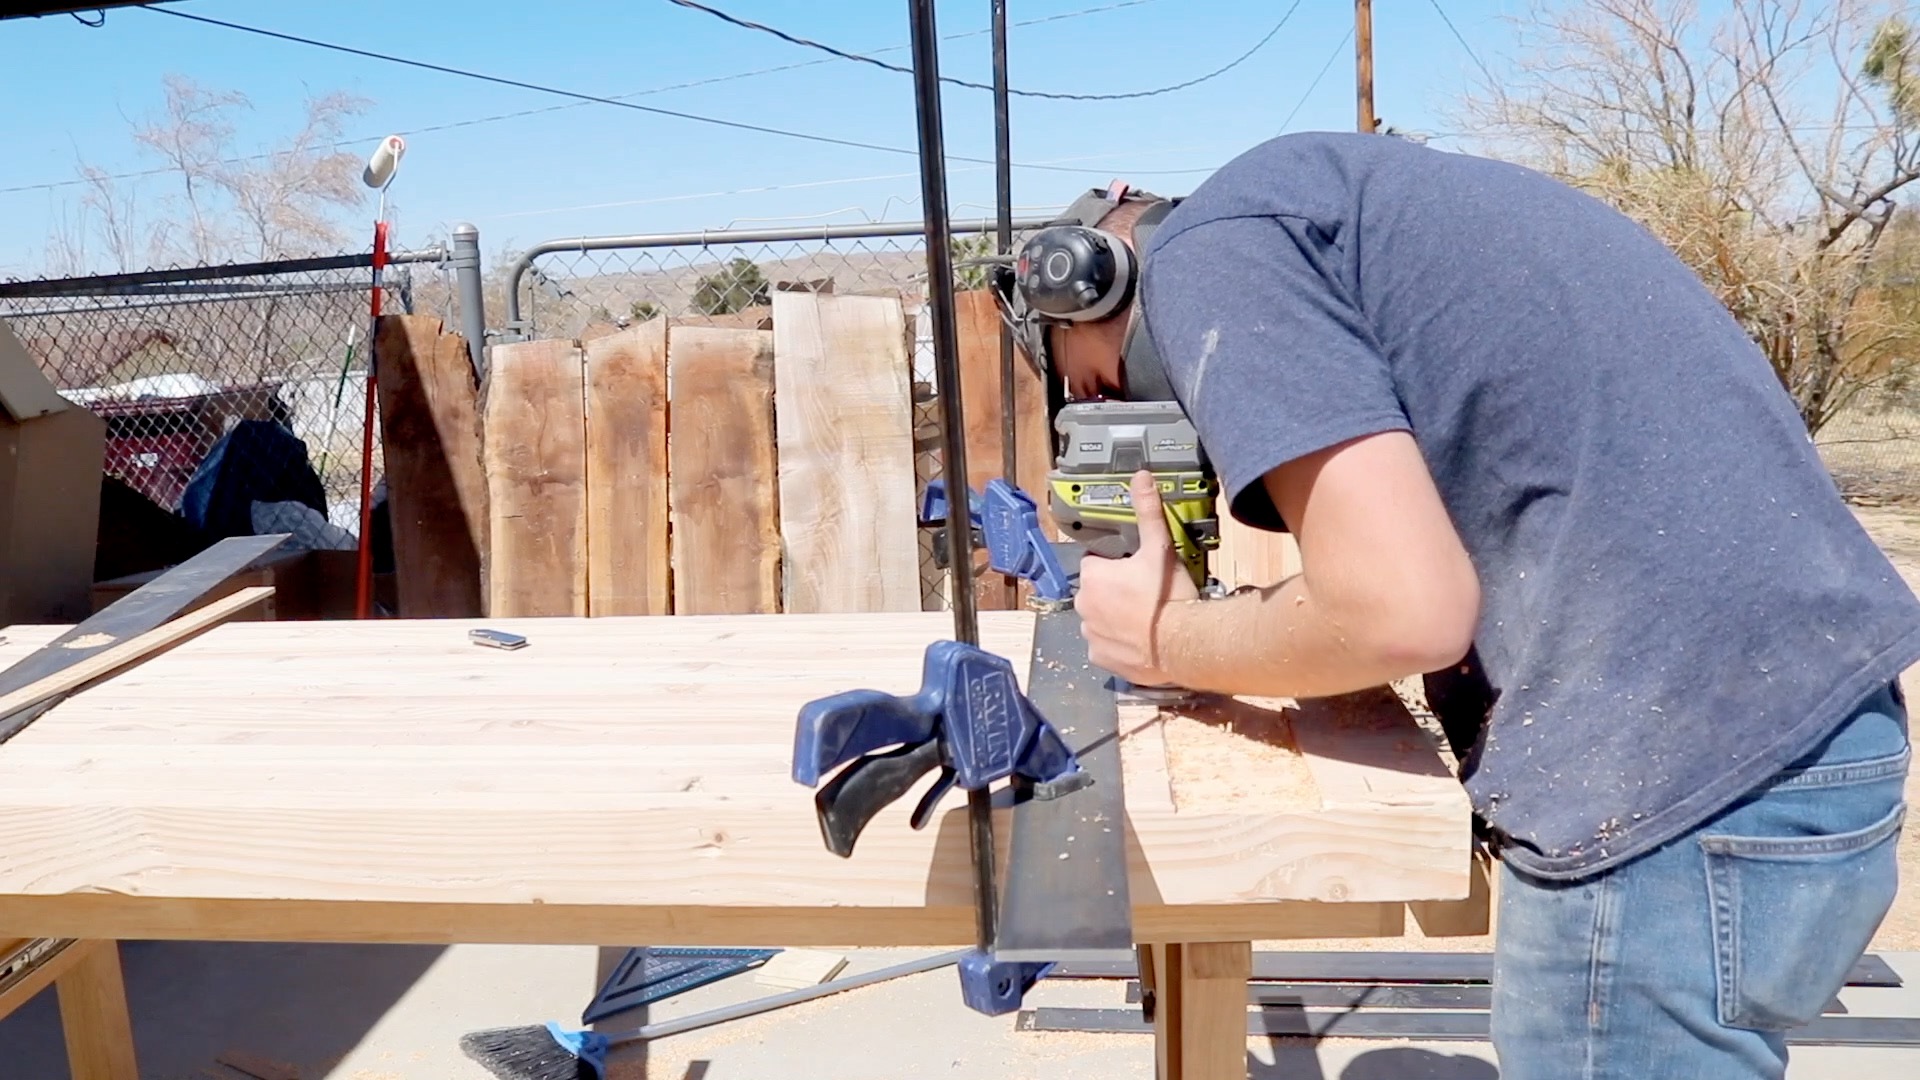
I started by cutting all of my 2x4's to rough length. I'll be trimming all of the glue ups to their exact length later on. A stop block will help speed this up.

If you're using 2x4's for furniture, it goes a long way to remove the rounded edges. There's a lot of ways to do it: A table saw, a planer, or in this case; an electric handheld planer. I set it to 1/8" per pass and took two passes from each edge. This gave me a clean, square edge that will be much easier to clean up after the glue up.

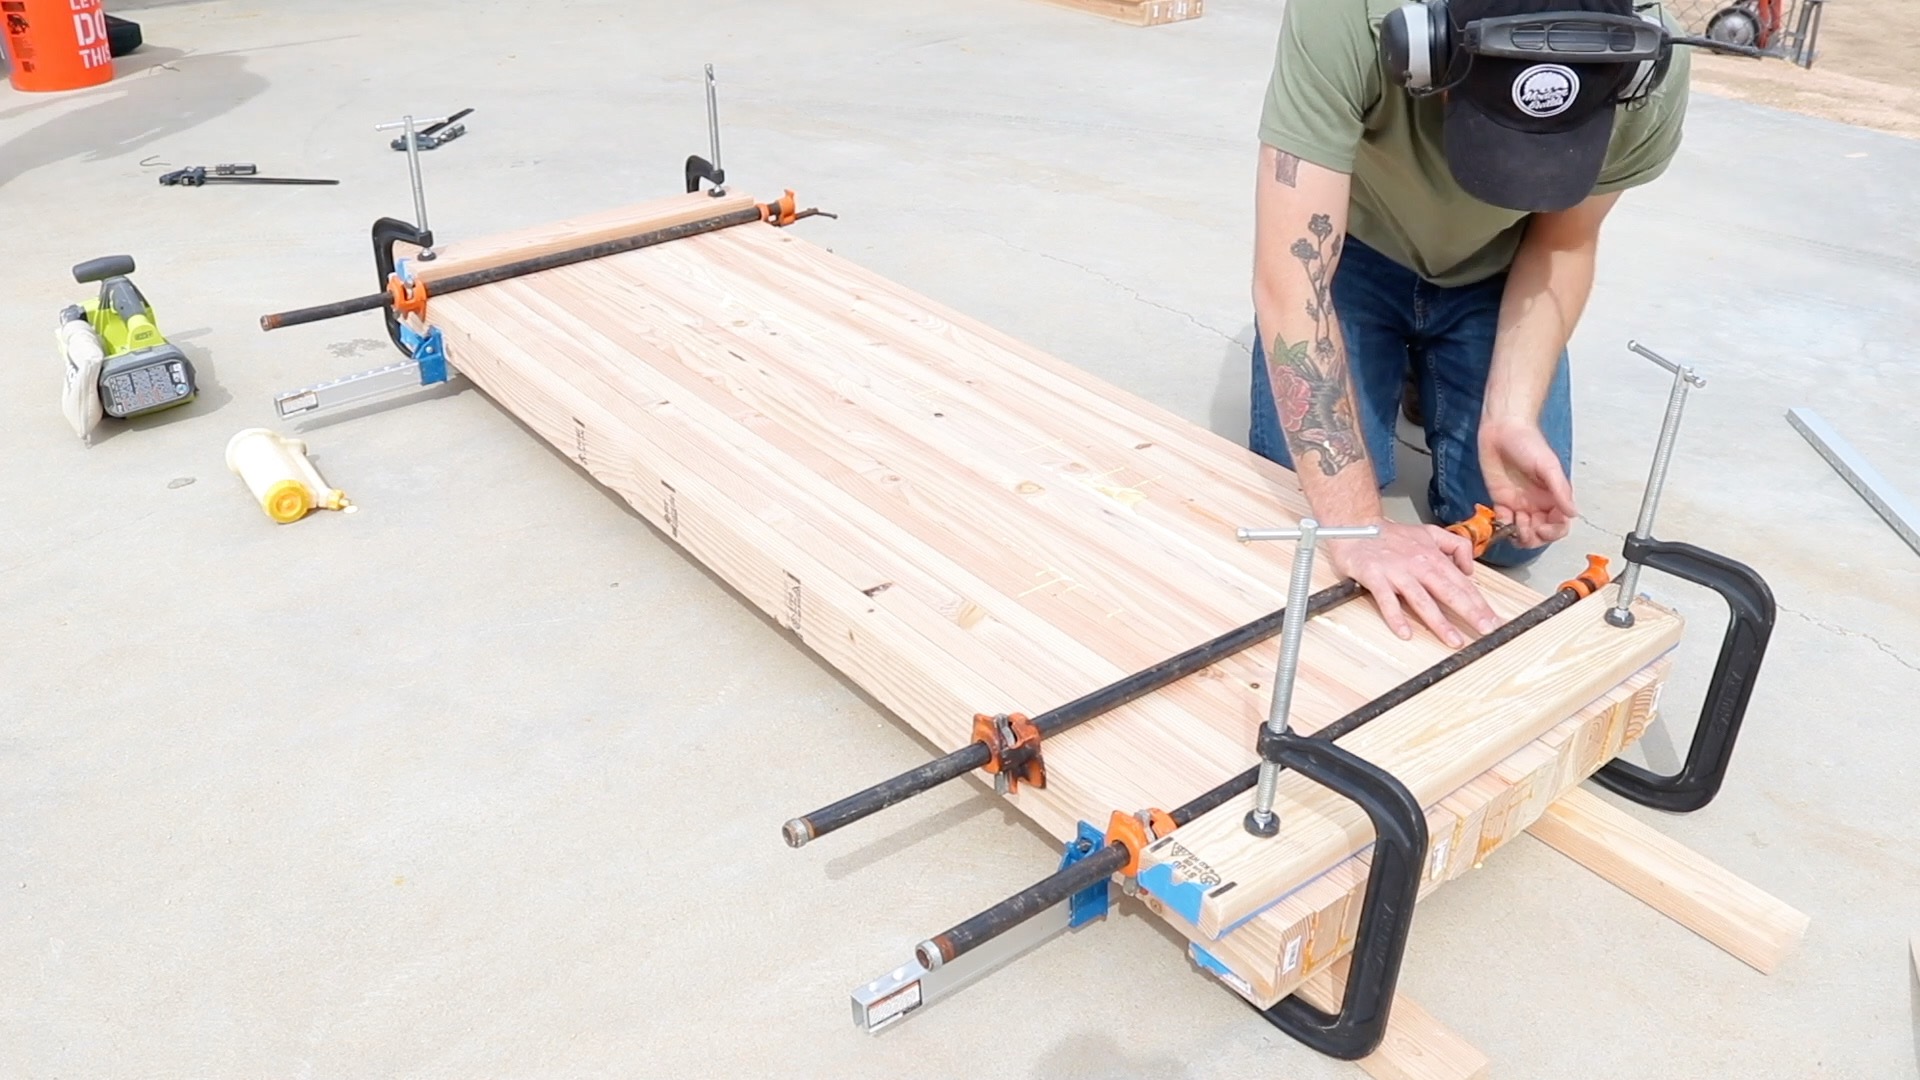
I glued up the table top in stages to make it more manageable. I reccomend two panels each with 8 .2x4's. Then you can glue those two together making sure to keep things flat with caul boards.
It took two passes with the circular saw to be able to get through the slabs. I used a piece of plywood as a straight edge and took my time to make sure my two cuts lined up as best as possible. Of course it wasn't perfect, so I used the belt sander to clean them up.


It's totally an optional step, but I wanted the steel to sit flush with the wood, so I used my palm router and a 3/4" double flute straight bit to create a groove (dado) for the steel to sit it.
First, I used a straight edge to establish an outside line, then I used multiple passes to remove the bulk of the material in the joint. Finally, I set up another straight edge on the opposite side of the joint to finish the dado.
I did this on the tables, and benches. Top and edges.

I cut all the metal to length using an angle grinder and cut off wheel. It's suprisingly easy to get a square cut, just take your time.
Once they were cut, I switched to a grinding wheel and created a bevel on any of the corners that would be meeting and being welded.

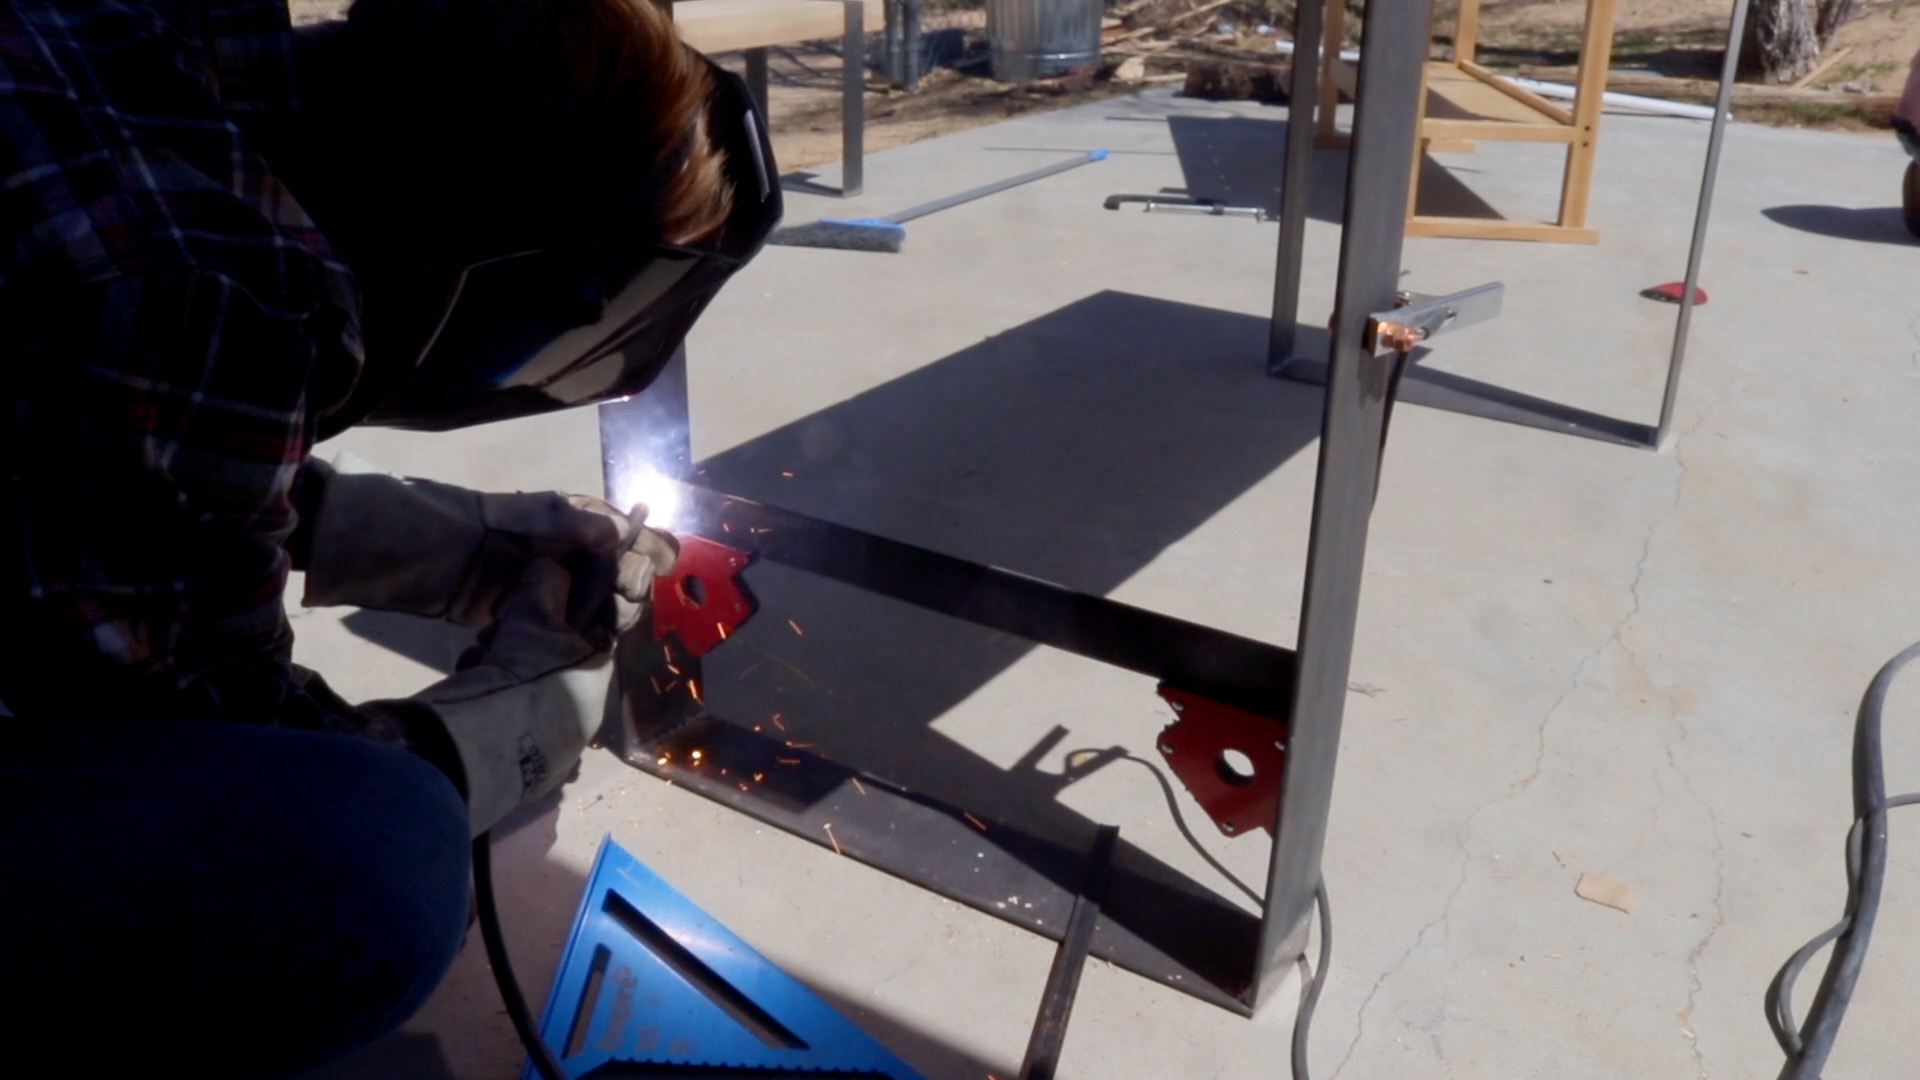
I clamped the top and two sides of the legs in place, then tack welded the three pieces together making sure not to get close to the edge to keep from burning the wood.
After that, I could put the bottom piece in place (making sure everything was square) and run full beads on each joint.
The table had a little wobble (due to the lenght of steel bar). To fix that, I added a 2" wide piece of steel 10" from the bottom of the legs to make everything rigid.


I used a chisel to chamfer the corners of the dado so that I could rotate the legs into place. This doesn't need to be pretty, no one will ever see it.

I used stainless steel screws with a star drive for a cool look. I also made sure to countersink them so that everything sat flush.
If you have any questions or find any issues with the article, feel free to get in touch.
more cool projects: