

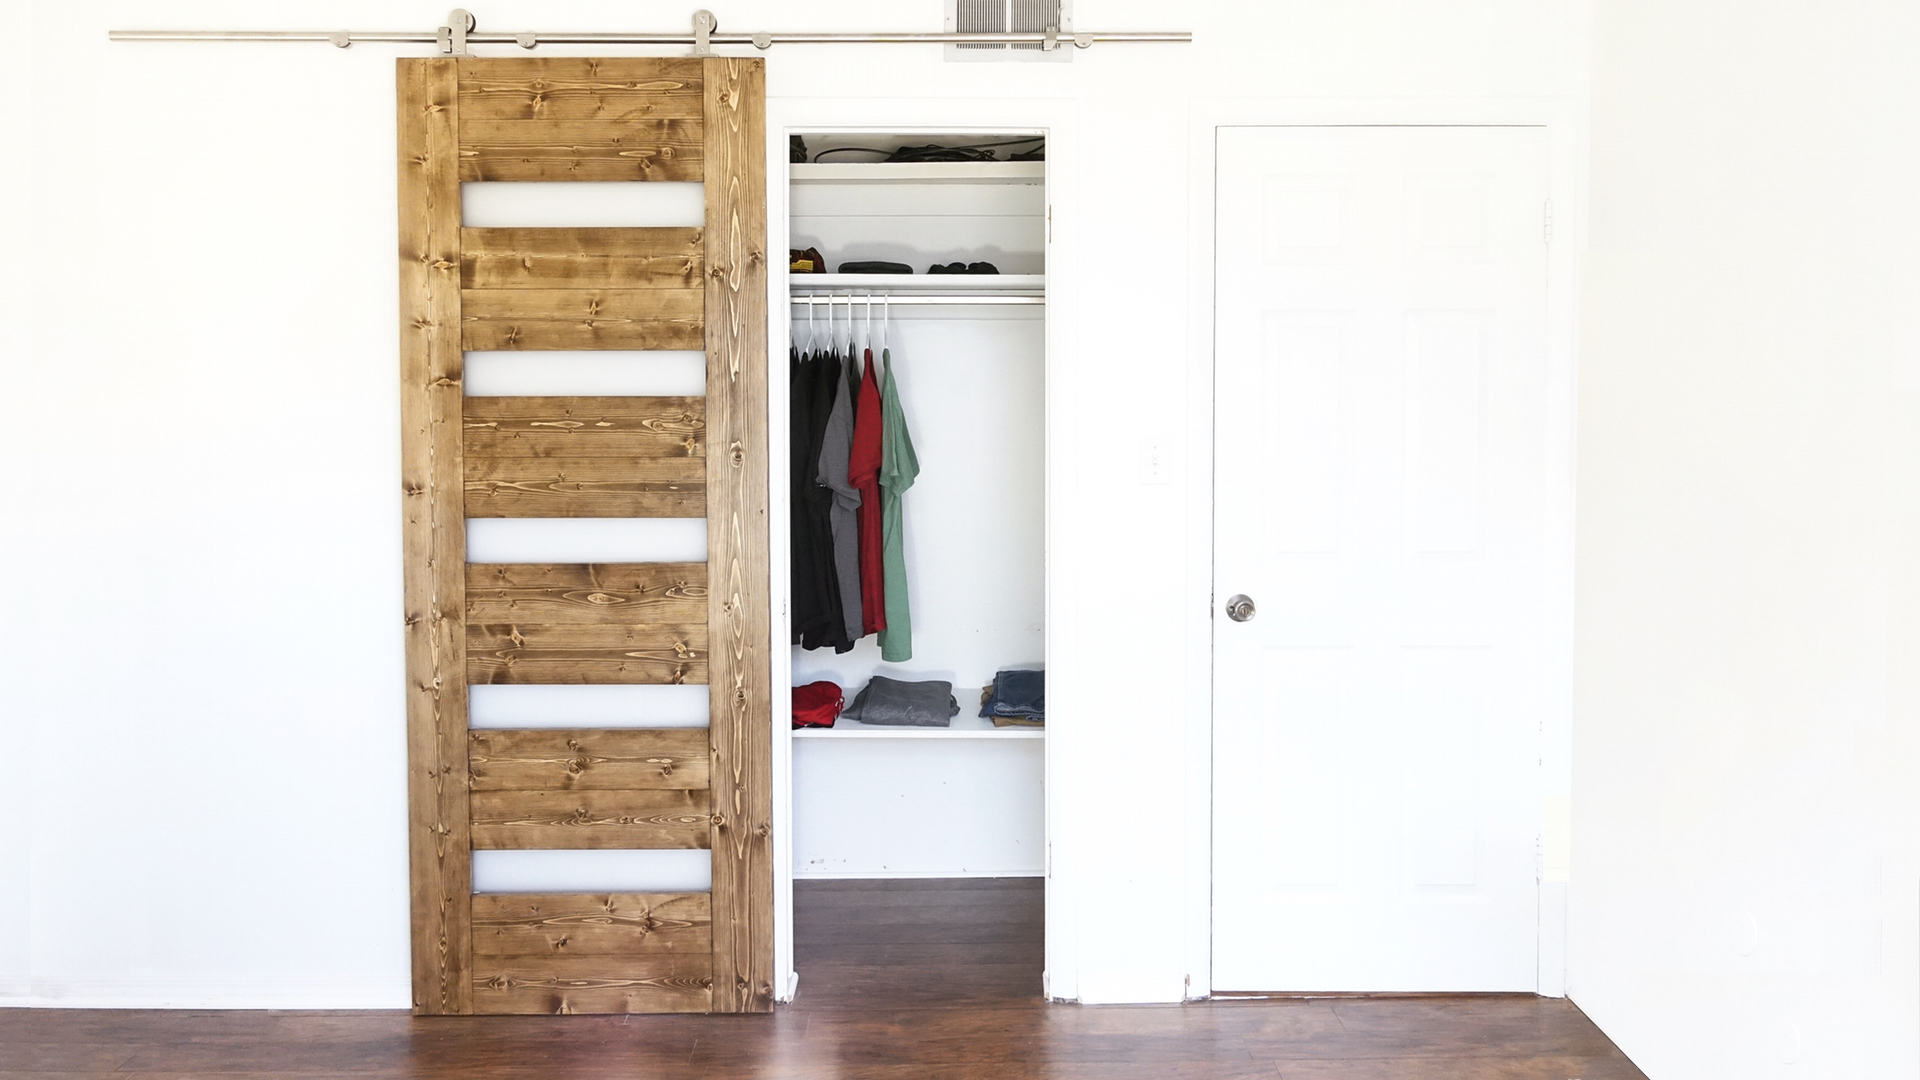
EP. 55 DIY MID-CENURY MODERN SLIDING BARN DOOR
This sliding barn door is a really great ooption for anyone looking to make a sliding door with a limited number of tools. Be sure to cut to the size of your opening. My door is about 2" oversize on each side of the trim.
https://www.industrialbydesignco.com/
MATERIALS AND SUPPLIES:
8ft. Sliding Barn Door Hardware:
1x6 Pine
Pocket Hole Jig (optional): http://amzn.to/2j4gcRW
Wood Conditioner: http://amzn.to/2kRdbFy
Special Walnut Stain: http://amzn.to/2kLX2Sc
Minwax Polycrylic: http://amzn.to/2lmqUkO
Wood Glue: http://amzn.to/2jtC4mN
STEP ONE: CUT IT UP
I cut everything on the chop saw with a stop block for repeatability and accuracy, though a simple circular saw would work just fine.
STEP TWO: ASSEMBLE FRAME
With just about everything with woodworking, there's multiple ways to assemble the face of the door. For the front facing slats, I used pocket screws.

I cut a scrap piece of 1x6 on my table saw to 4" wide and used it as my spacer between panels where my window will sit.


STEP THREE: MAKE A GROOVE FOR THE GLASS
I used a 1/2" rabbeting bit in my trim router to make a recess for the glass to sit into.

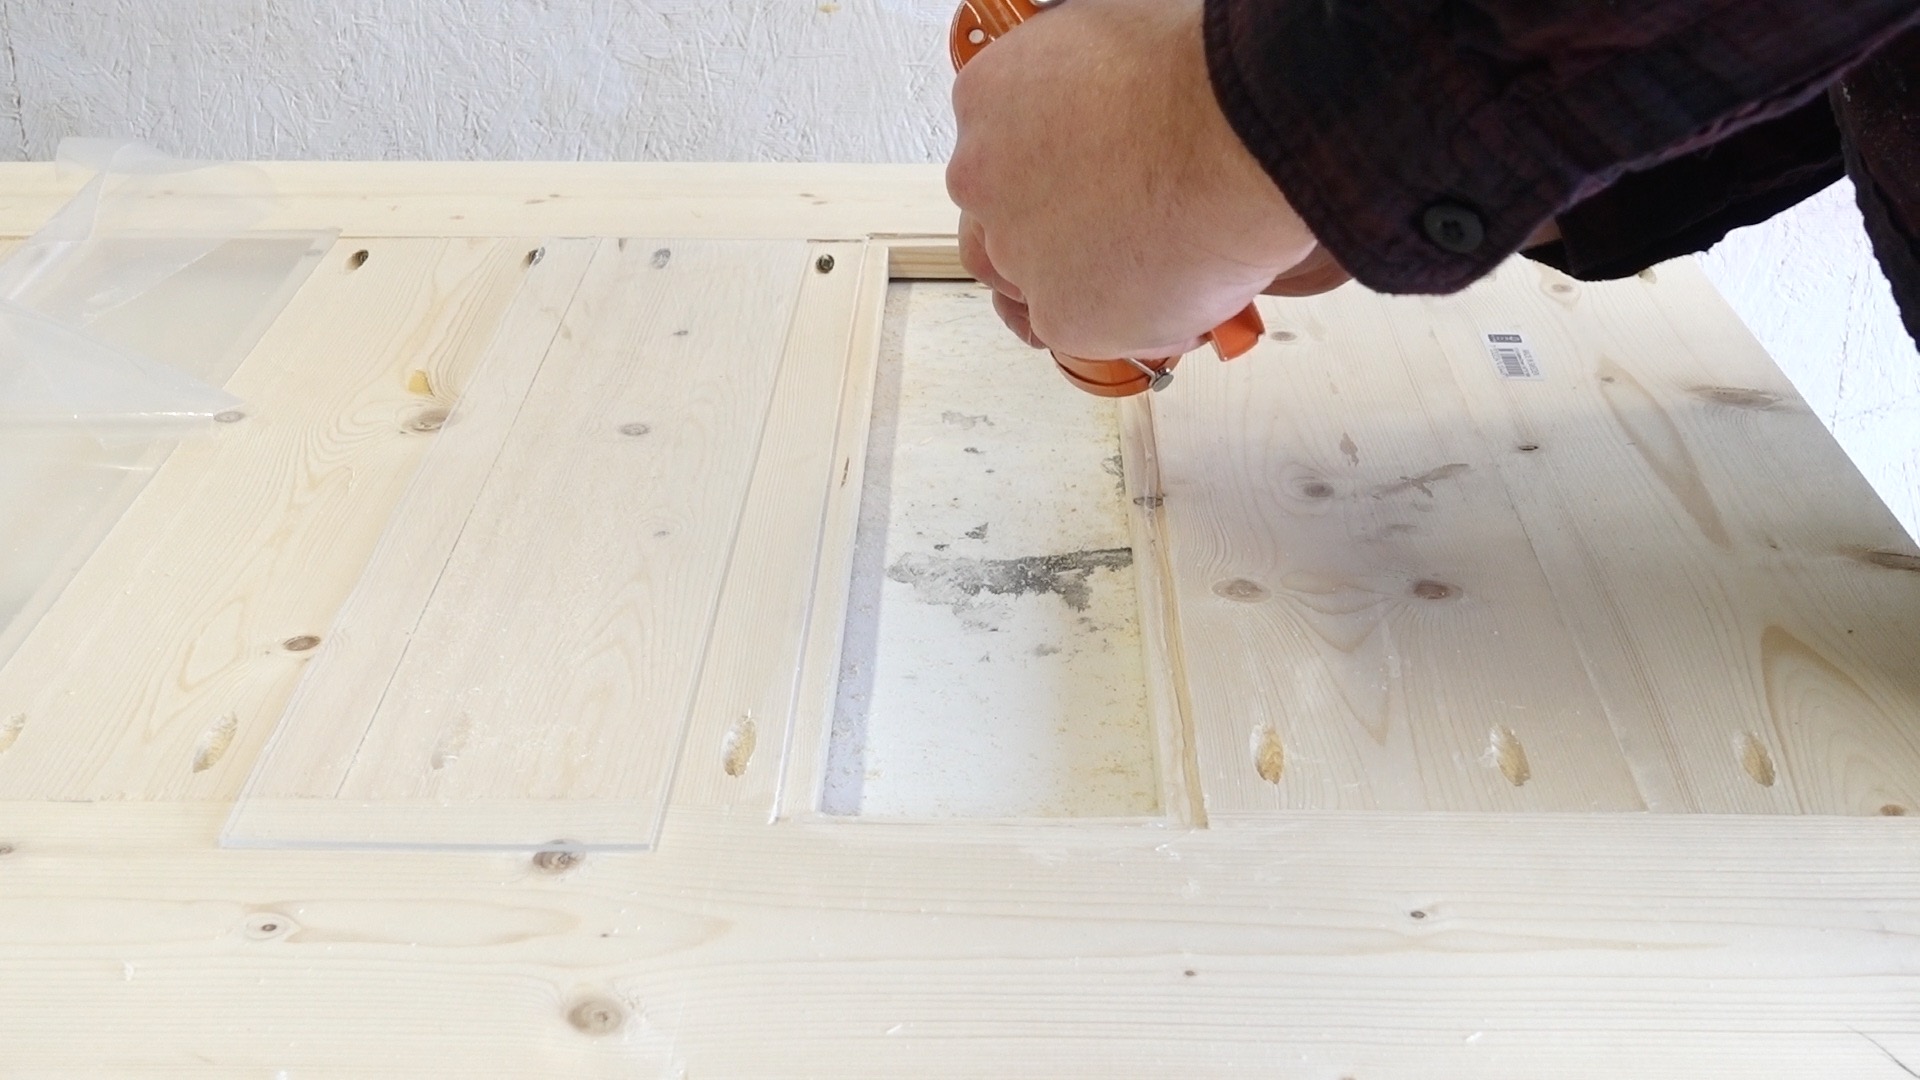
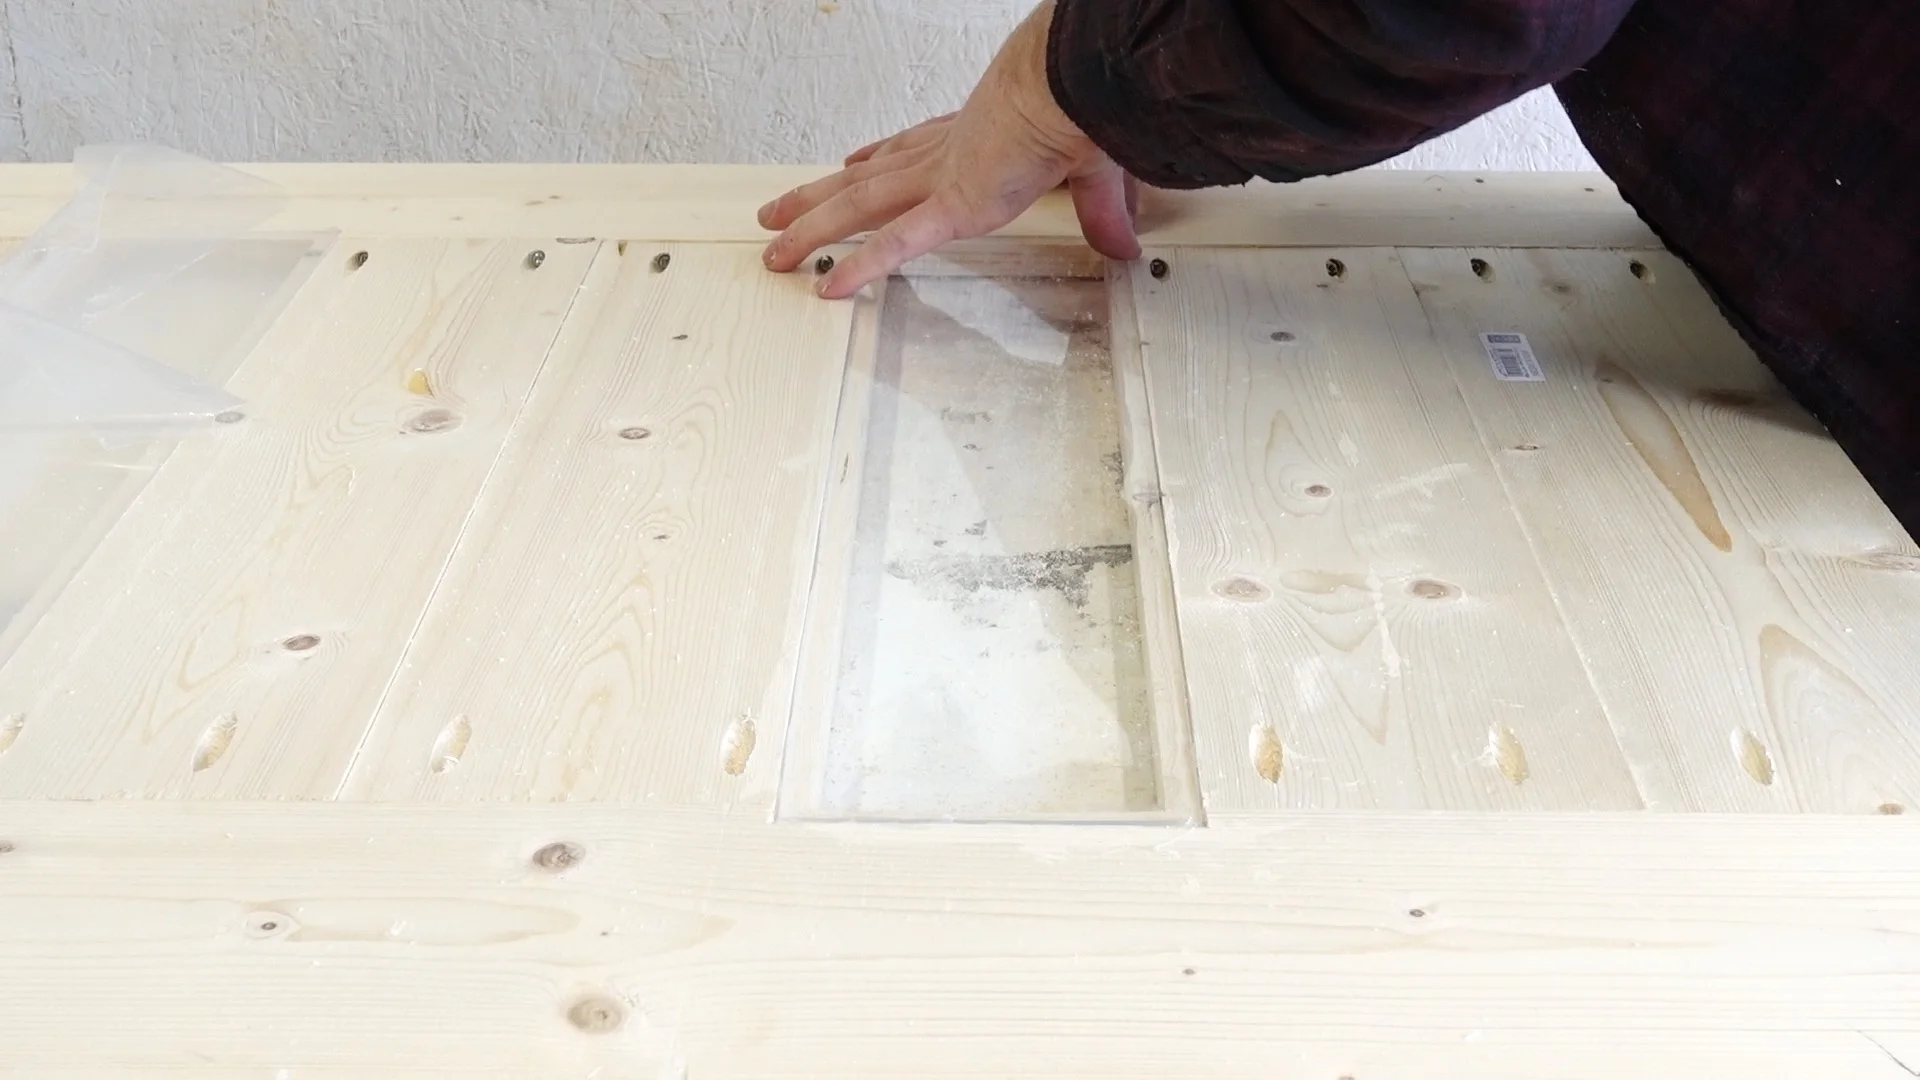
STEP FOUR: INSTALL GLASS
I cut the panels on the bandsaw and then installed them in the door. To seal everything, I applied a thin bead of silicone caulk before installing the pane.
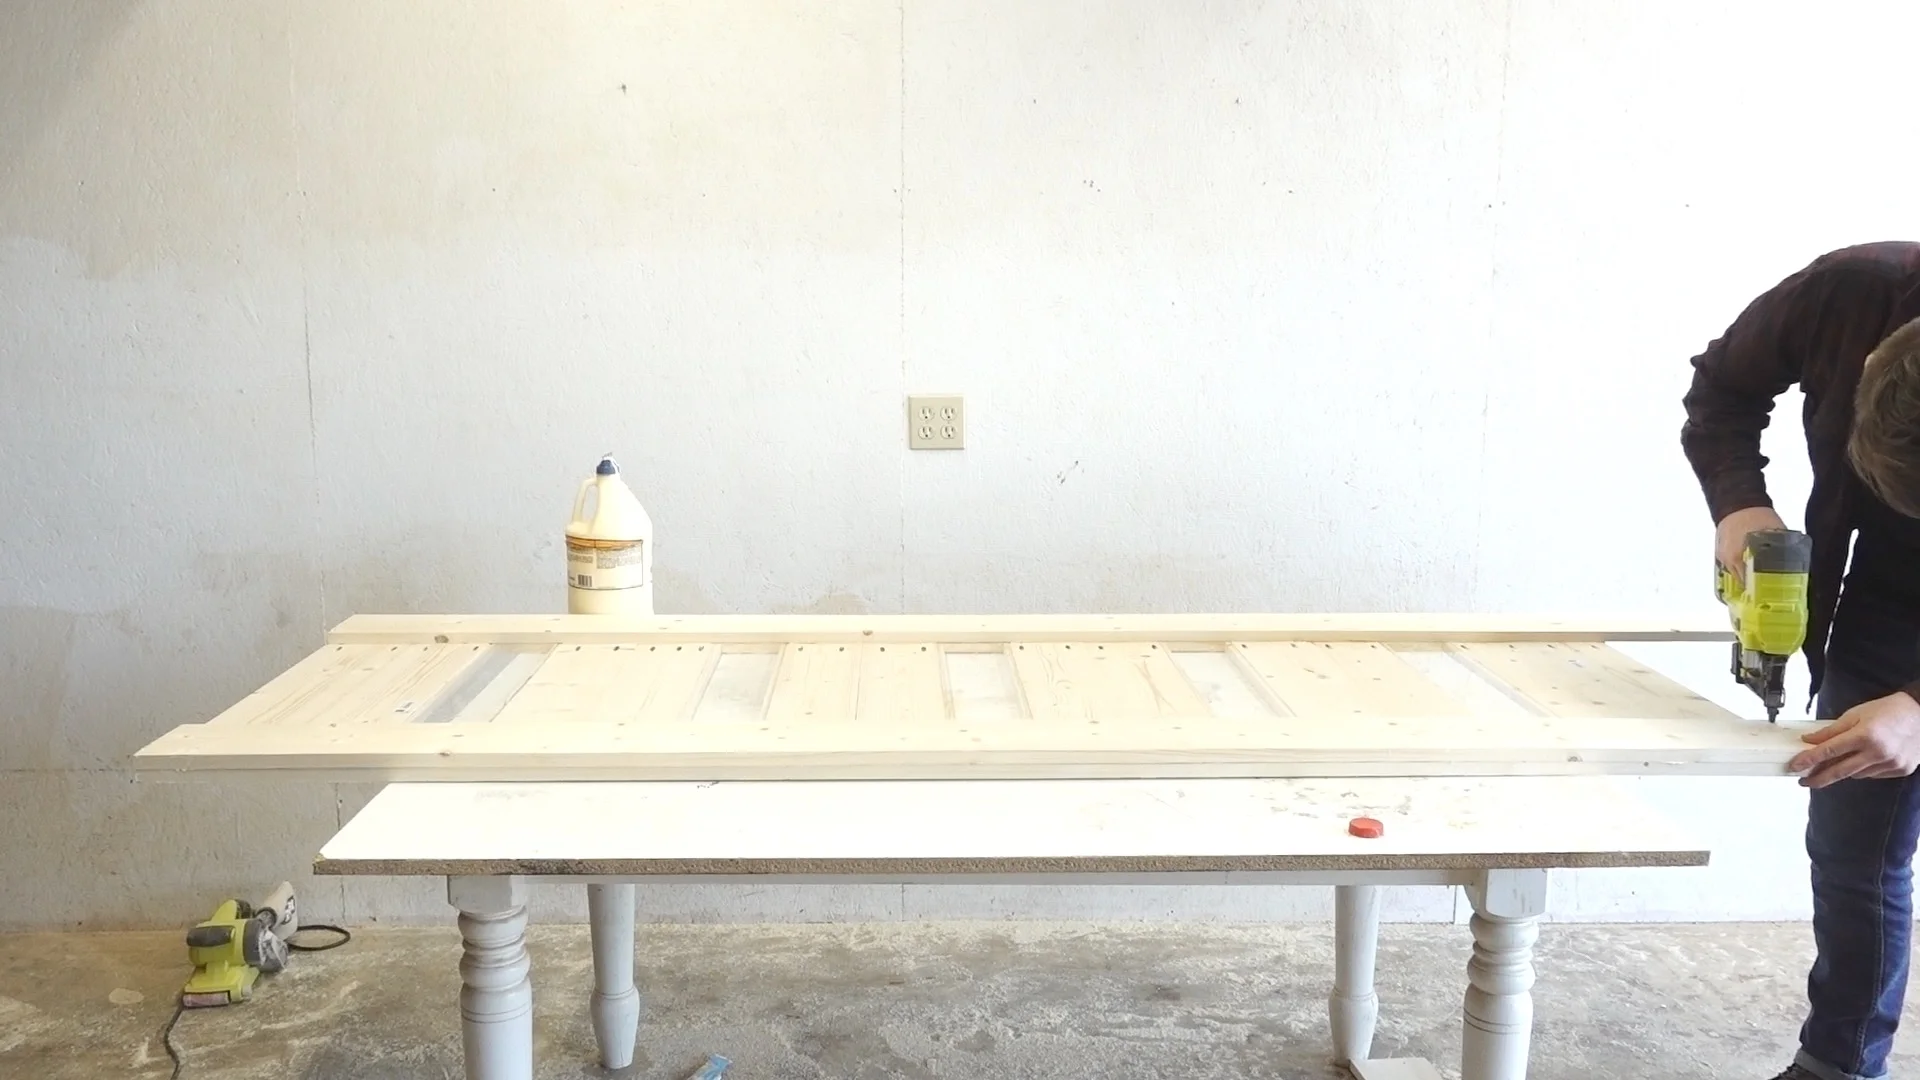
STEP FIVE: ADD THE SECOND LAYER
I attached the second layer of 1x6's with wood glue and brad nails. Brad nails, once filled in with wood filler are really inconspicuous and look nice.

STEP SIX: SQUARE IT UP
I squared up the bottom of the door with a circular saw and a straight edge.


I used the belt sander to square up the edges and clean and flush up the faces of the door. Then, I used the same router bit I used to make the recesses for the windows to make a groove on the bottom of the door for the floor guide to ride in.

STEP SEVEN: APPLY FINISH
I applied a coat of wood conditioner, then used a special walnut stain paired with minwax polycrylic to finish the door.


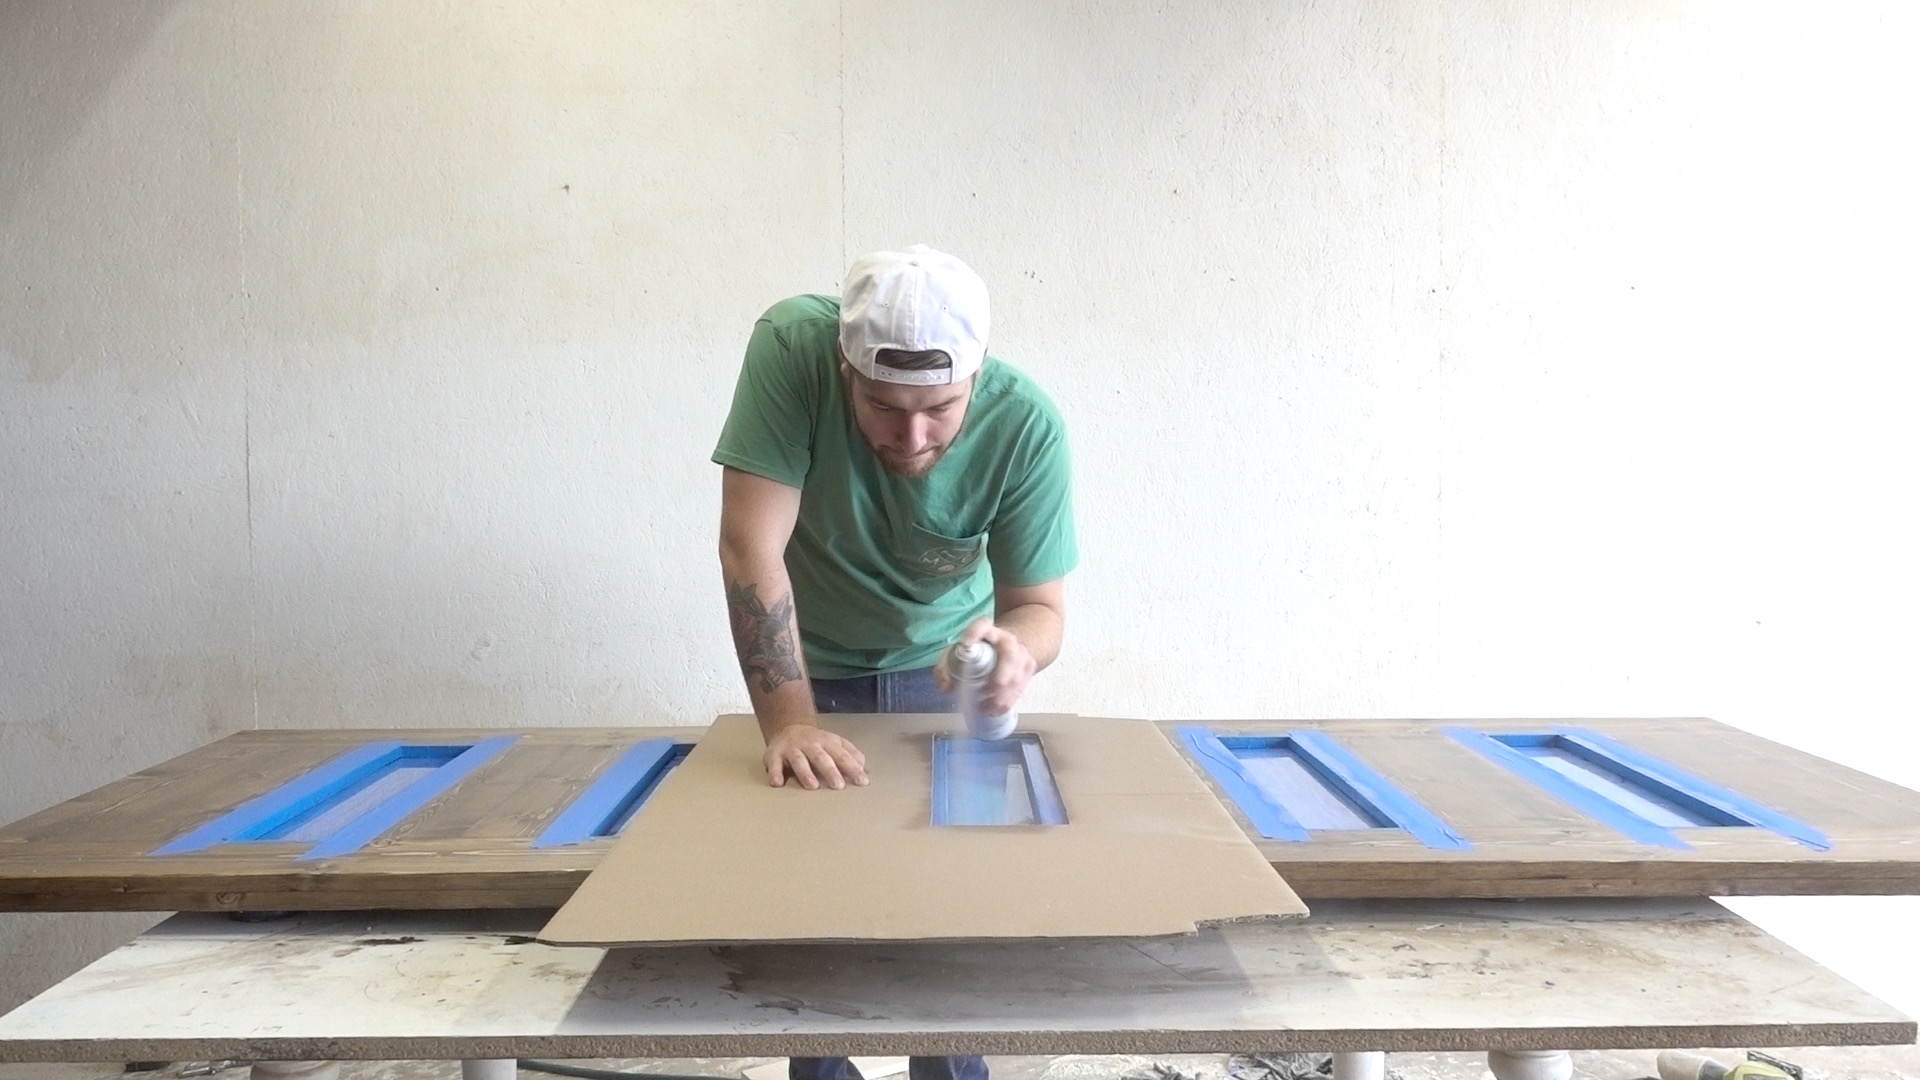
STEP EIGHT: FROST GLASS
Next, I masked the door and sprayed the windows with a frosted glass spray.
STEP NINE: ADD CASTERS
Next, I added the casters to the top of the door.

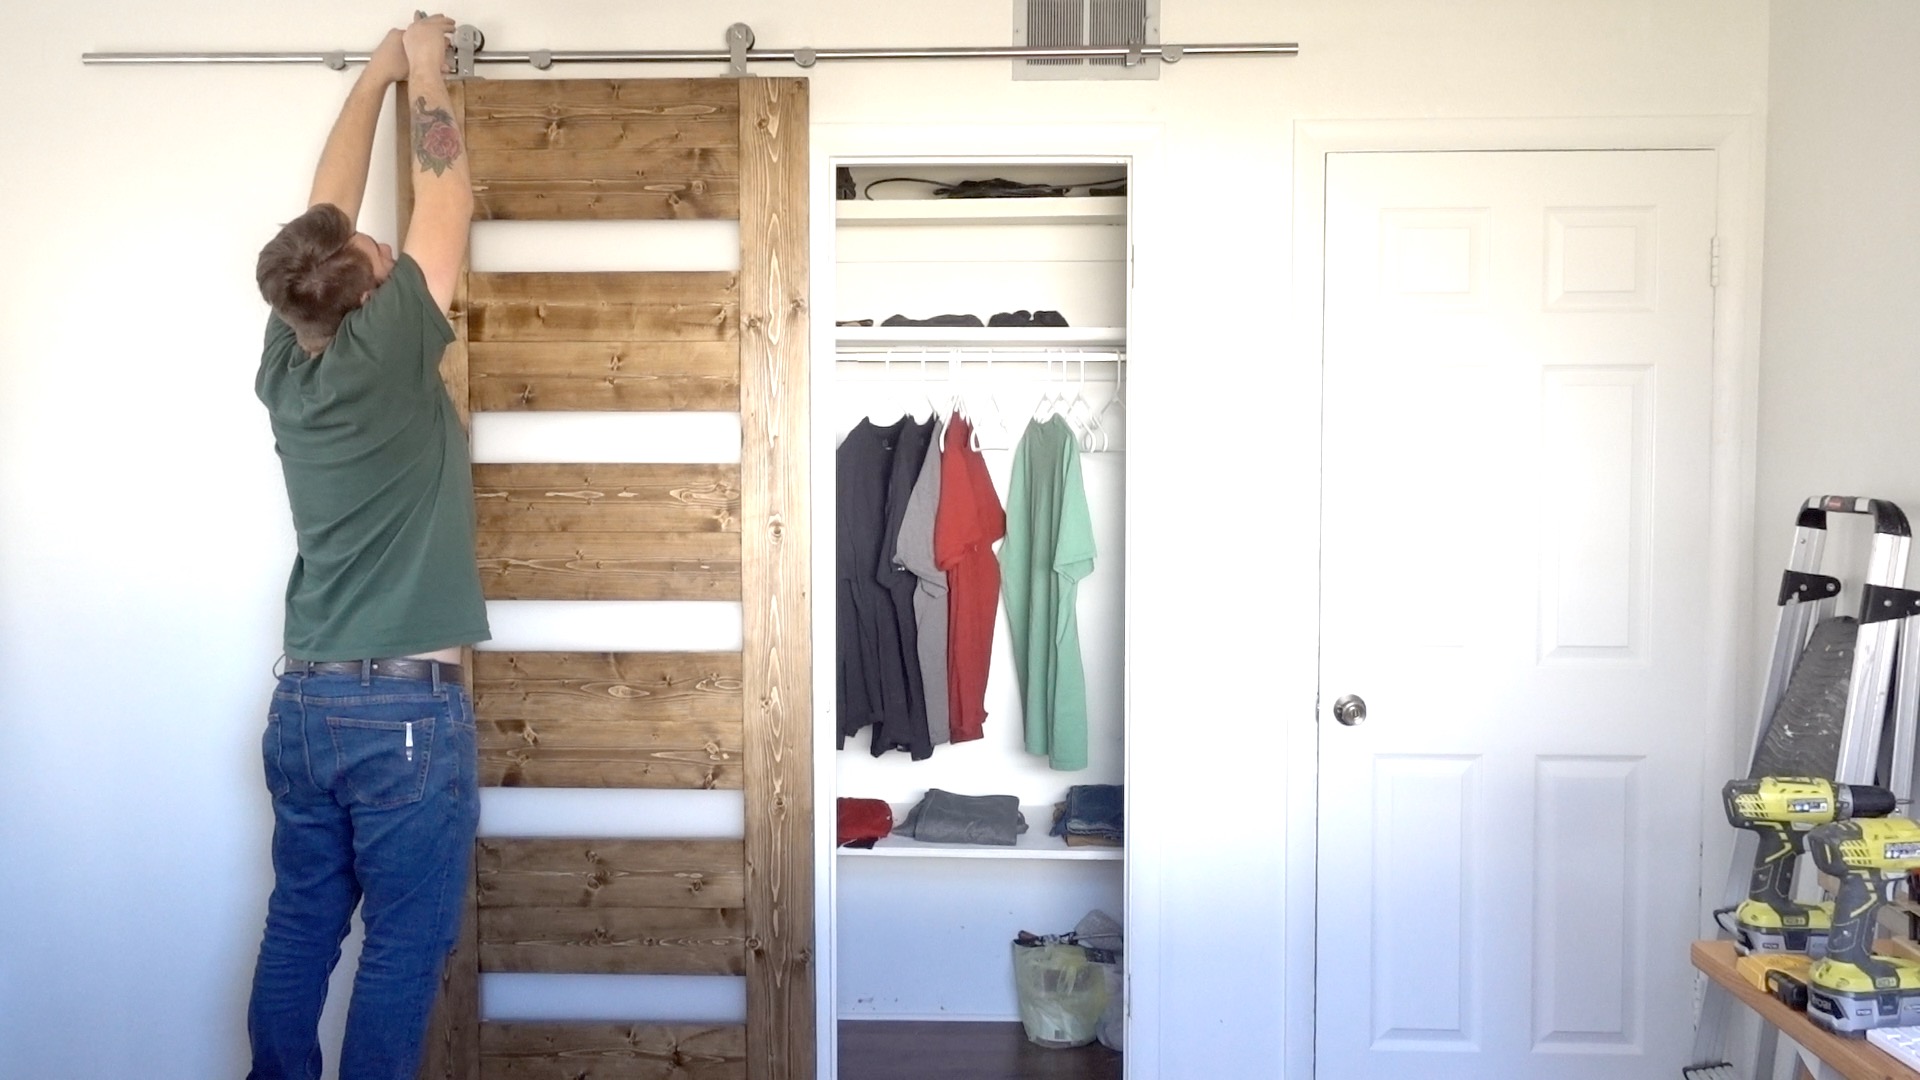
STEP TEN: HANG THE DOOR
Finally, I installed the hardware on the wall and hung the door. I made an in depth instructional video embedded at the top of the page, be sure and check that out for more info.

That's all there is to it! I hope you enjoyed it and go out and make your own. If you do, don't forget to ask any questions and to tag me in a picture of it! I'd love to see what you come up with.
MORE COOL PROJECTS

GET IN TOUCH