

EP. 52 diy towel rack / bathroom organizer
This simple bathroom organizer is a great limited tool, beginner project. It could easily be done with just a circular saw and drill.
MODERN BUILDS HANDMADE POMADE:
http://loveanchors.com/product/modern-builds-matte-pomade/
MATERIALS AND SUPPLIES:
Pine 1"x12"
Pine 2"x6"
Wood Conditioner: http://amzn.to/2hM18oq
Dark Walnut Stain: http://amzn.to/2hDBbes
Clear Gloss Spray Paint: http://amzn.to/2hDwmSG
Wood Glue: http://amzn.to/2g15HKD
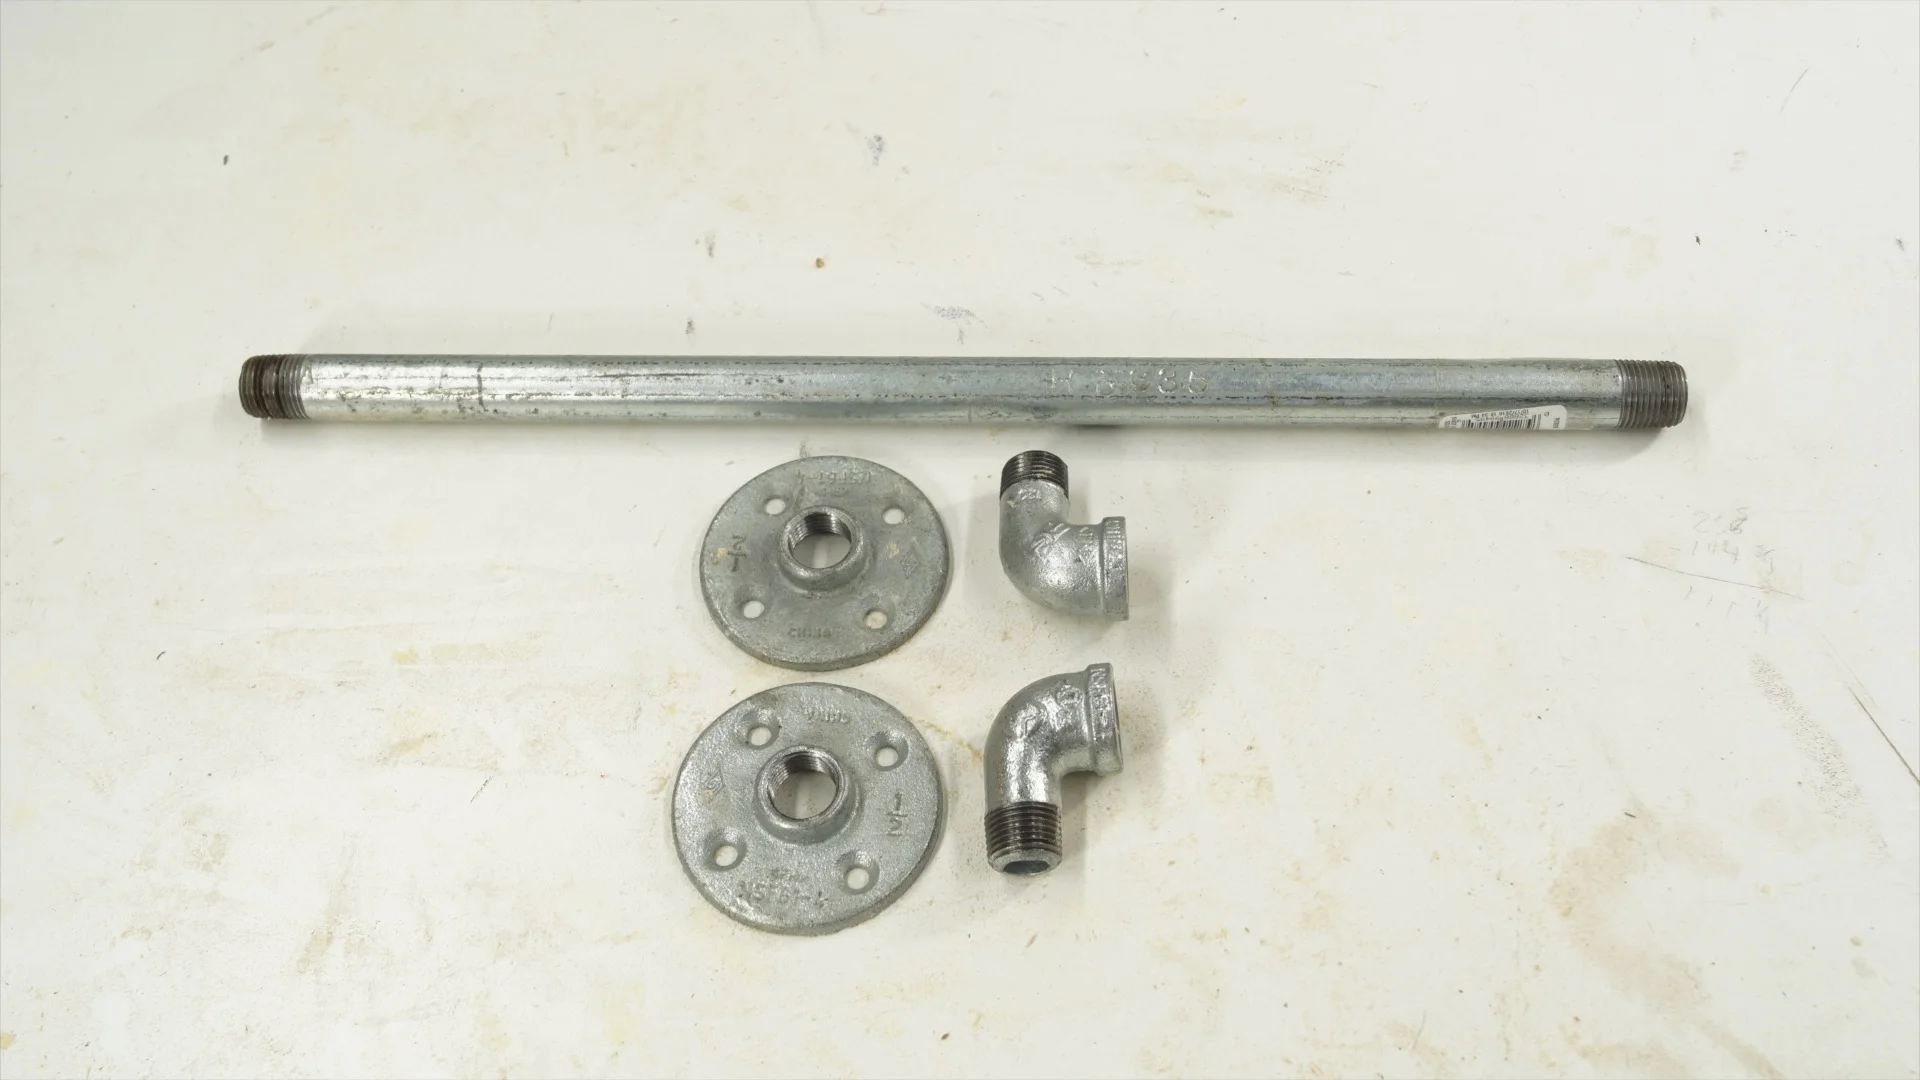
16" Long 1/2" Galvanized Pipe (Cut at Home Depot): https://goo.gl/G4GQWa
2 - 1/2" 90° Street Elbow: https://goo.gl/cl7rea
2 - 1/2" Floor Flanges: https://goo.gl/MCI5gW
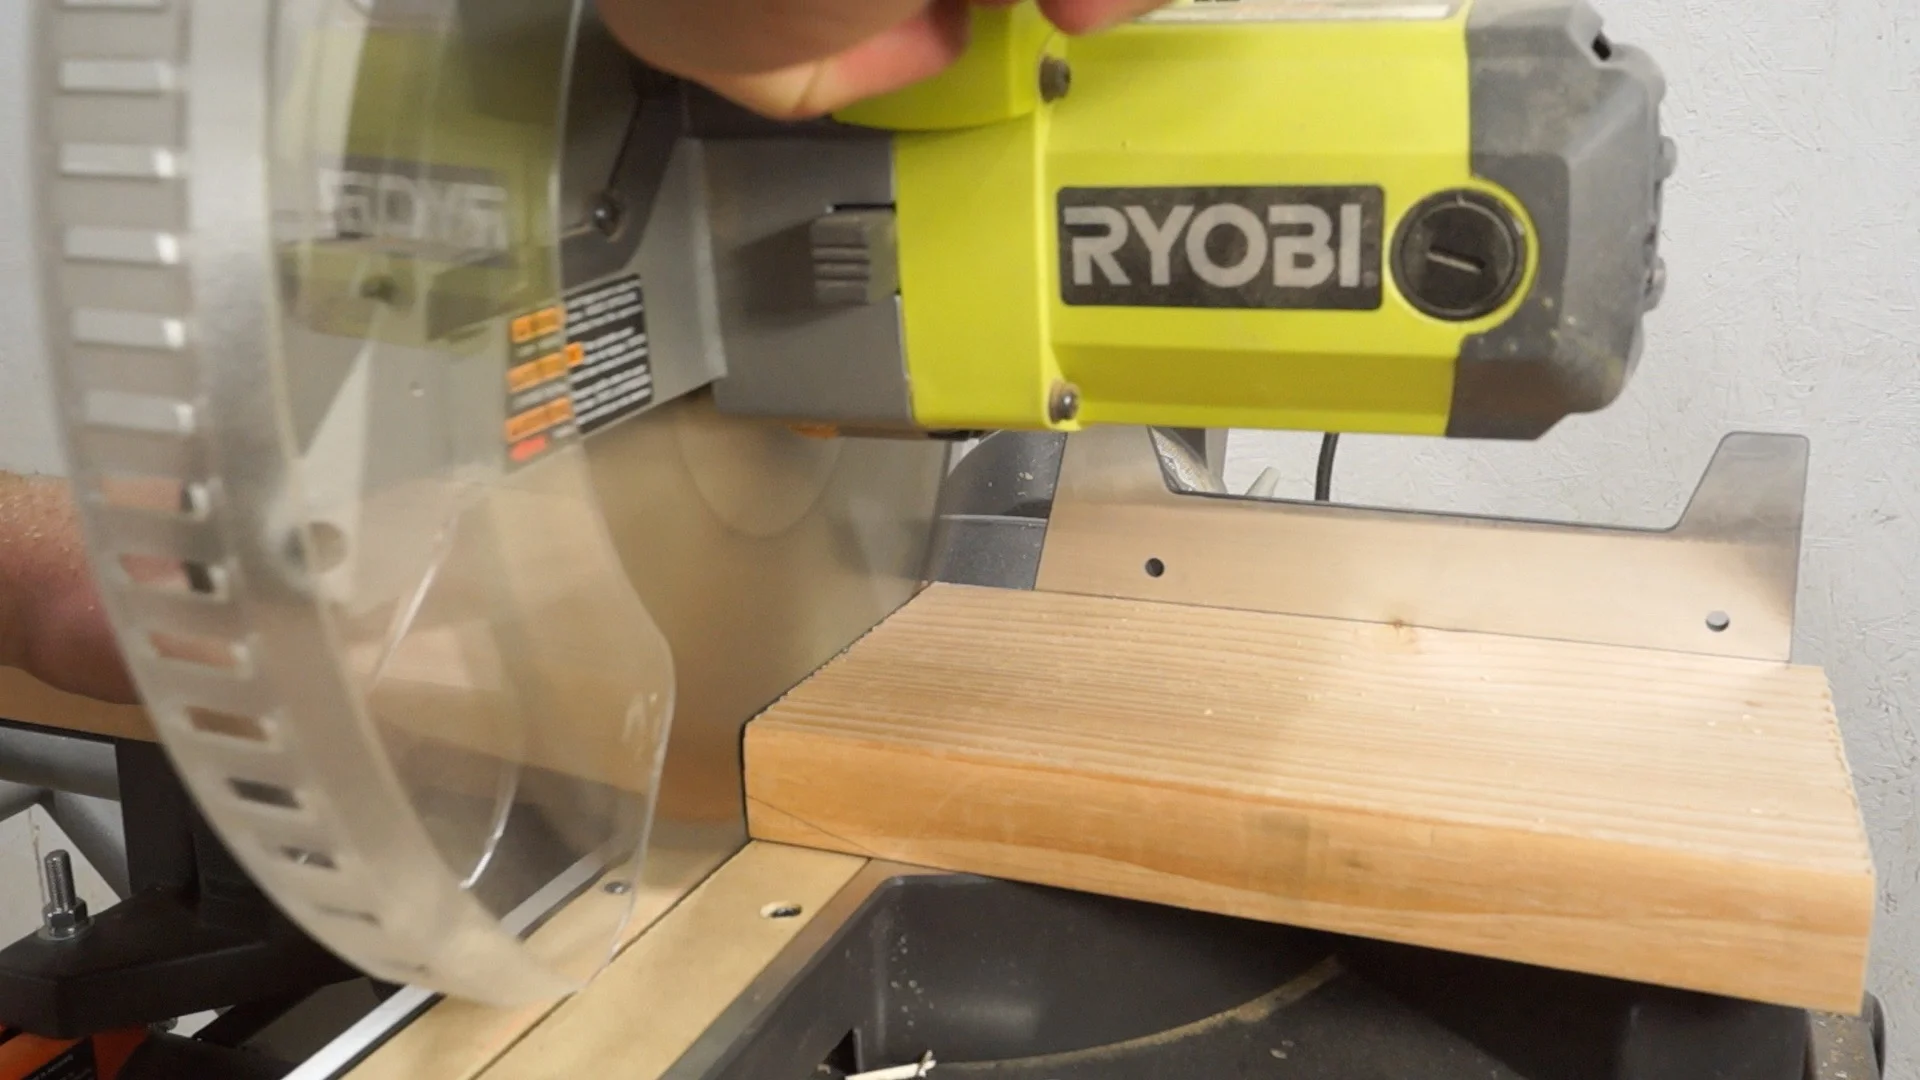
STEP ONE: YOU NEED TO CUT IT
To start, I cut my 1"x12" to 21" long.
Next, I cut 2 pieces of 2"x6". One to 21", the same as the 1"x12". The other to 10.5"
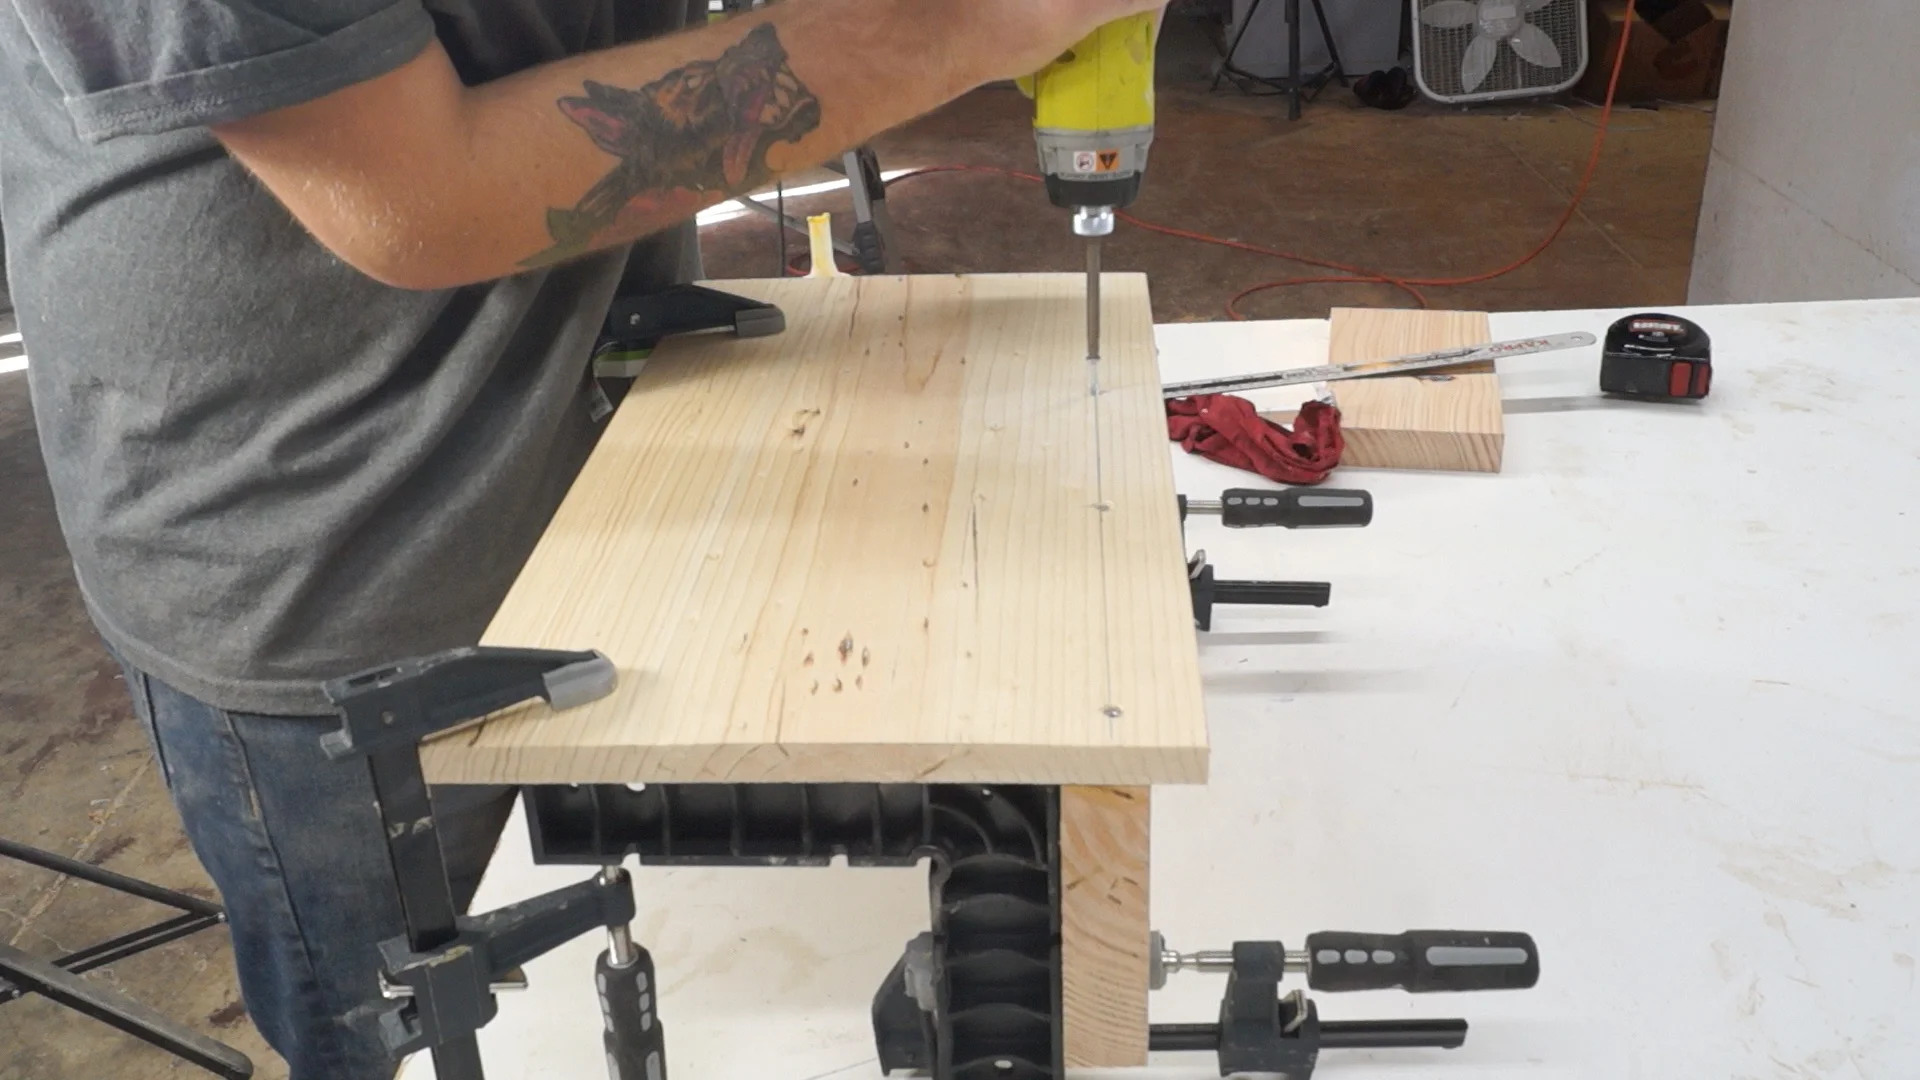
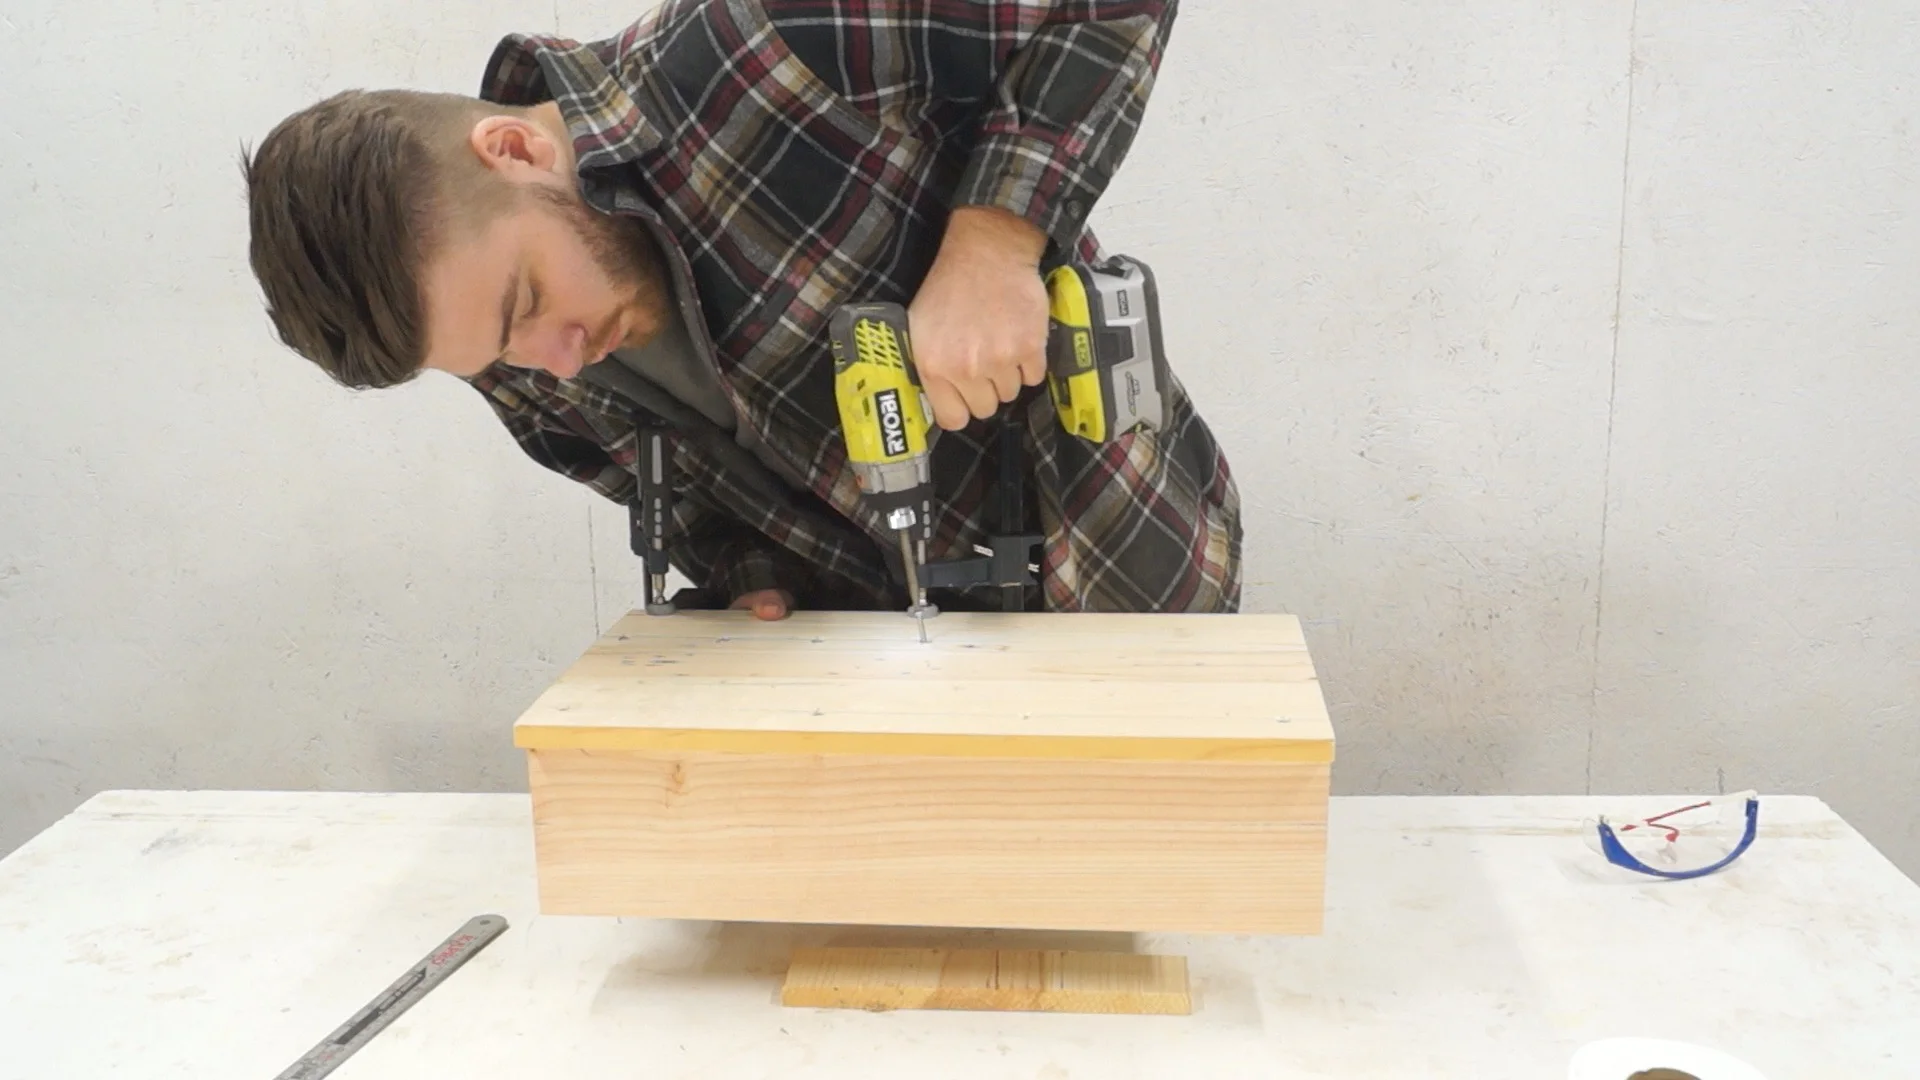
STEP TWO: CUT THE SHELVES
With everything cut, I moved to glueing and screwing the shelves to the back panel.

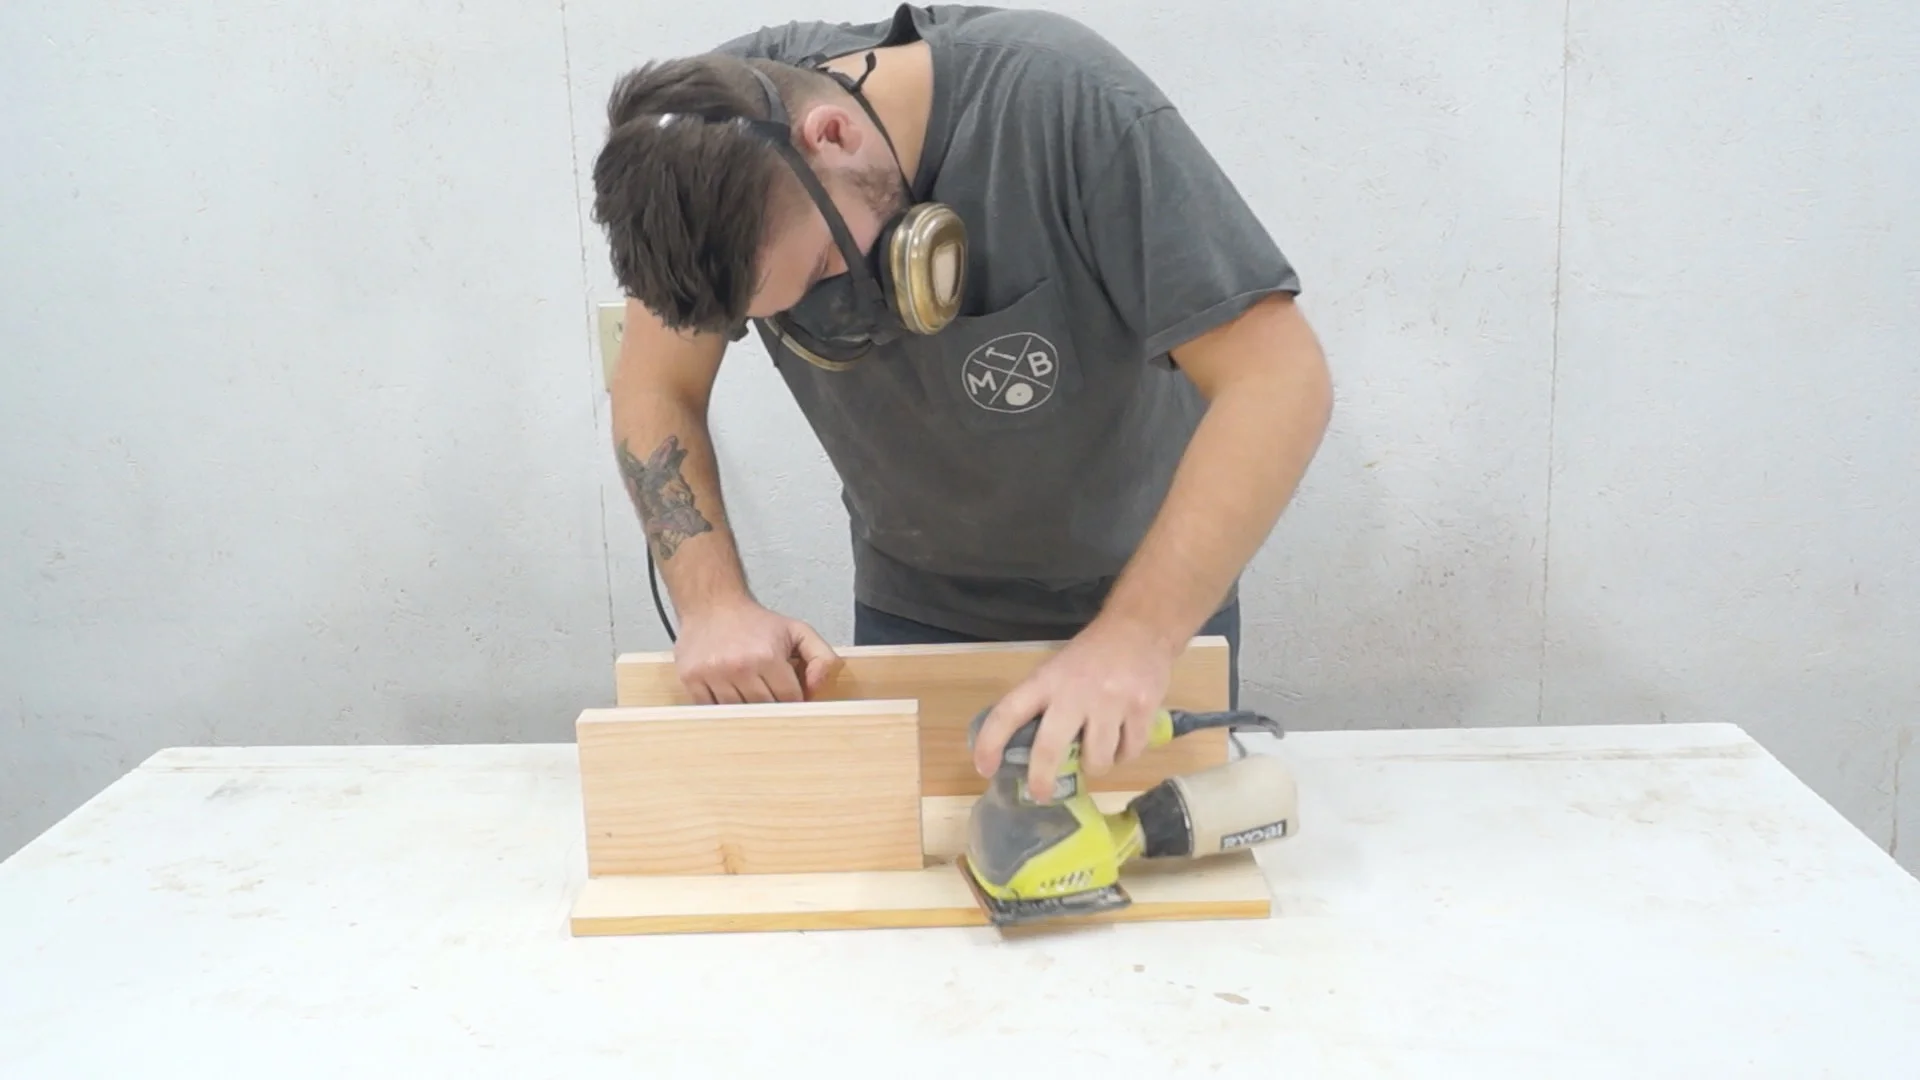
STEP THREE: SAND IT
Once the glue dried, I sanded the rack starting at 80 grit moving through 150 to 220 grit.
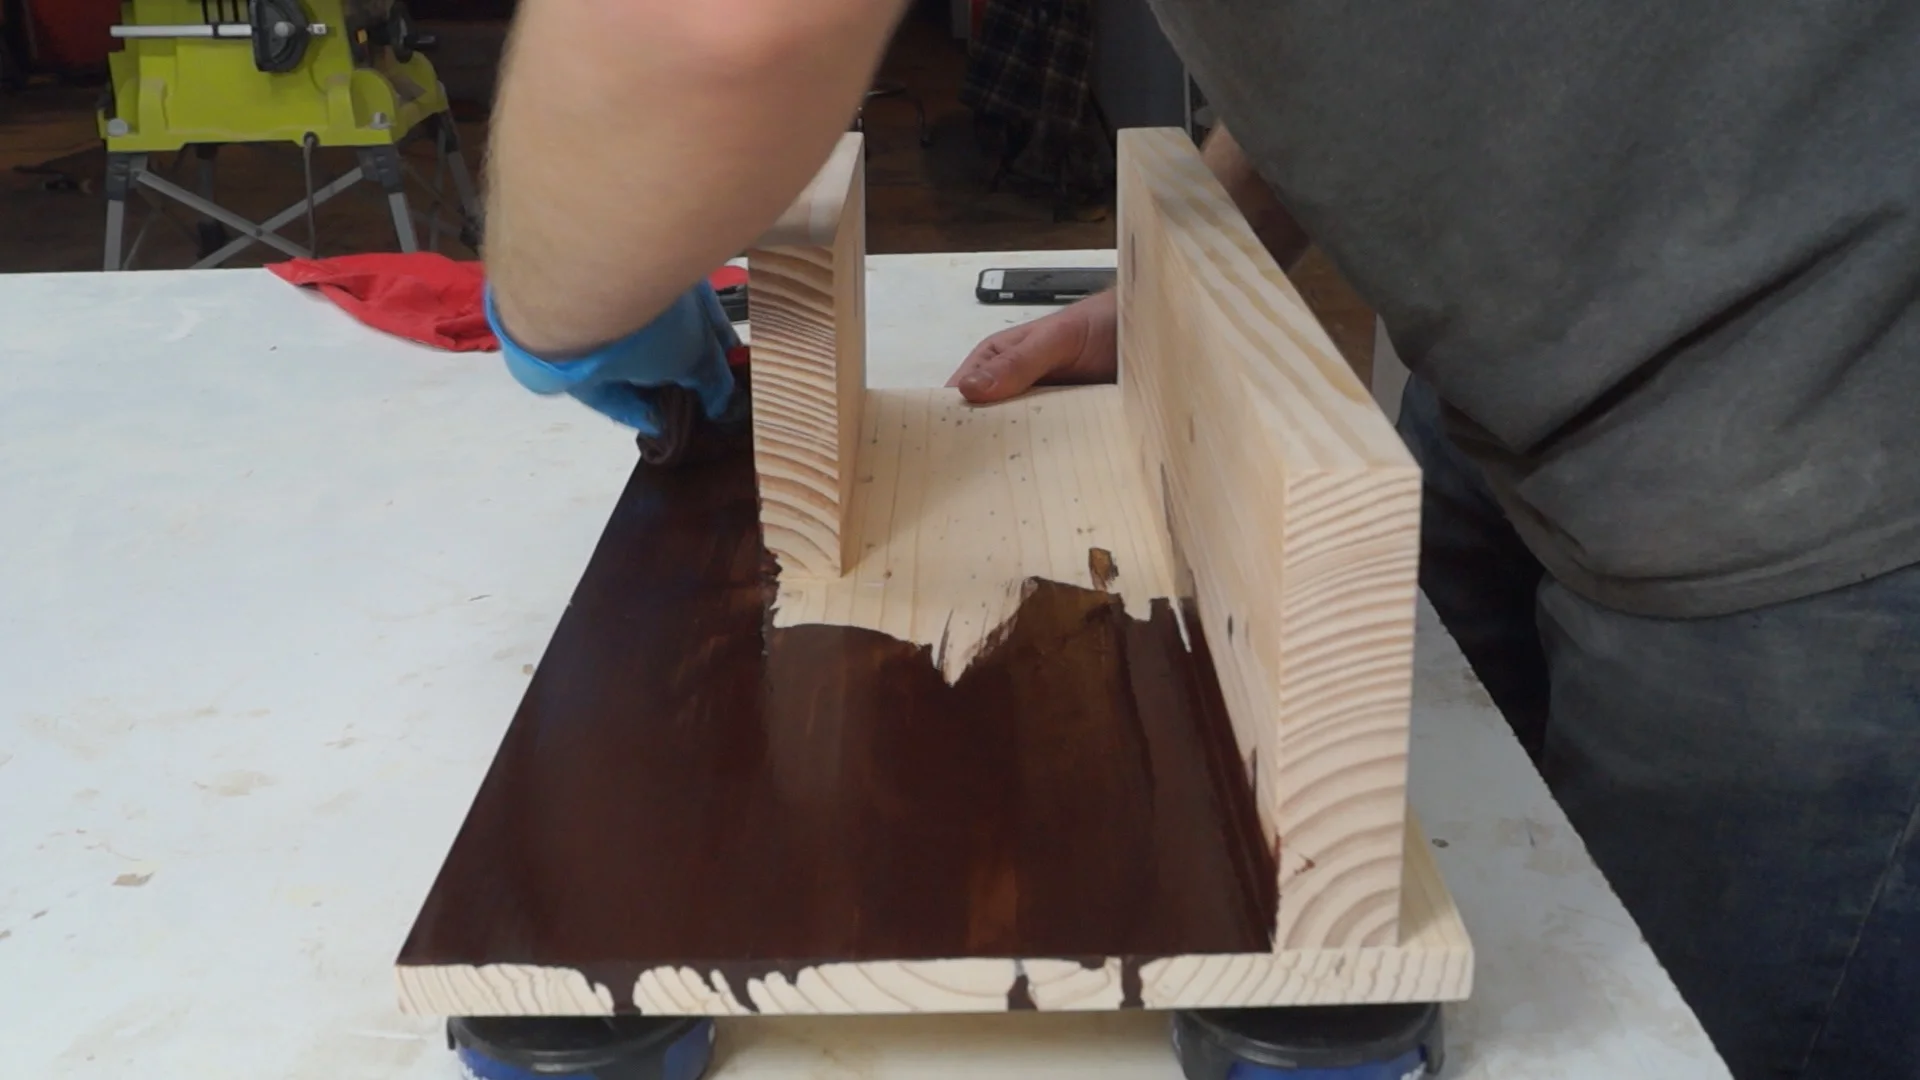
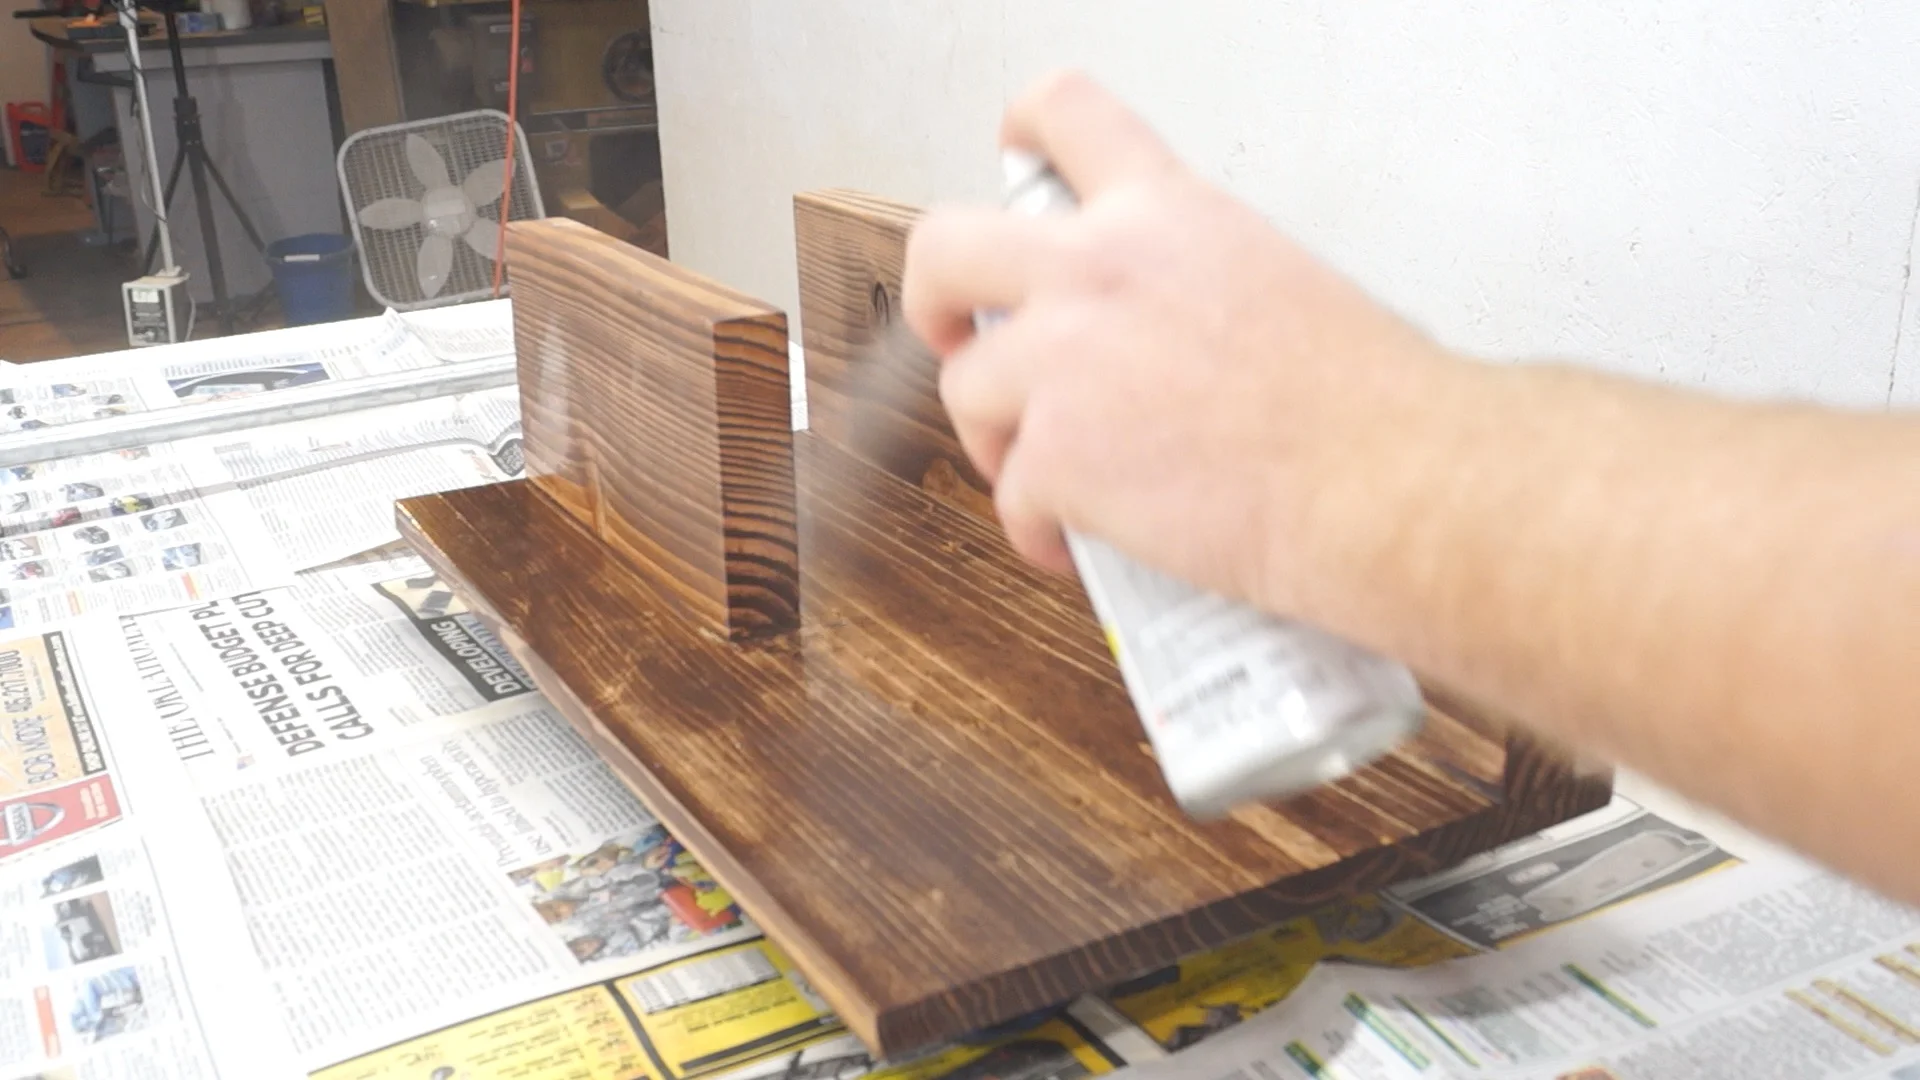
STEP FOUR: STAIN
Before staining I should've used wood conditioner to get a more ever finish. Lesson learned.
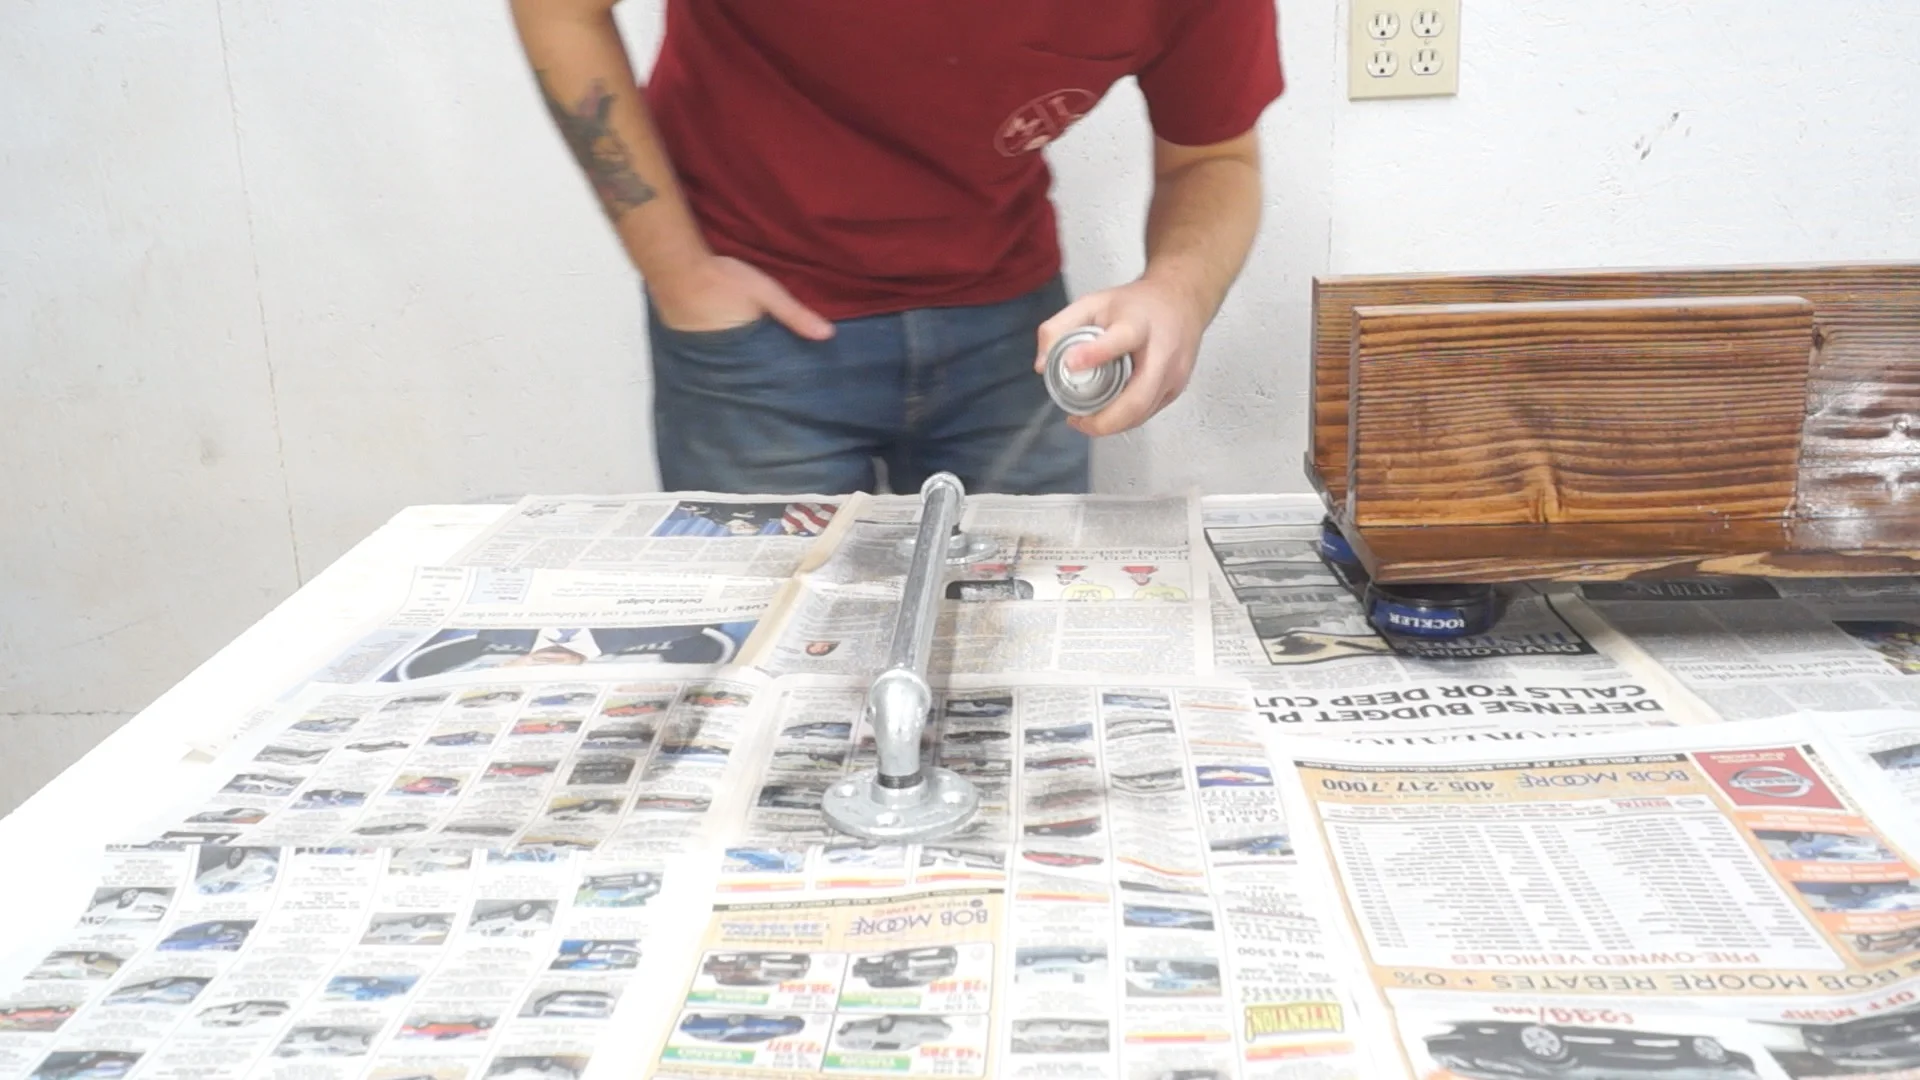
STEP FIVE: PIPE IT UP
Moving on to the towel rack. All the fittings are listed above.
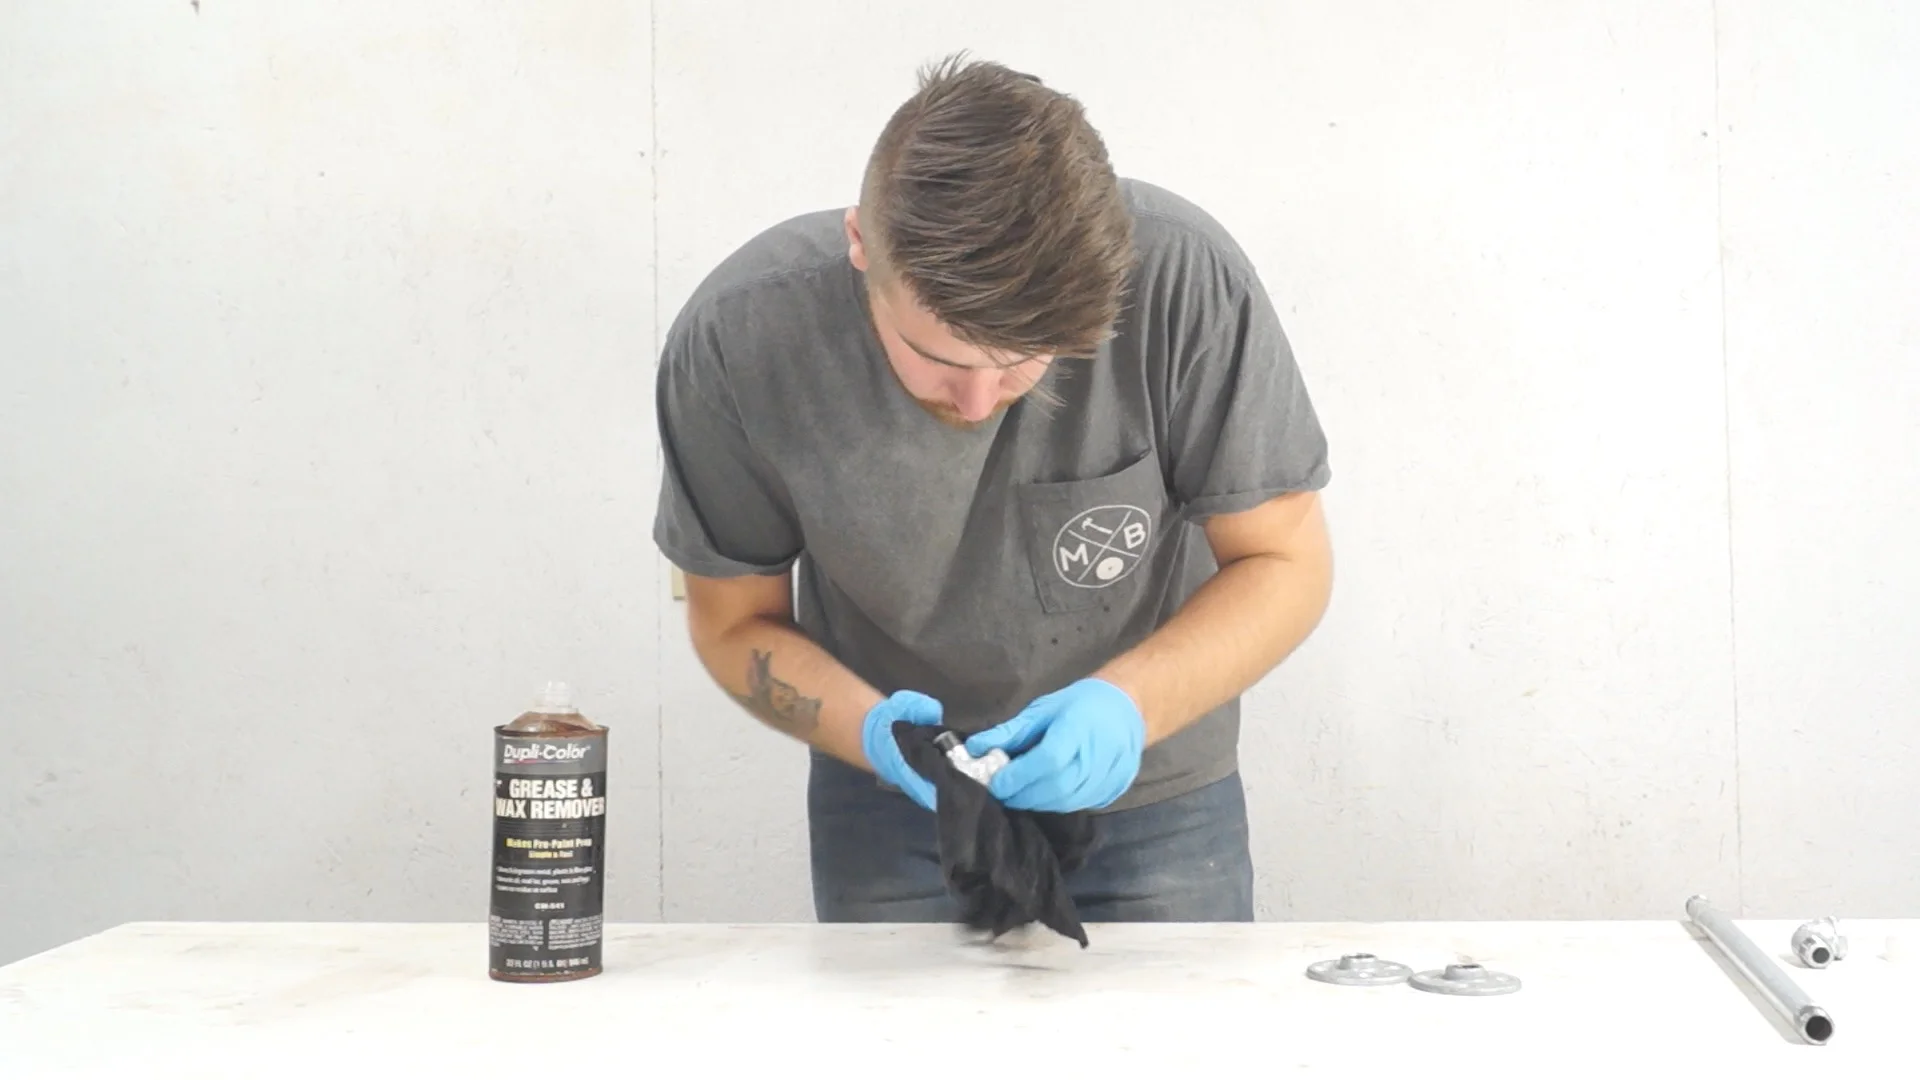
Galvanized pipe typically has a grease coating on them when you buy it, so be sure to clean them before you assemble them.
STEP SIX: FINISH STRONG
I applied three coats for a clear gloss spray paint. I sanded between coats.
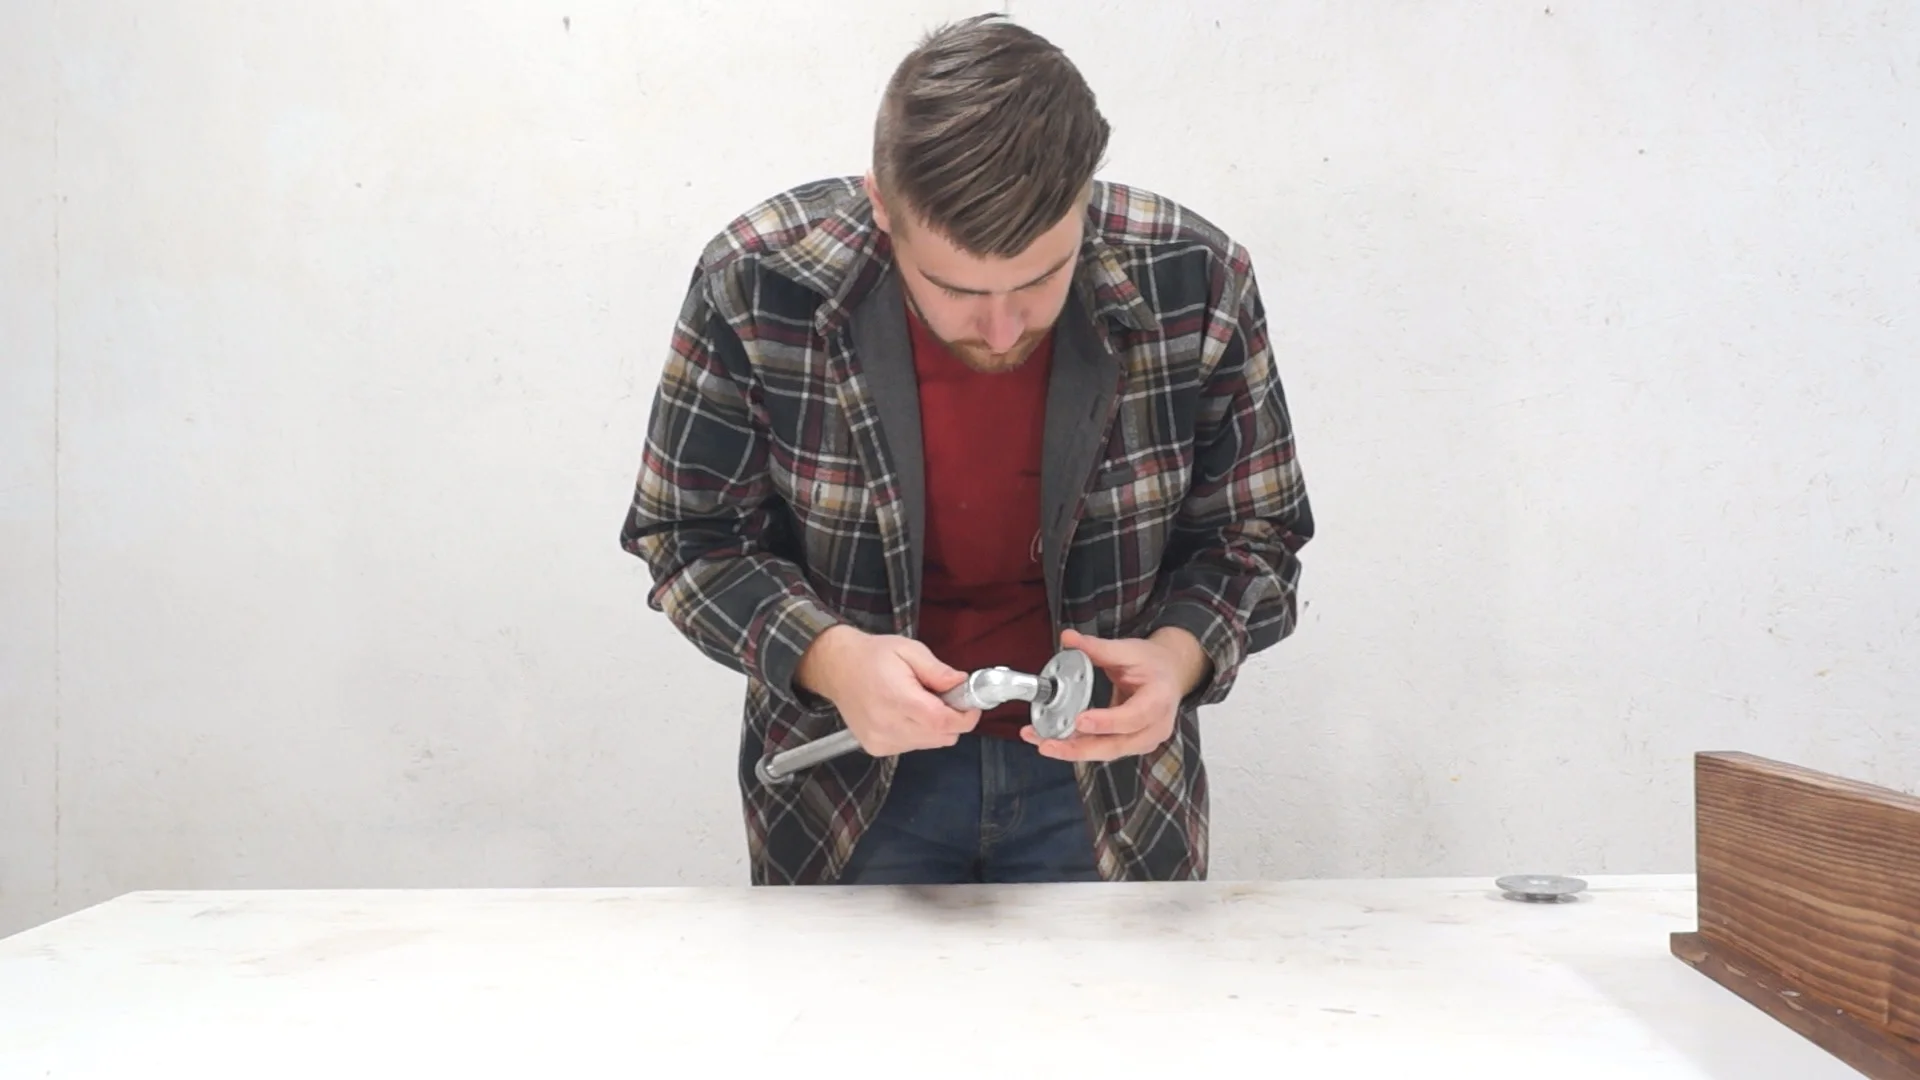
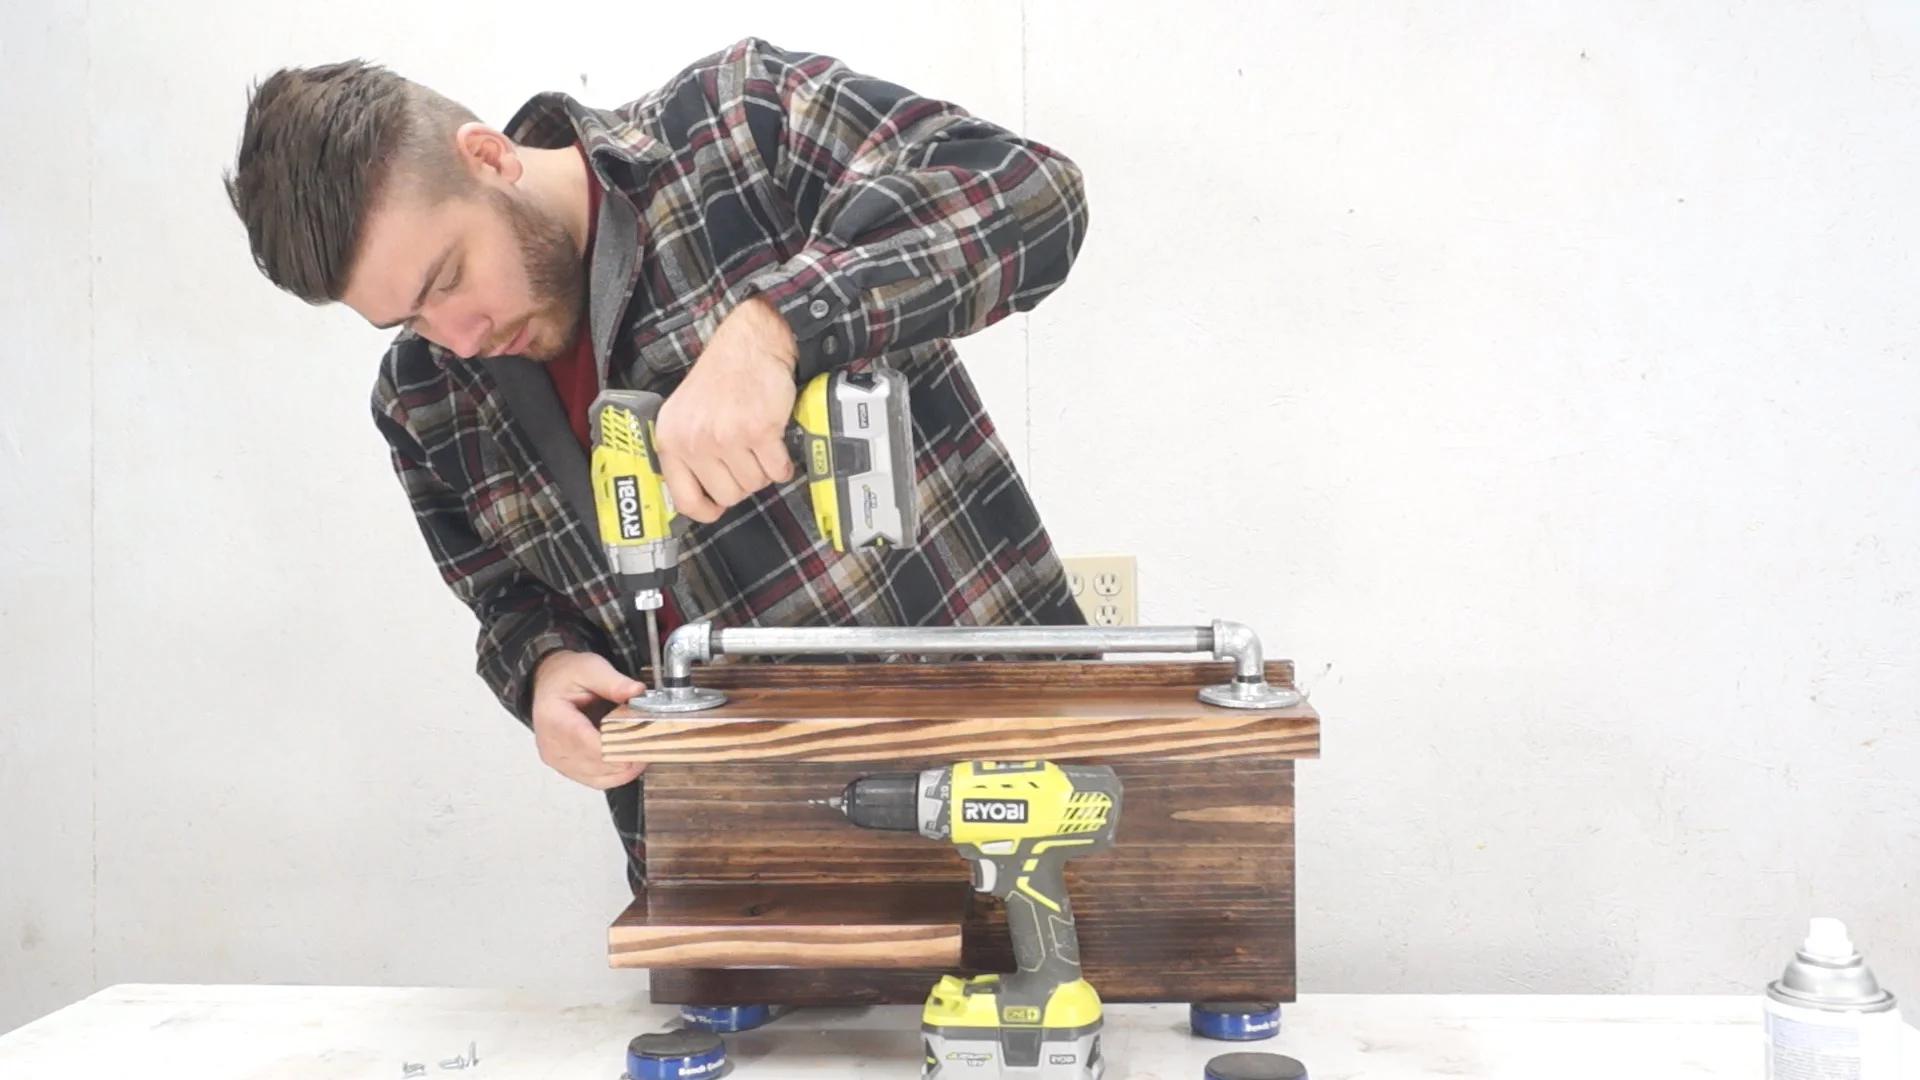
STEP SEVEN: PUT IT ALL TOGETHER
Now that the finish dried, I could attach the towel rack to the self.

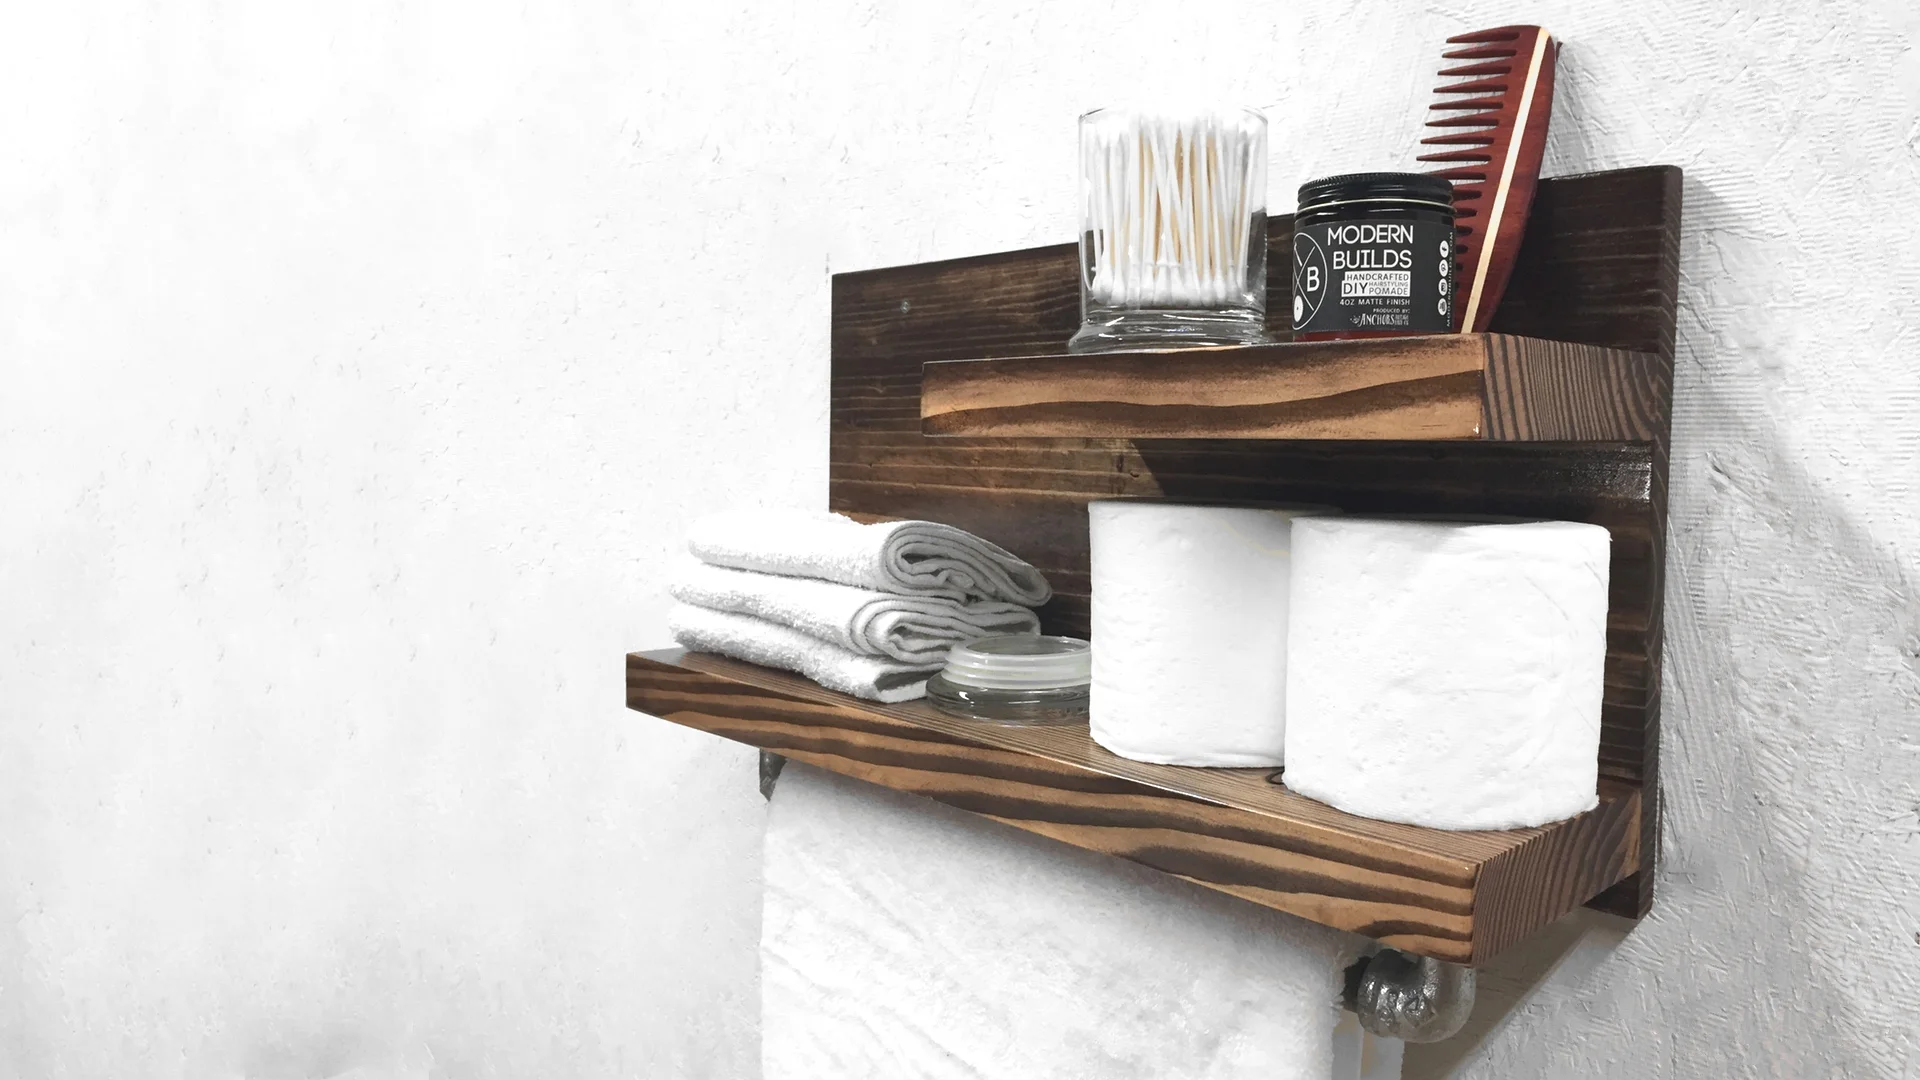
That's all there is to it! I hope you enjoyed it and go out and make your own. If you do, don't forget to tag me in a picture of it!
MORE COOL PROJECTS


GET IN TOUCH