diy 2x4 workbench
modern builds: s.02 Ep.10
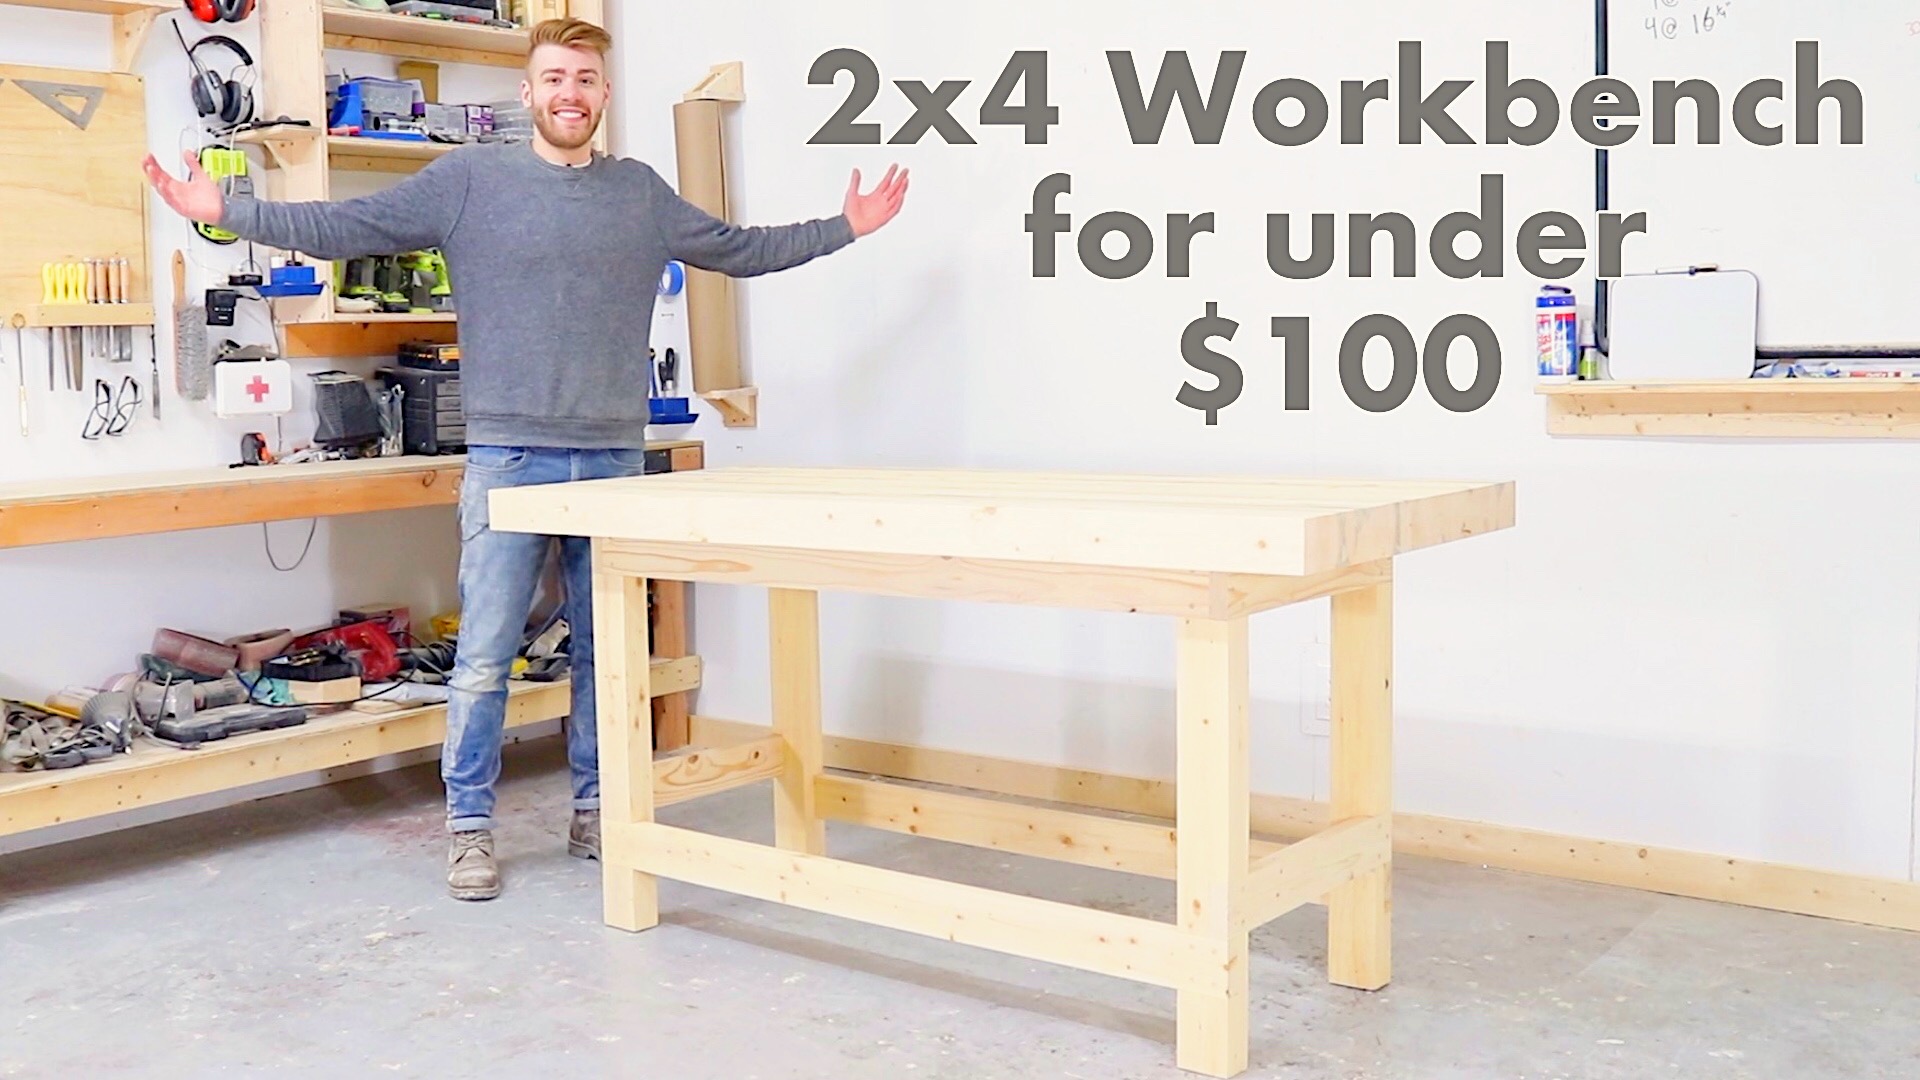
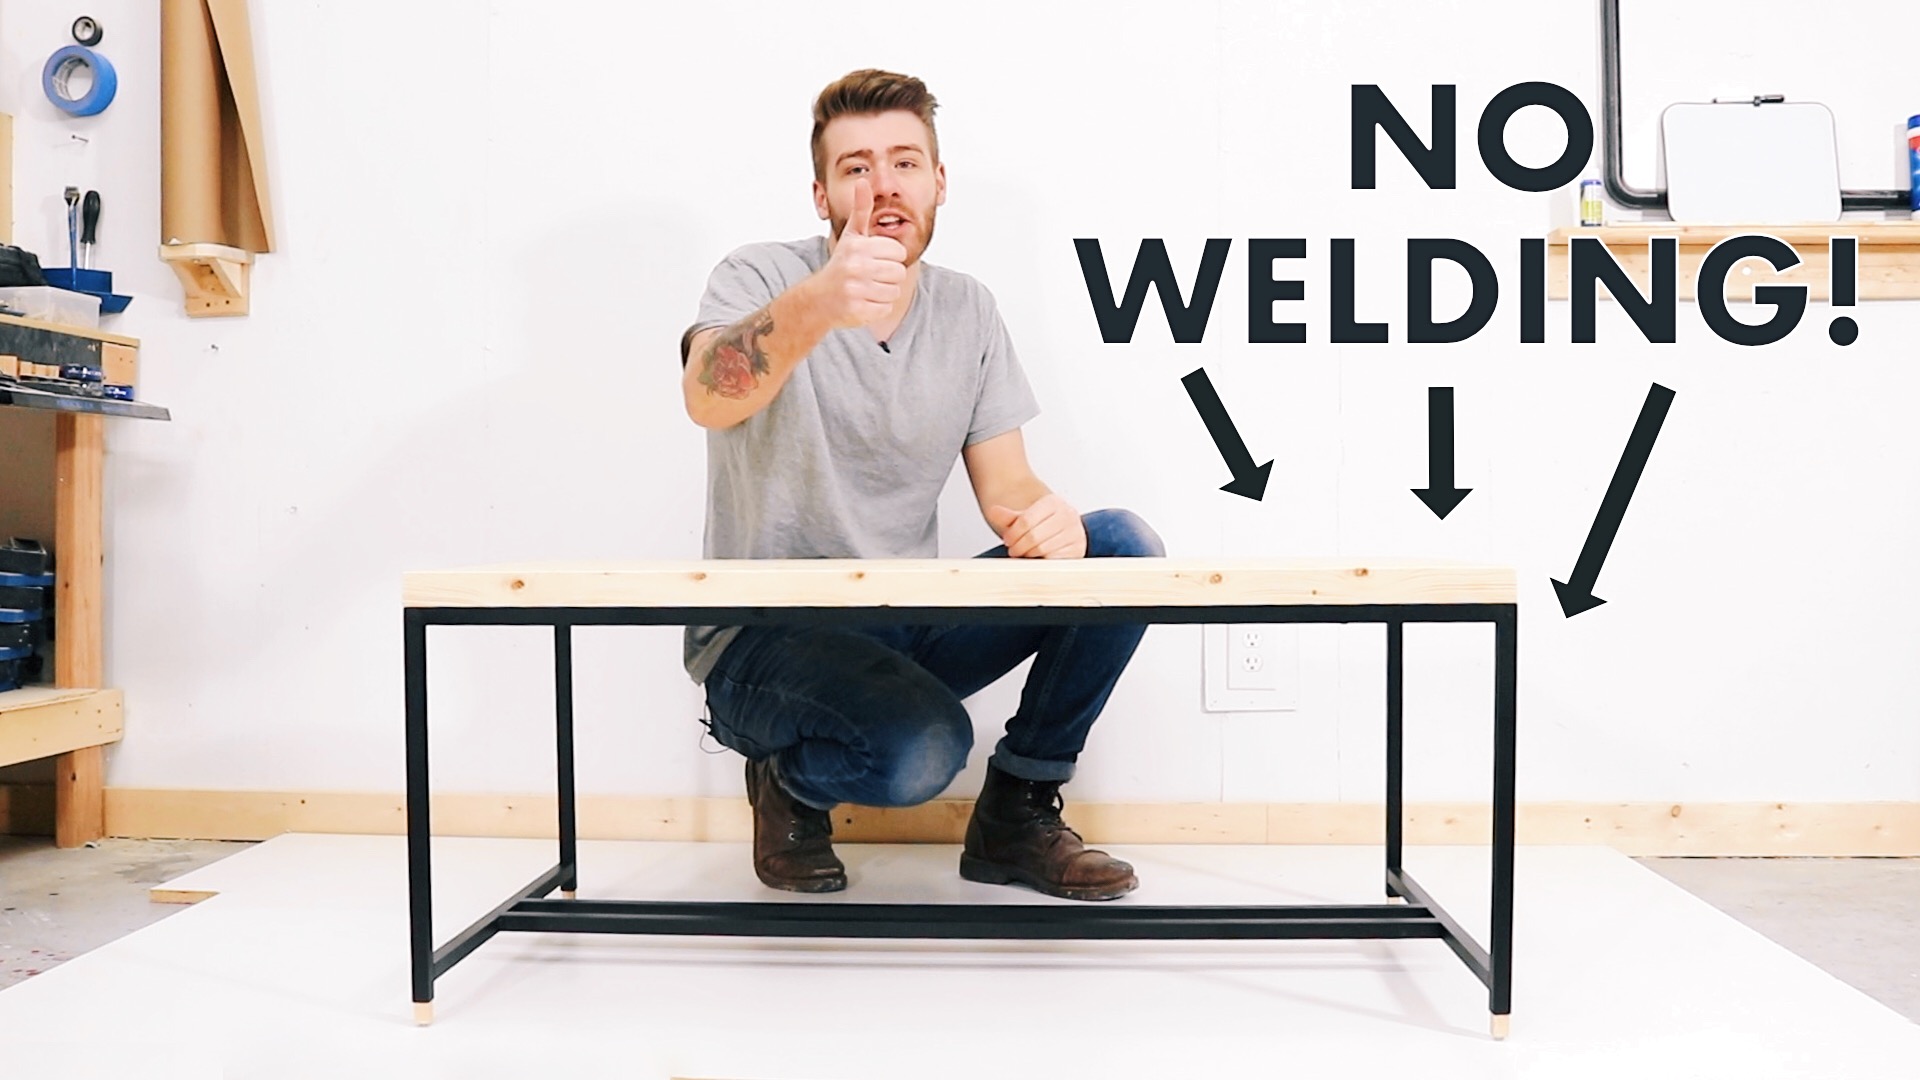
If you're building things, chances are you either have a workbench or need a workbench. whenever I moved into my new shop last year I bought the cheap workbench from Harbor Freight for about $140. It was better than I expected, but just not heavy enough or deep enough. It worked well while I needed it, but it's time for an upgrade.
This bench is made completely out of 2x4's and I'll have a supplies list below. Of course you could just grab a bunch of eight-footers, but I used 8,10, and 12 foot boards to make the most efficient use of my materials to keep it under $100. I talked about it in the video, which you should watch if you're planning on building this, and that is the wood I used. It's call blue pine or beetle kill pine. Essentially, it's normal pine used for 2x4's, but it's been infected with a fungus that will kill the tree. It also happens to turn the wood into this awesome blueish grey streak pattern in the sapwood.
I meant to make it all flat pack...you've heard the story at the end of the video though.
Materials and supplies:
- 2x4's (below)
- Wood Glue: http://amzn.to/2E74mCe
- Clear Finish: http://amzn.to/2sg97nL
- 3/8" dowel
- 2" screws
CUT LIST:
20 @ 72" (For Top)
8 @ 30" (For Legs)
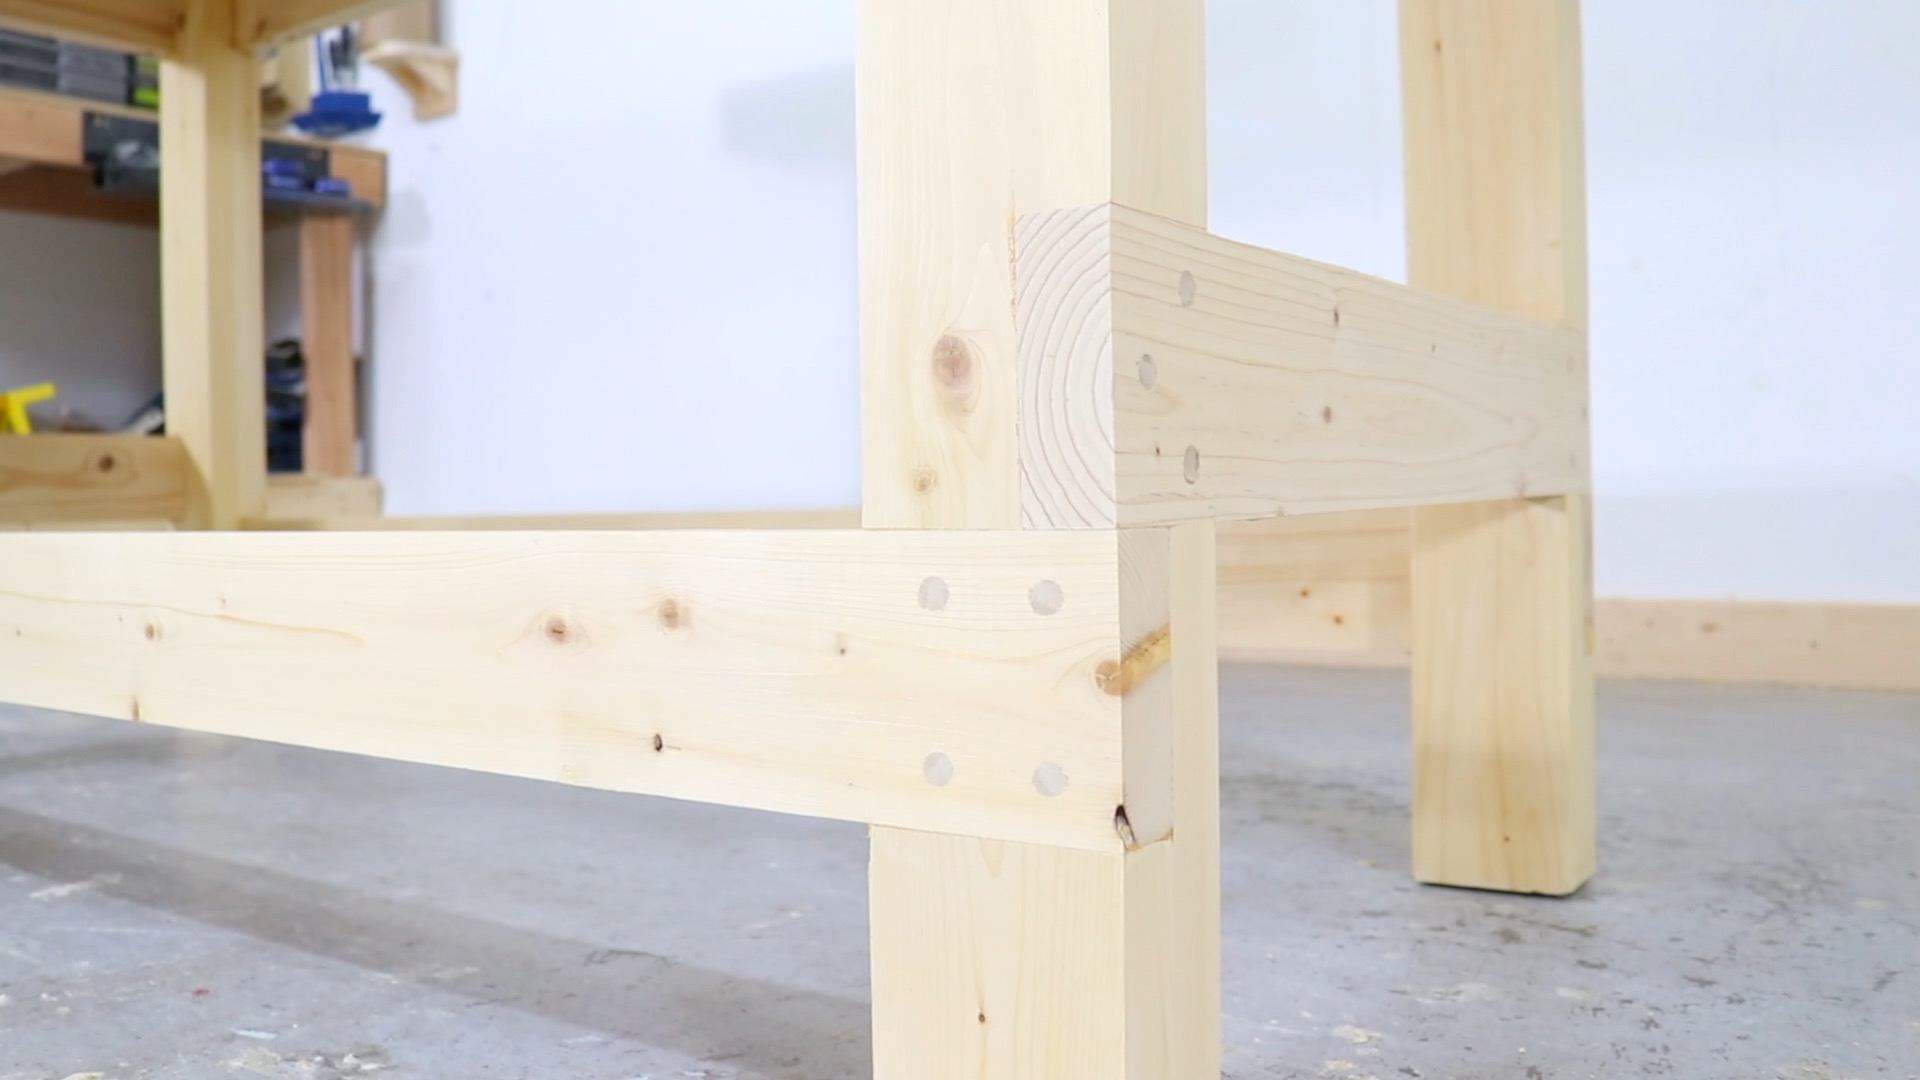
4 @ 24" (Short Stretchers)
2 @ 60" (Bottom Stretchers)
2 @ ~57" (Apron)


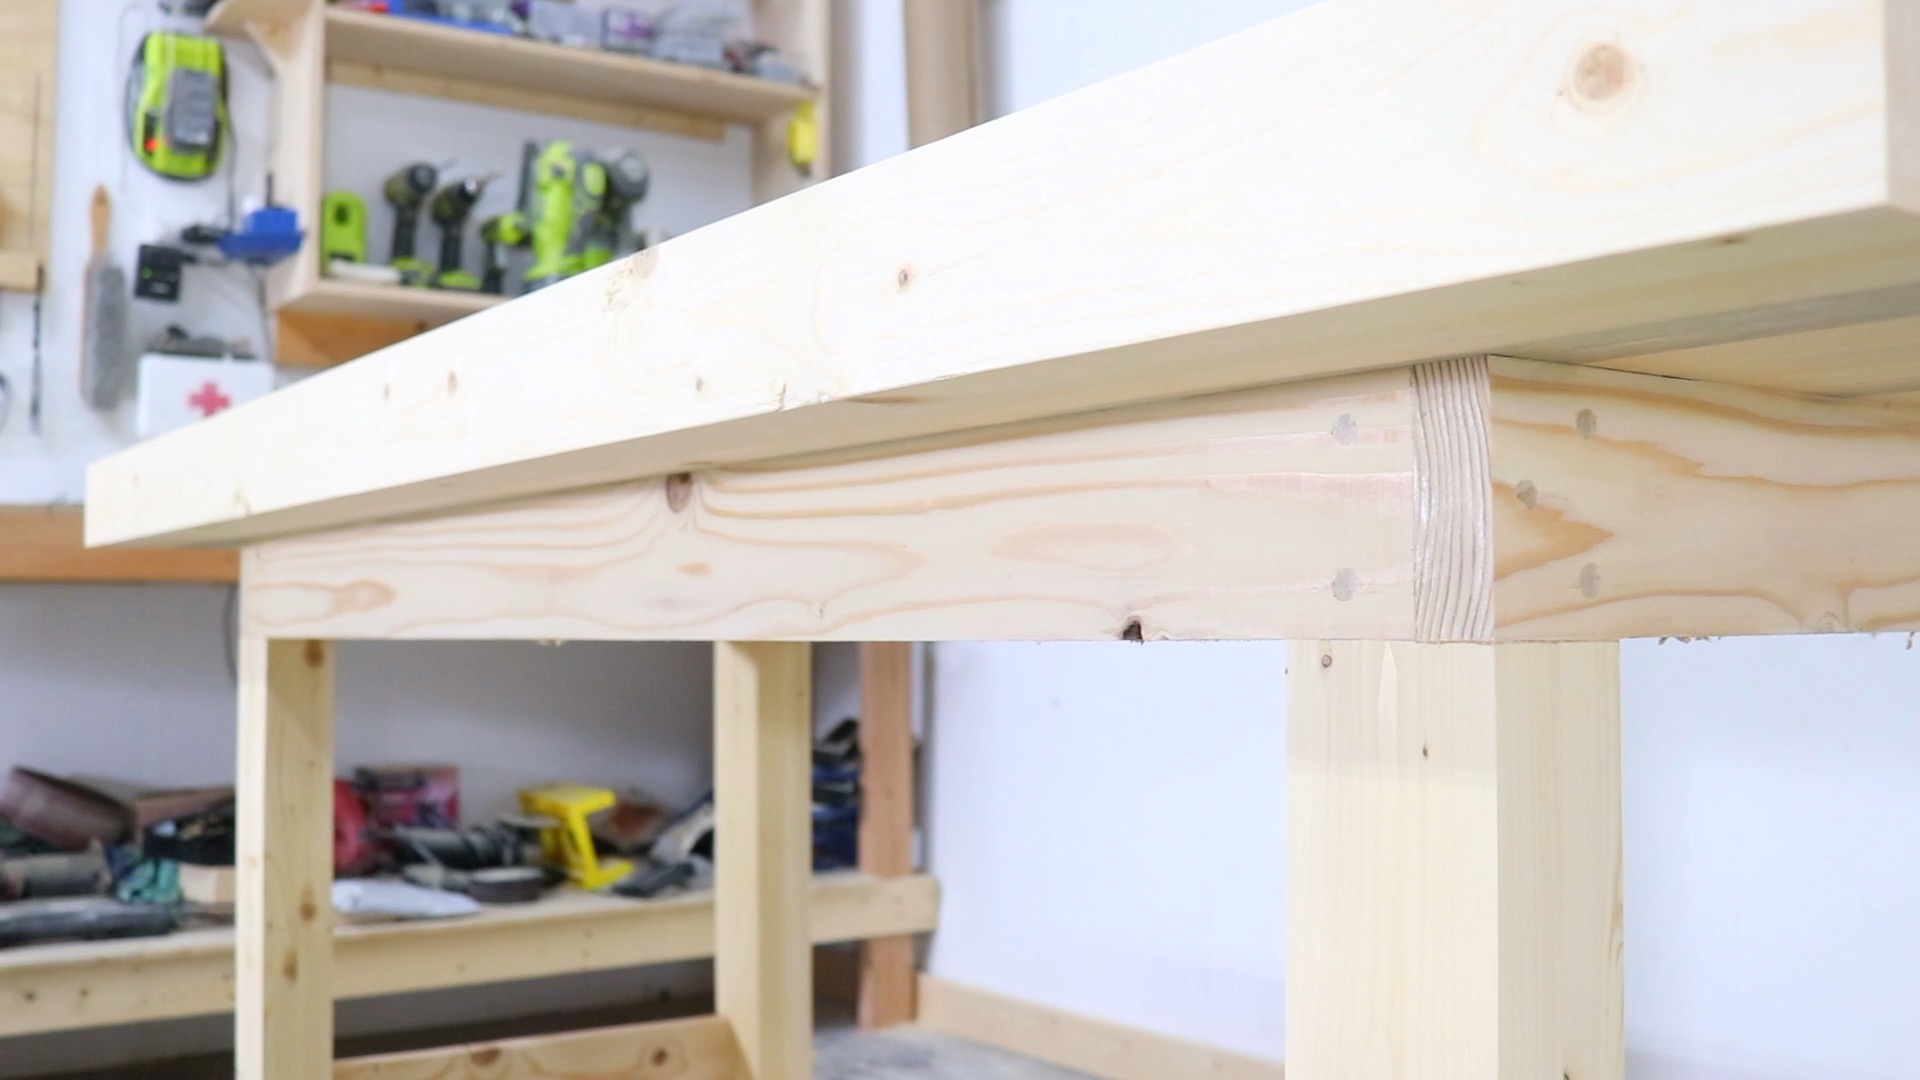
Before building the base, I ran all the 2x4's for it through the thickness planer. I made them all 1.25" thick to remobe the rounded edges and get them all the same size.
Making the lap joints is simple with either a table saw or circular saw. Just be sure that you keep track of where you're cutting thorughout the process. Don't get mixed up.

I glued and screwed the base together. I used my pocket hole drill bit to create a recess for the screw heads to sit into. That way I could come back with a 3/8" dowel to cover the screws.
Before I glued and screwed my 24" stretchers on, I clamped averything up to make sure it was going to go together square.

I glued my workbench top in three sections. This allowed me to take my time on each sections to make sure everything stayed as square as possible. Also, I was able to run the three sections through my thickness planer to remove the rounded edges before I clamped up the table top as a whole.
I talked about wood movement quite a bit in the video. Basically what I did to account for it was drill oversize holes in my apron so that as the wood expands/contracts the screws have room to move too.
I put on 4 coats of polycrylic as a finish. its fast and easy and should help keep wood glue from sticking to the top so much.

If you have any questions or find any issues with the article, feel free to get in touch.
more cool projects: