DIY CHEVRON PATTERNED DOOR.
modern builds: s.02 Ep.44
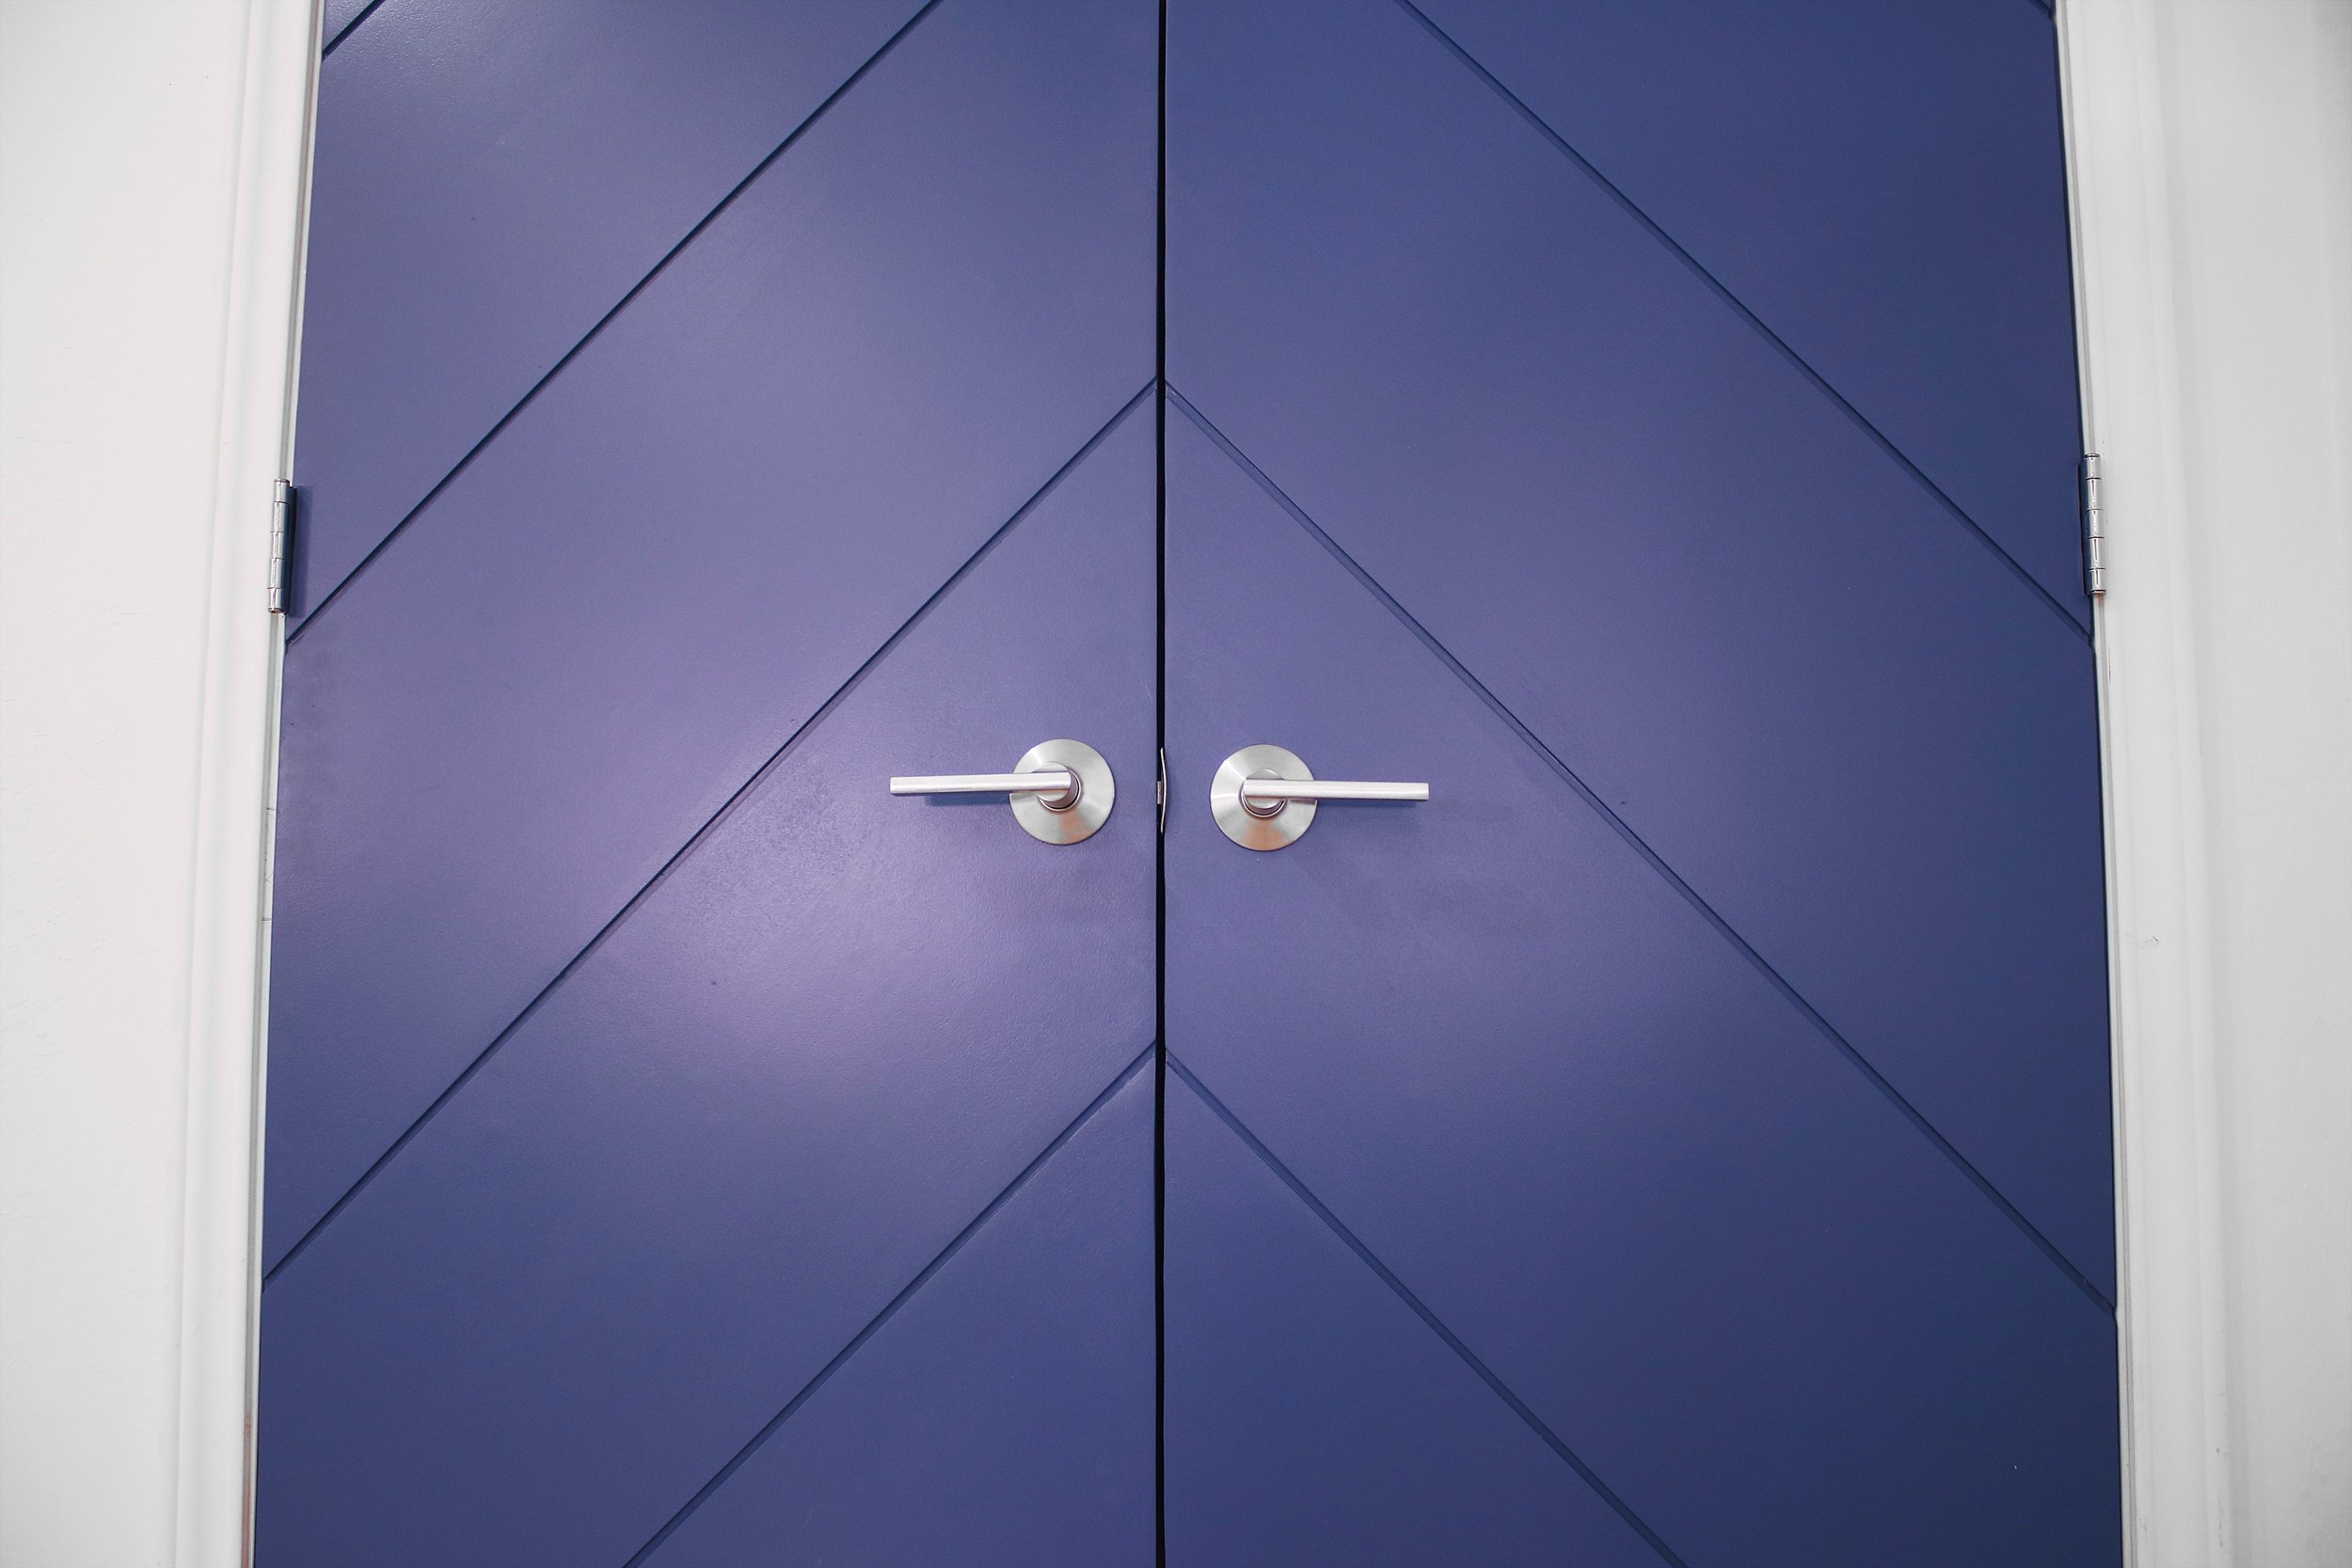
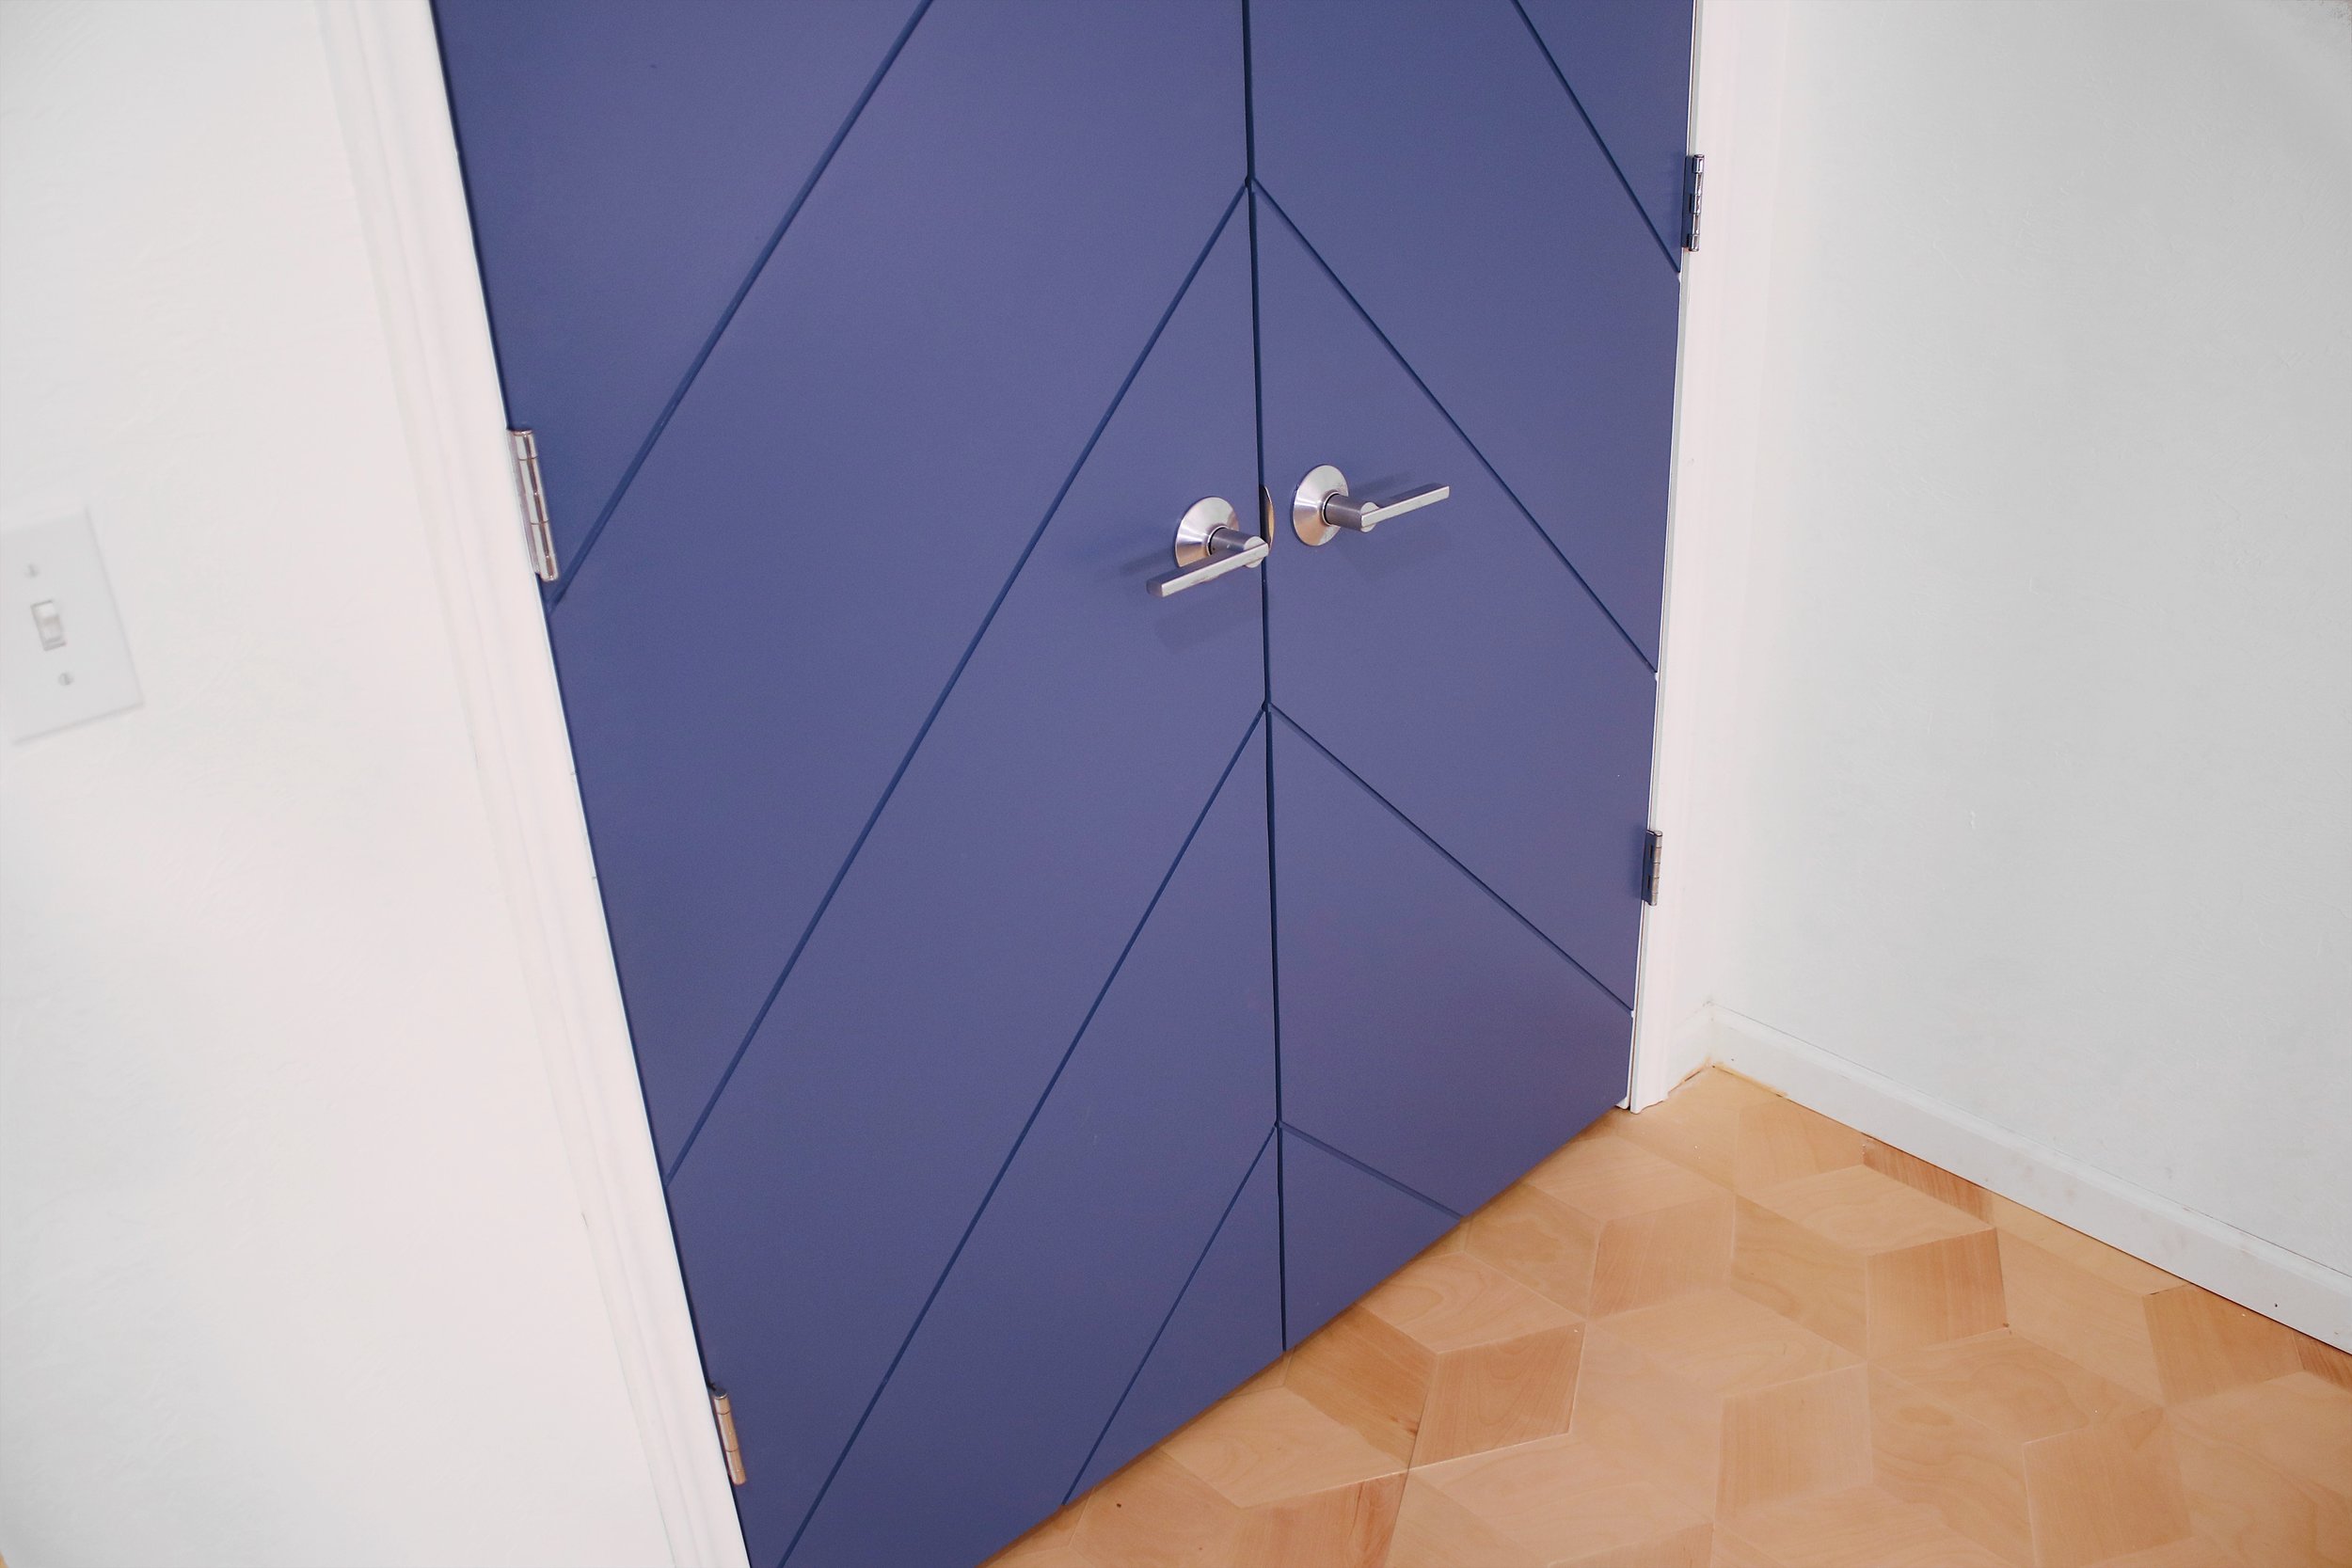
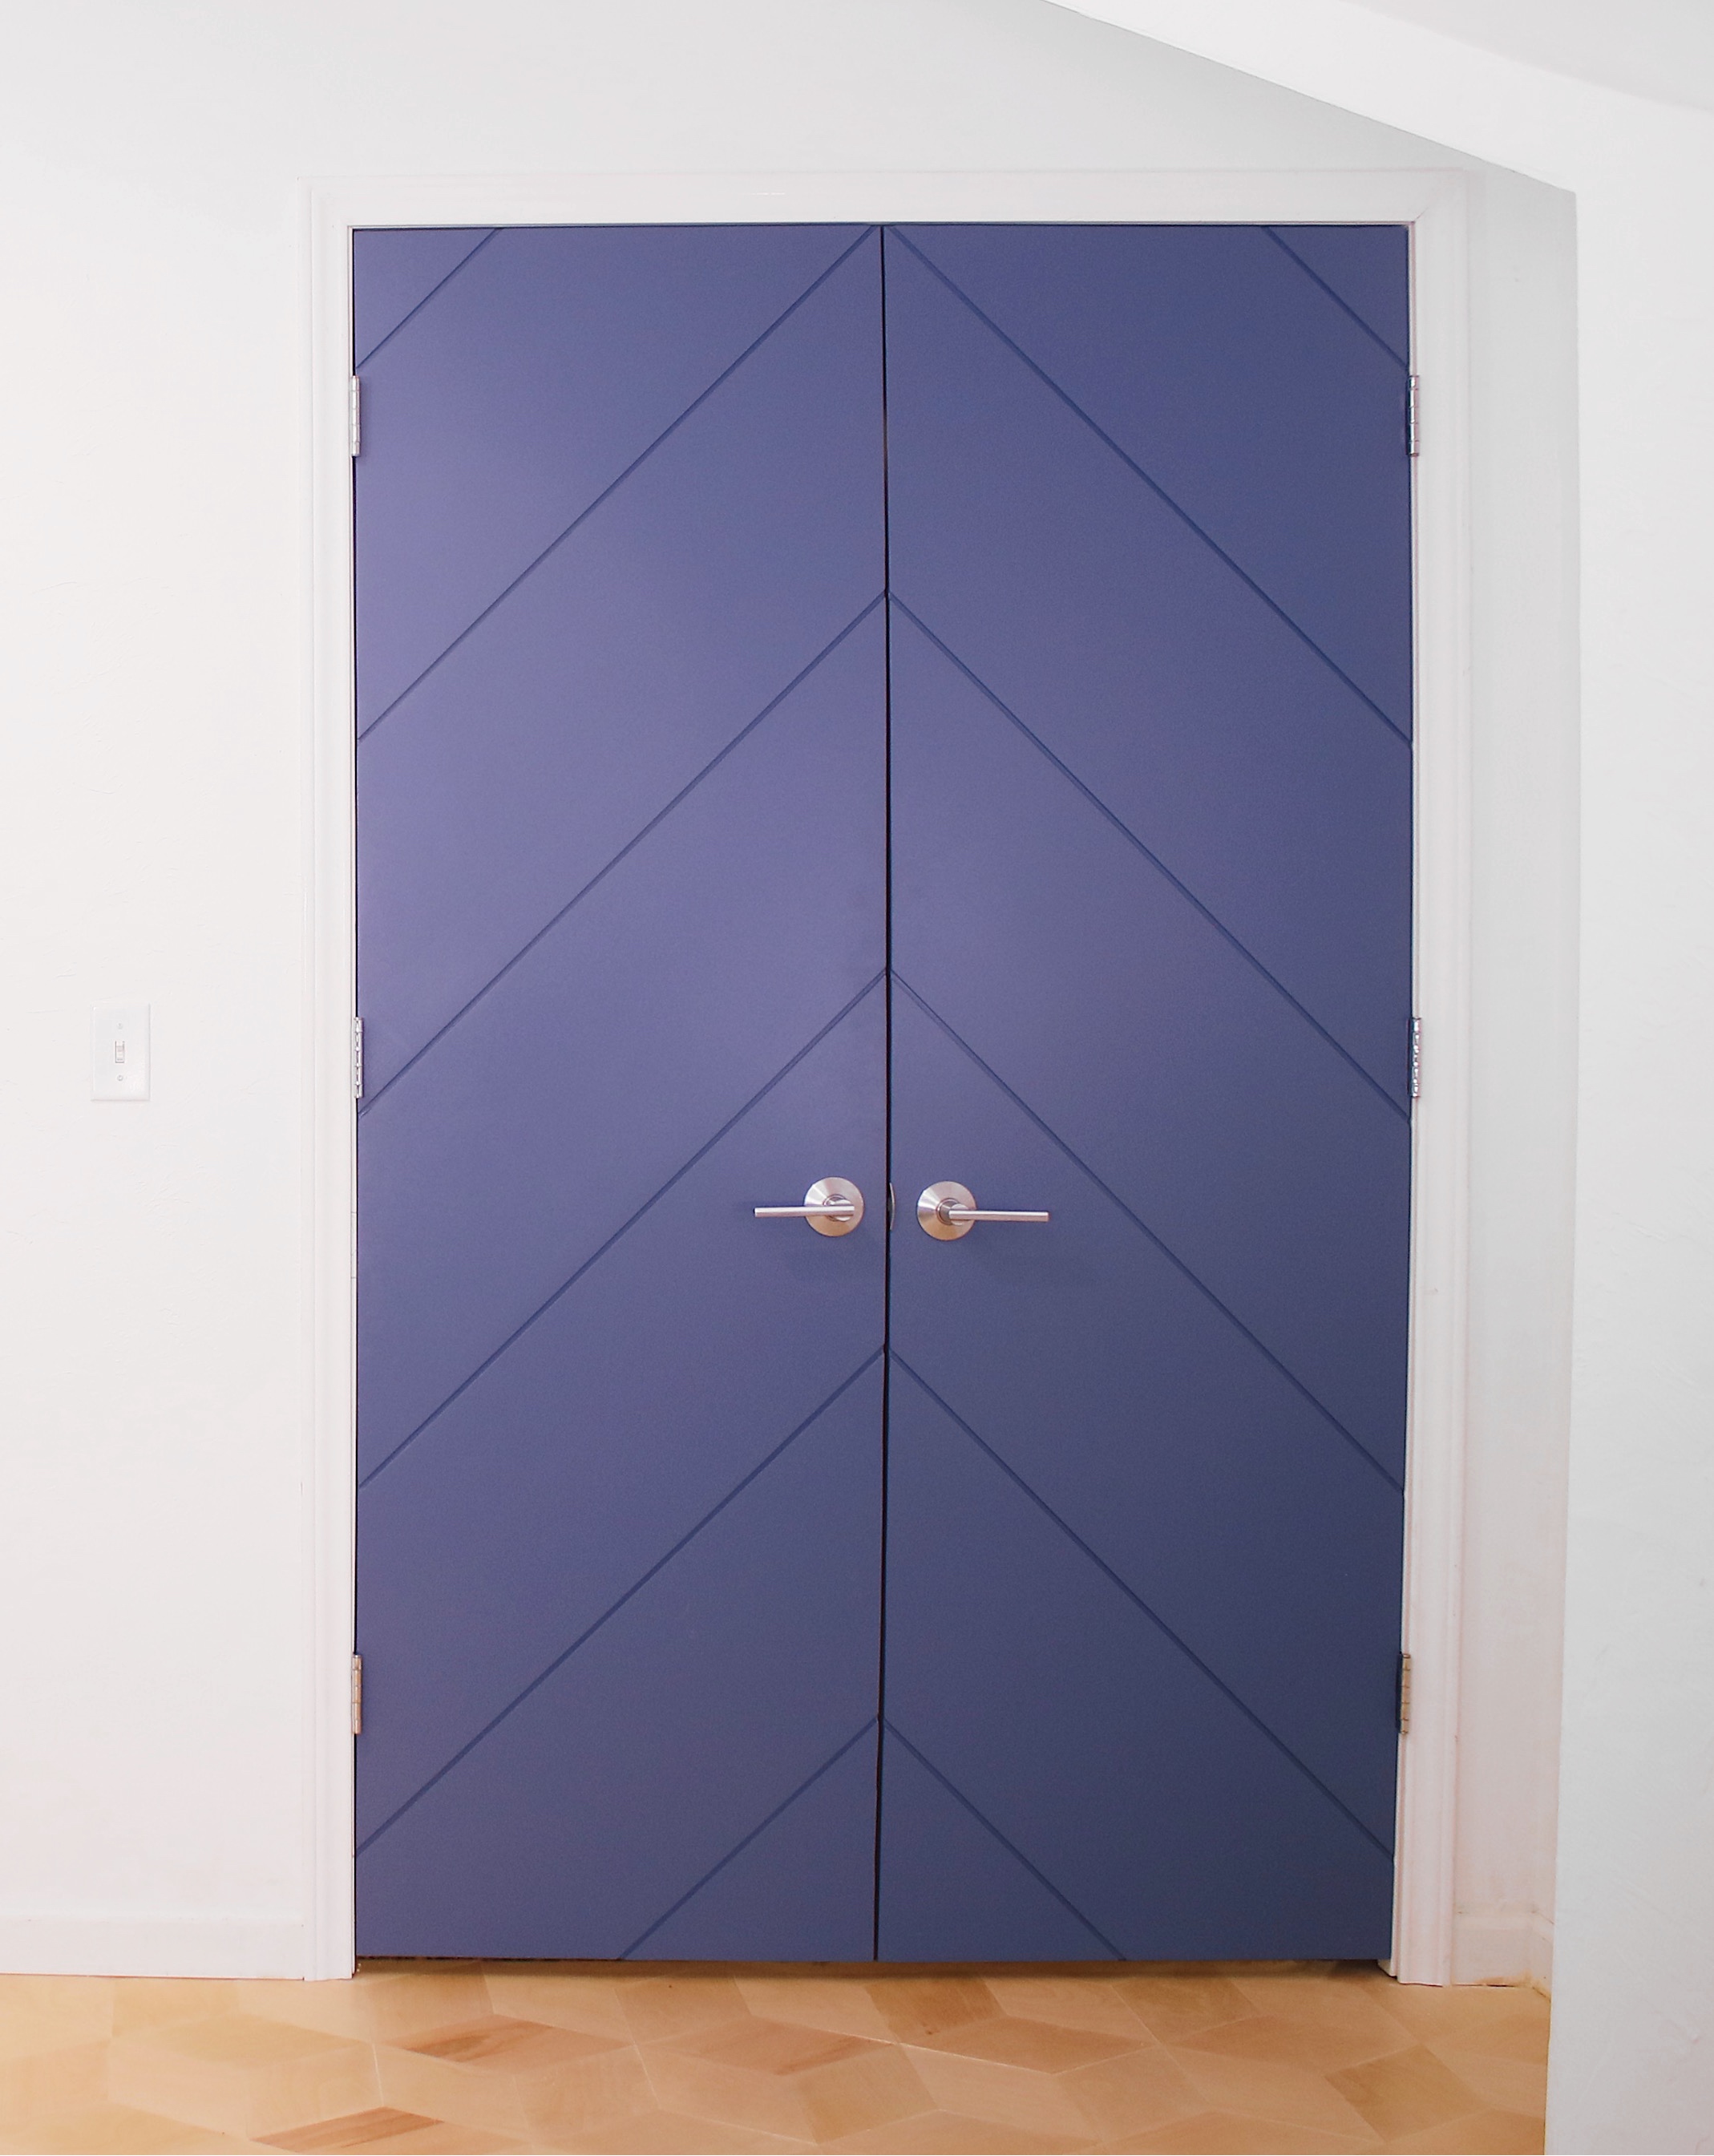
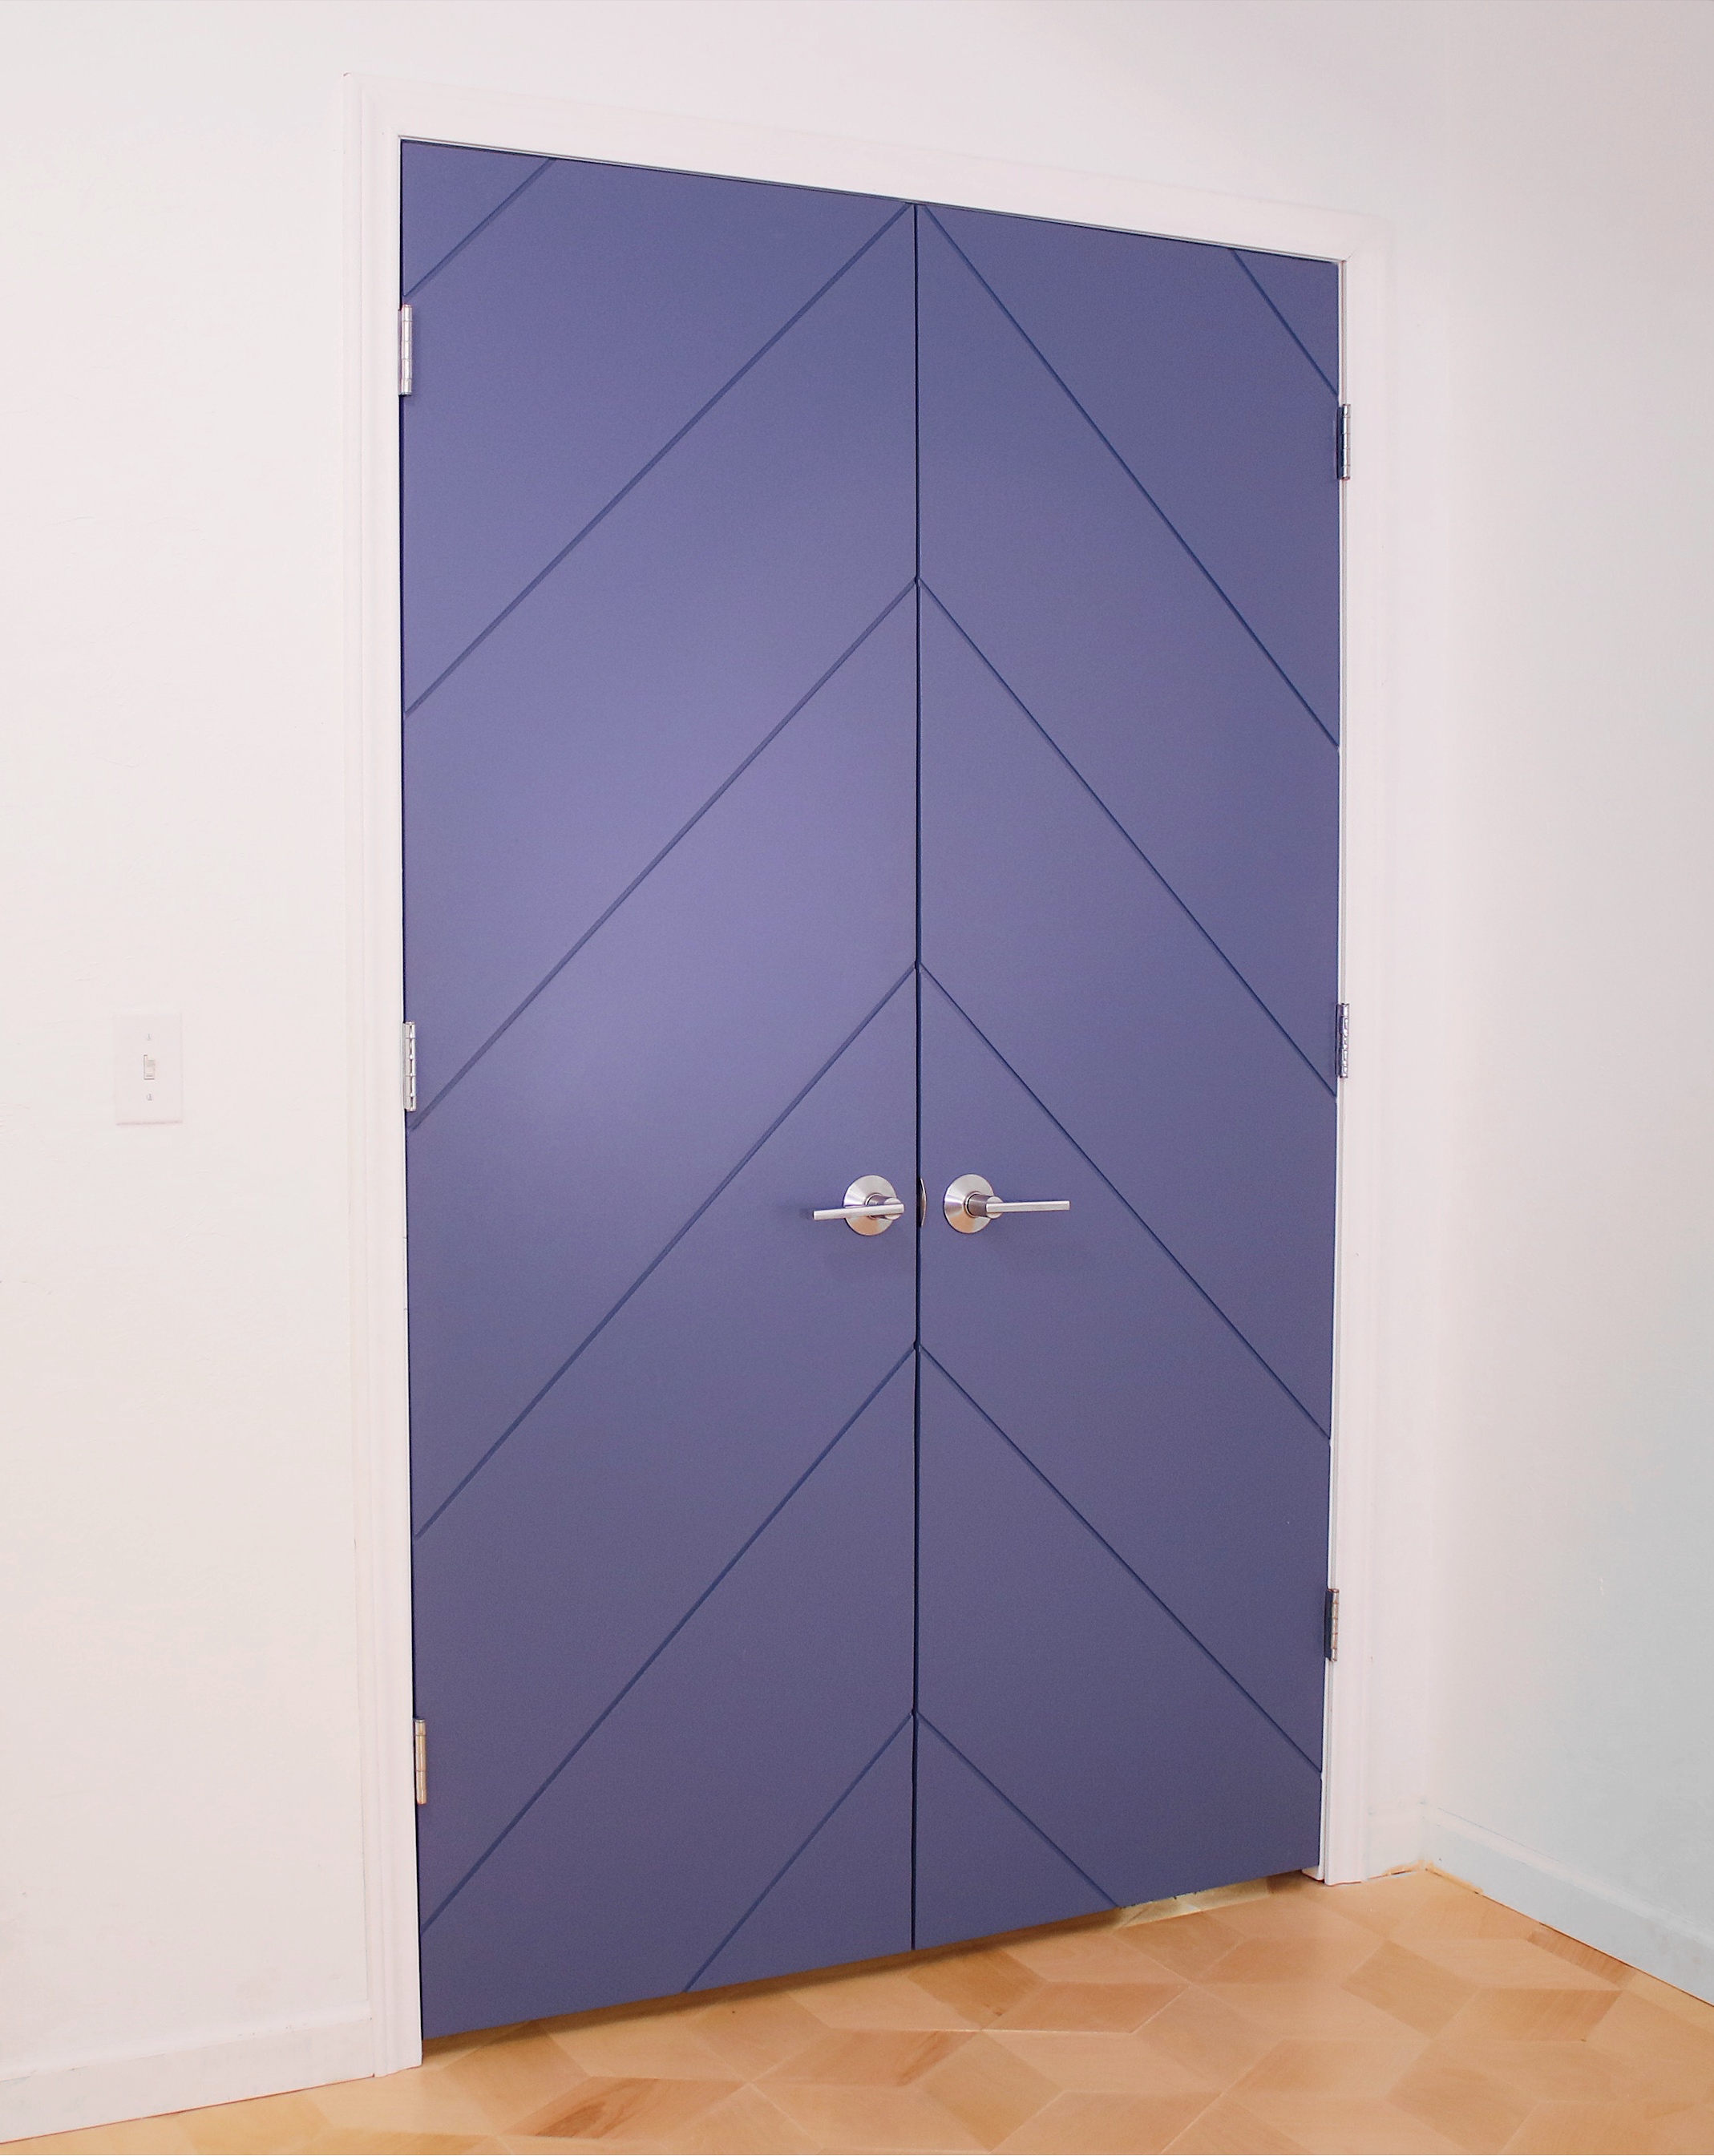
From closet doors to bathroom doors, out of date entrances exist all over the place. Flat panel doors area common and are essentially a blank canvas, ready to be upgraded. These doors are in my parent’s attic leading into the new Home Theatre that converted from an attic. The chevron pattern seemed like the perfect fit for a classic cinema feel, while keeping it a do-able DIY.
Below, I’ll list the supplies I used as well as step by step directions. No need for pdf plans today, it’s an easy project and everything will be covered below (as well as in the video)
Pinning my projects helps spread the word! Thanks in advance :)
Stuff I used:
3/16" Hardboard: https://thd.co/2CRp6v5
Gorilla Wood Glue: https://amzn.to/2Ho4nBX
Ryobi Finish Nailer: https://amzn.to/2w2csWp
1" Finish Nails: https://amzn.to/2VJZ3Sj
Door Handle: https://amzn.to/2JJXGf9
Circular Saw: https://amzn.to/2LOZI05
12" Speed Square: https://amzn.to/2Q9Rn5B
Wood Filler: https://amzn.to/2W6UZuy
STEP 1: Cut Hardboard
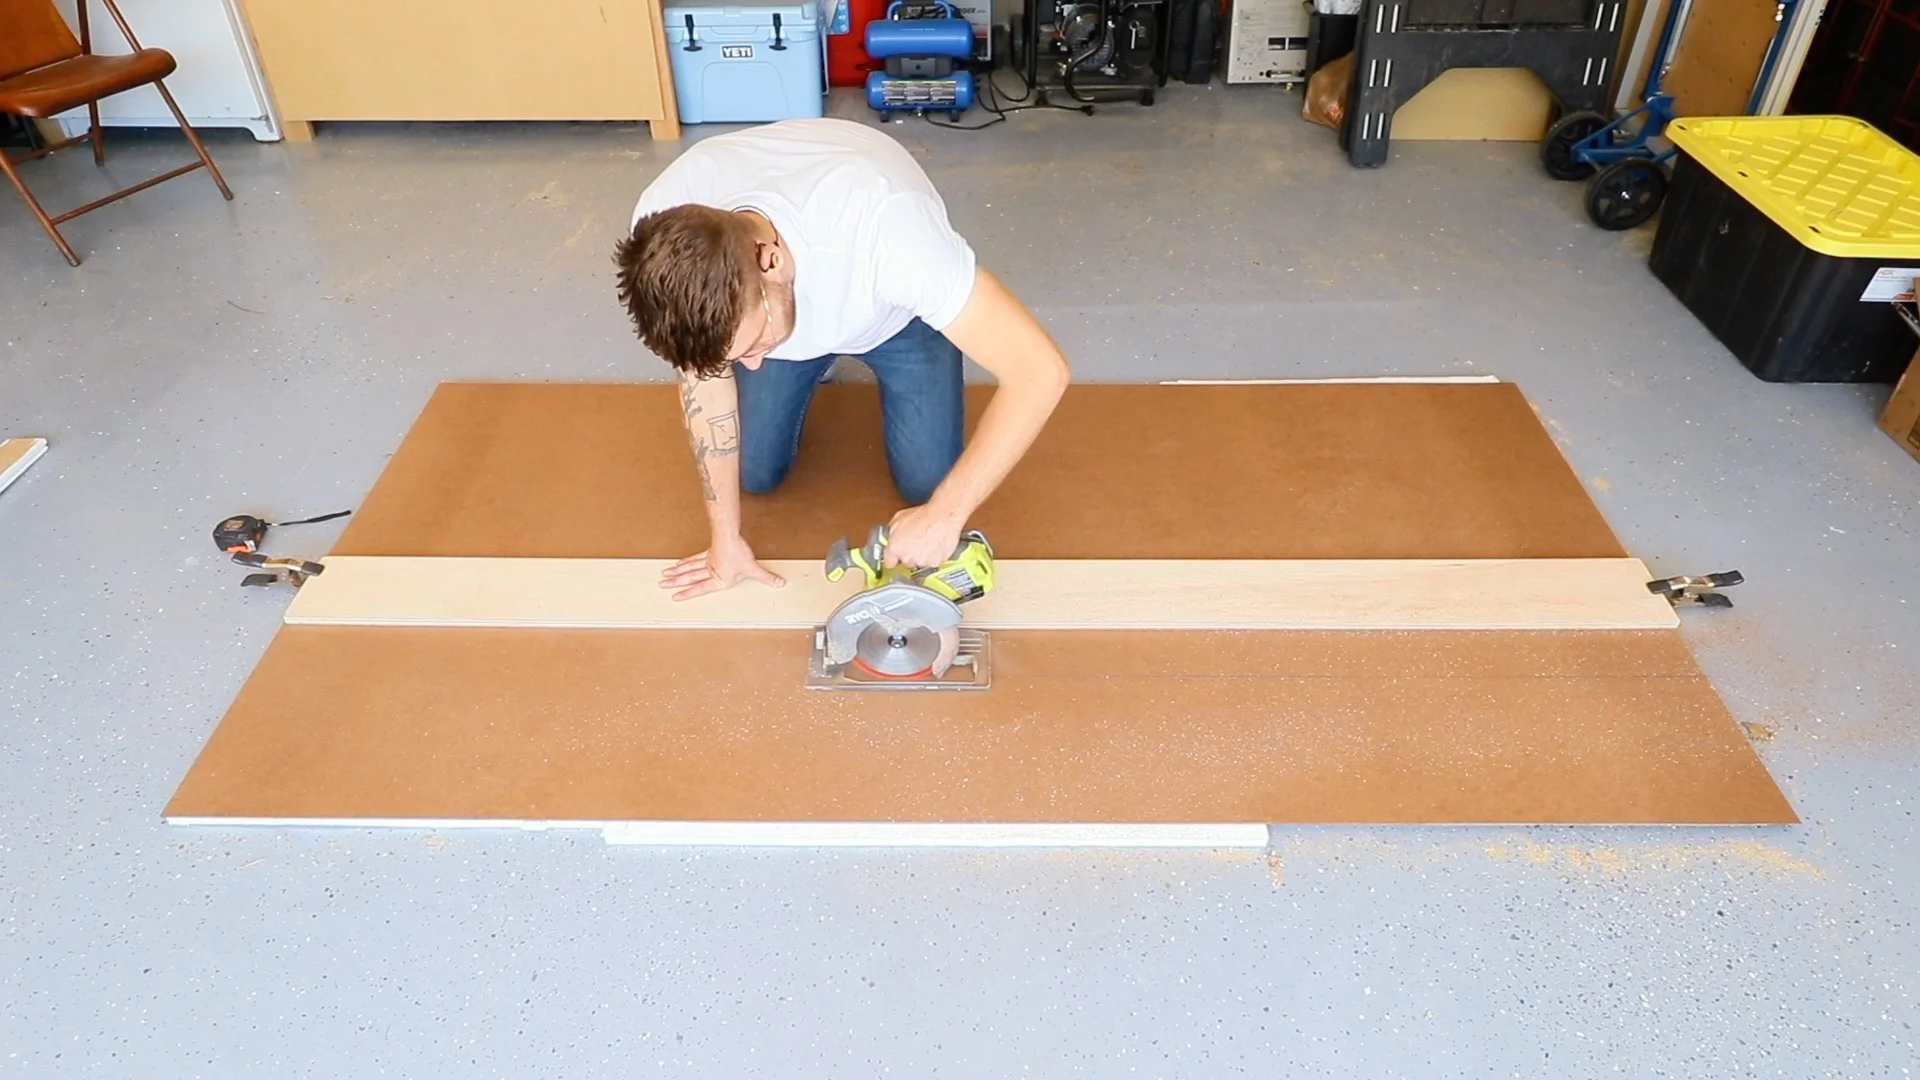
I cut the 3/16” hardboard to size (just under 12” strips) with my circular saw. I used a straight edge clamped to the hardboard to make sure my lines were straight and consistent. Here I’m using a piece of 1/5” polystyrene insulation as a cutting mat.
A 12” speed square is a great cutting guide for the pieces on this door upgrade.
STEP TWO: ATTACH PANELS
I used Gorilla Wood Glue for a long lasting bond. To hold everything in place while the glue dried, I used 16 gauge finish nails. The space you see me using is a cheap Home Depot ruler that’s approx. 3*” thick.
STEP 3: CUT TO FIT
With all of the panels that were unique, I would put the oversize piece in place and use a sharpie to mark the line to be cut. Because I was planning on sanding everything down in later steps, I made sure the panels were about 1/16” oversize. Better safe than sorry as I say in the video :)
STEP 4: PAINT
Be sure to paint the grooves before you paint the faces of the doors with a high density foam brush and foam roller
STEP 5: INSTALL HARDWARE & DOOR
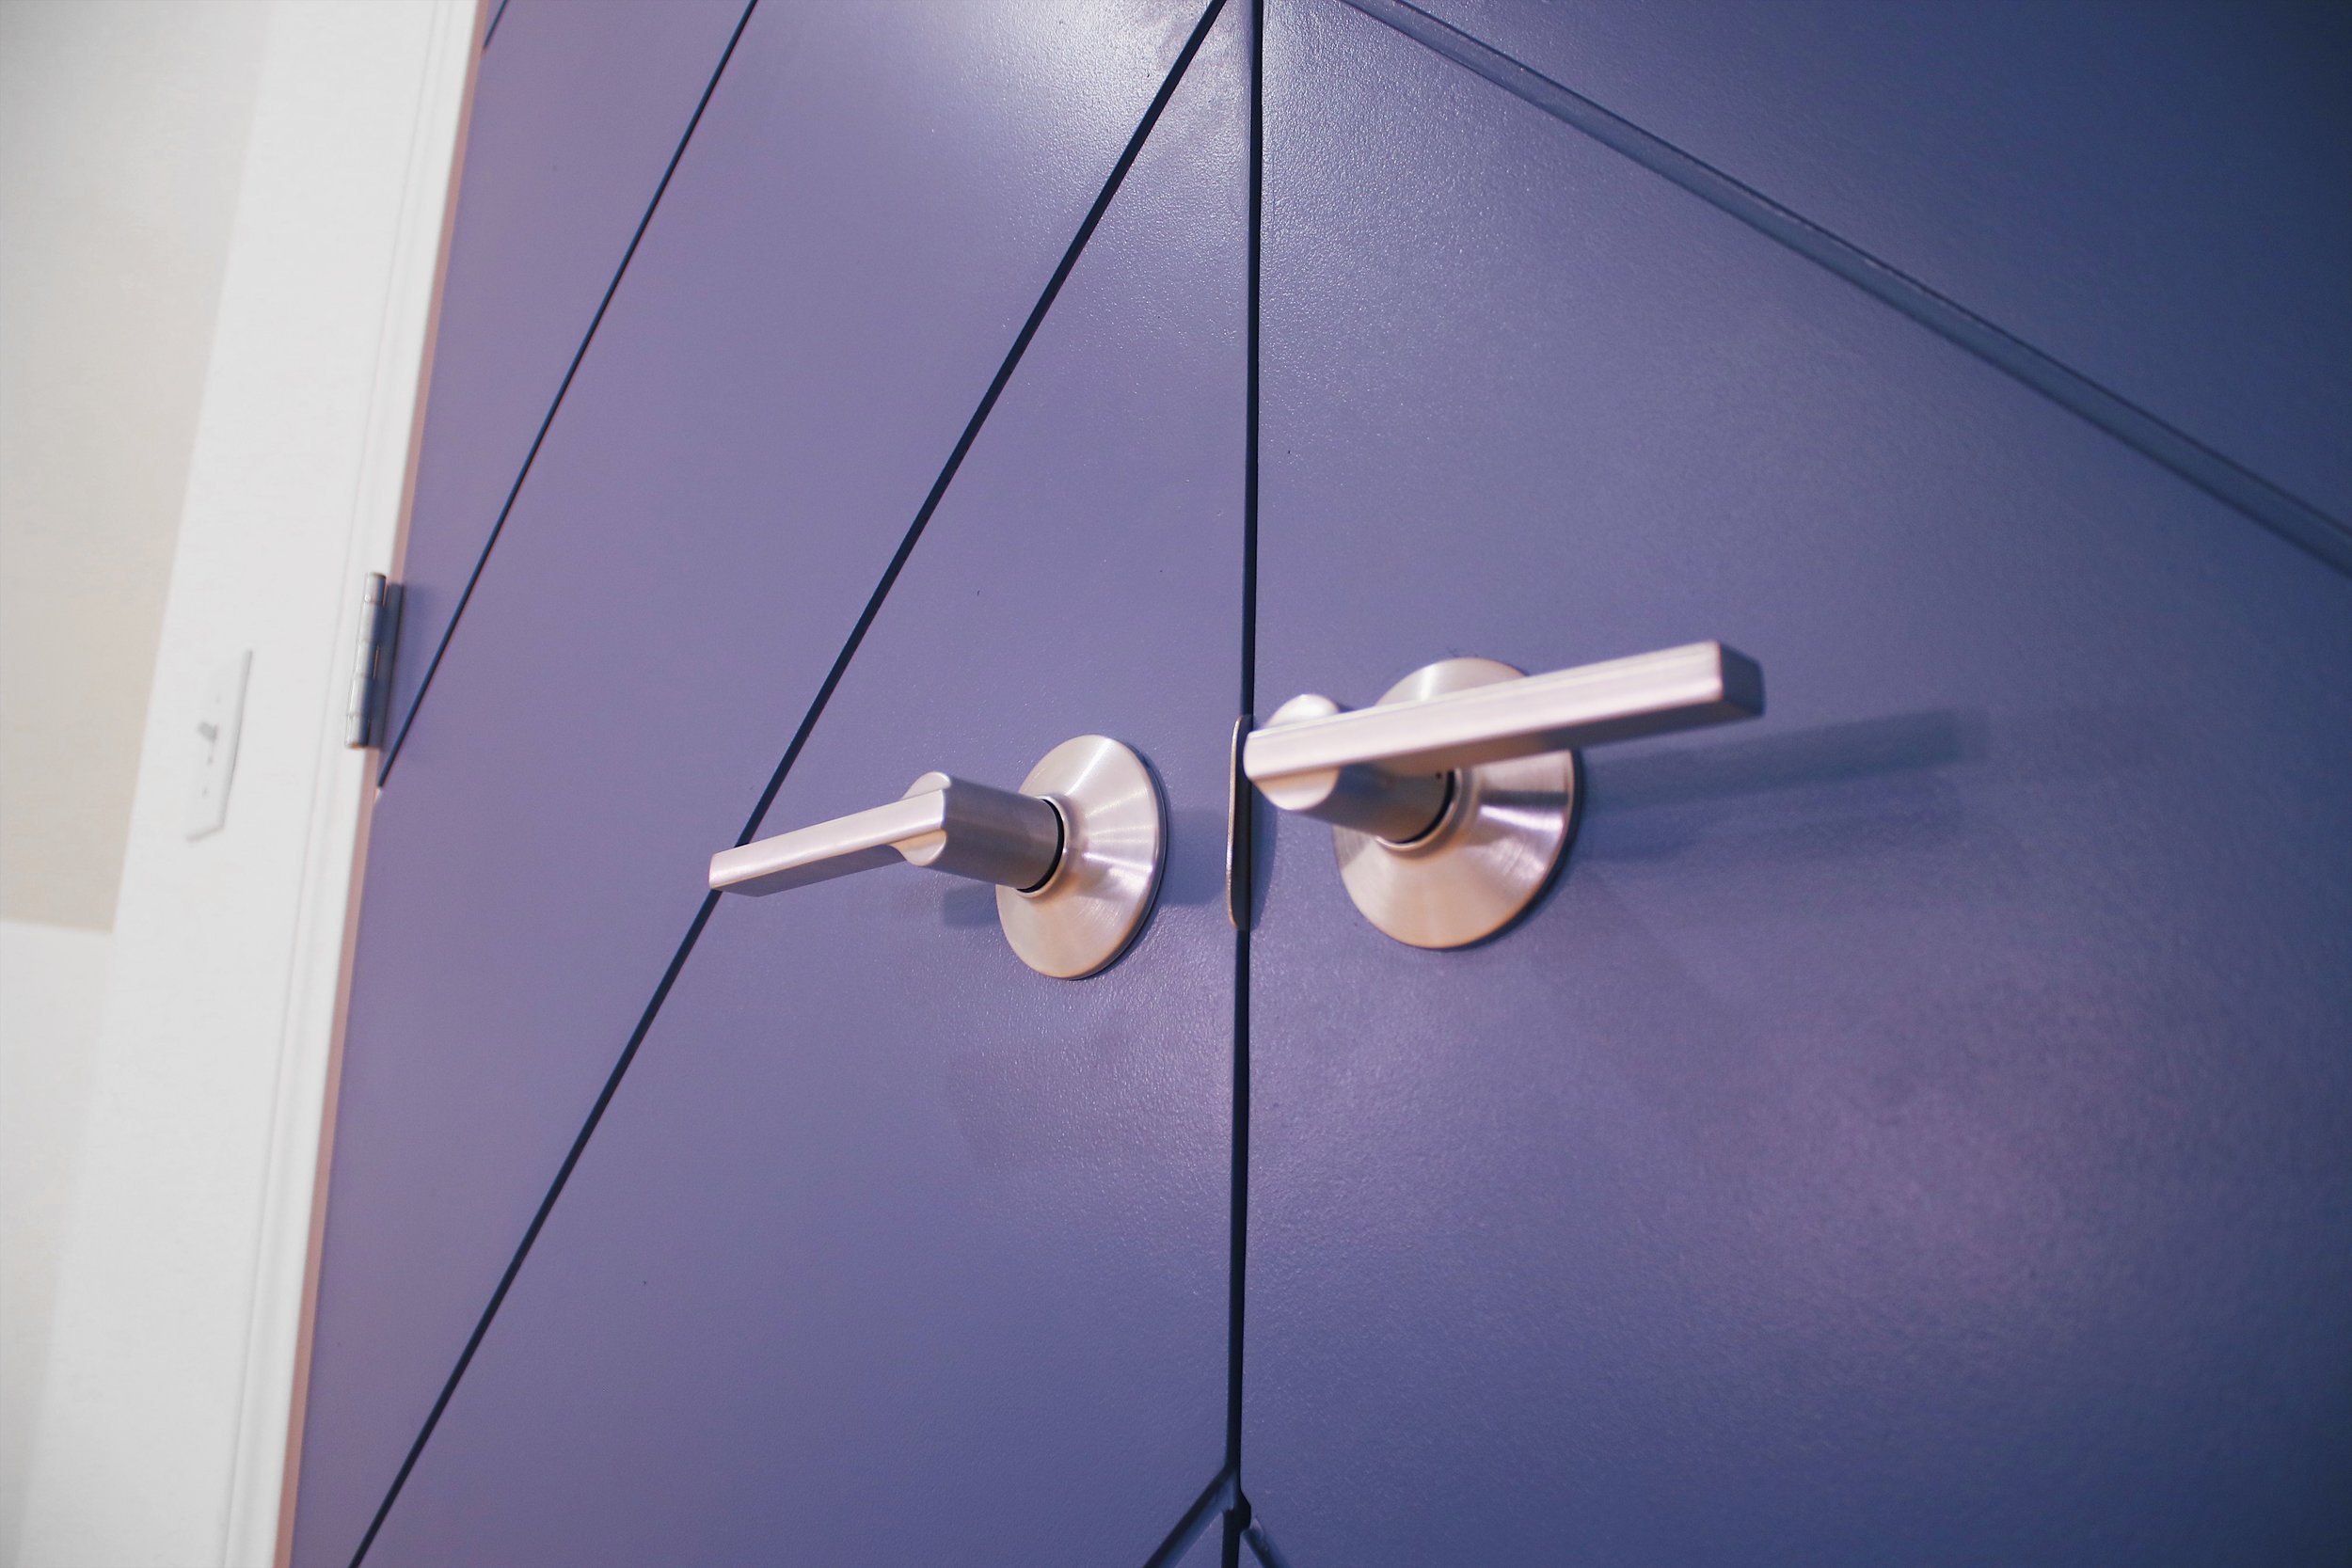
Once the paint had plenty of time to dry, I installed the new handles and hinges, both linked at the top of the post.
If you have any questions or find any issues with the article, feel free to get in touch.


