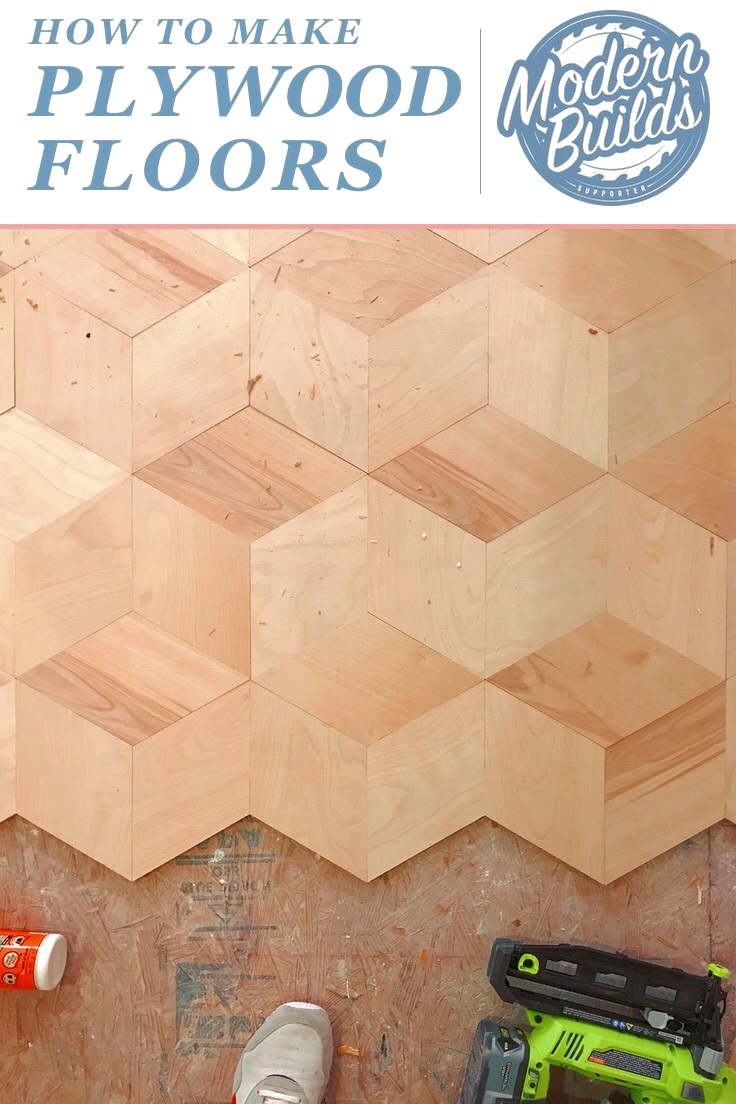
How To Make Custom Plywood Floors
modern builds: s.02 Ep.45

This project has been on my list for a LONG time but I had been nervous to try it. It seemed like a big undertaking that could go terribly wrong if errors started to pile on top of each other. I’m sure there’s still potential for things to go astray, but as long as you take your time and measure twice before each step, you should be all good!
I decided to use 1/2” birch plywood for my floors. It’s light colored, which looks great in the relatively small space this is going it, and doesn’t expand and contract like solid wood. I took time and talked about wood movement quite a bit at the end of the youtube video showing this whole process. It’s a great resource if you plan on building this project for yourself.
All the other tools and supplies I used are linked below, followed by the step by step. If you have any questions, shoot me a DM on instagram : @modernbuilds
Stuff I used:
1/2" Birch Plywood: from Home Depot
Gorilla Wood Glue: http://bit.ly/2W1mEK0
Table Saw: https://amzn.to/2VZH8a7
Floor Finish (satin): https://amzn.to/2HzdjEC
Finish Applicator: https://amzn.to/2M5aLm3
Nail gun: https://amzn.to/2MgqyhI
Nail Set: https://amzn.to/2VWPHTf
Miter Gauge: https://amzn.to/2Hzd38s
Digital Angle Finder: https://amzn.to/2VWzaP8
Sanding Sponge: https://amzn.to/2MgraE2
Wood Filler: https://amzn.to/2M7vvJP

Pinning my projects to your favorite Pinterest boards helps spread the word about Modern Builds. You’ll find a “Pin it” button in the corner of the images below for your convenience. Thanks in advance!!

STEP 1: cut plywood into strips

I started by using my circular saw to cut the plywood into smaller pieces so they’d be more manageable and safer to cut into strips on the table saw. I cut strips to just under 6” (close to 5 3/4”) to maximize number of strips I could get from each sheet of plywood.
48 / 6 = 8

STEP 2: cut strips into parallelograms
I set my miter gauge to 60° and, without moving my table saw fence, cut the lengths into parallelograms. You’ll notice I replaced the long piece of plywood “spring-clamped” to the table saw fence with a shorter piece of plywood that’s the same thickness. Doing this creates a gap between the table saw fence and the blade (to prevent kickback from occurring), while still providing a stop block so that each piece is the exact same size. BE SURE and do this… just google table saw kick back and you’ll be convinced ;)


Like I mentioned earlier in the post… we didn’t use spacers. We wanted a SUPER crisp look and made the grout lines as small as possible. This isn’t to say you shouldn’t use spacers. If you like a thin grout line (1/16”-1/32”) I say go for it.. it’ll still look great and give you a little more wiggle room to make sure all 4 corners meet up as you install more rows.
STEP 3: test FIT
Before you go cutting all your pieces, lay 3 out and check for gaps. If your angle is too sharp (acute), there will be a gap on the inside of the hexagon. To fix this, move your miter gauge closer to 61° and check to see the fit. If there is a gap on the outside of the hexagon, your angle is too obtuse, so you’ll need to move your miter gauge closer to 59° and see how that affects the fit. don’t move on until the fit is perfect… otherwise cumulative error will cause the floors to get further out of line with each row.

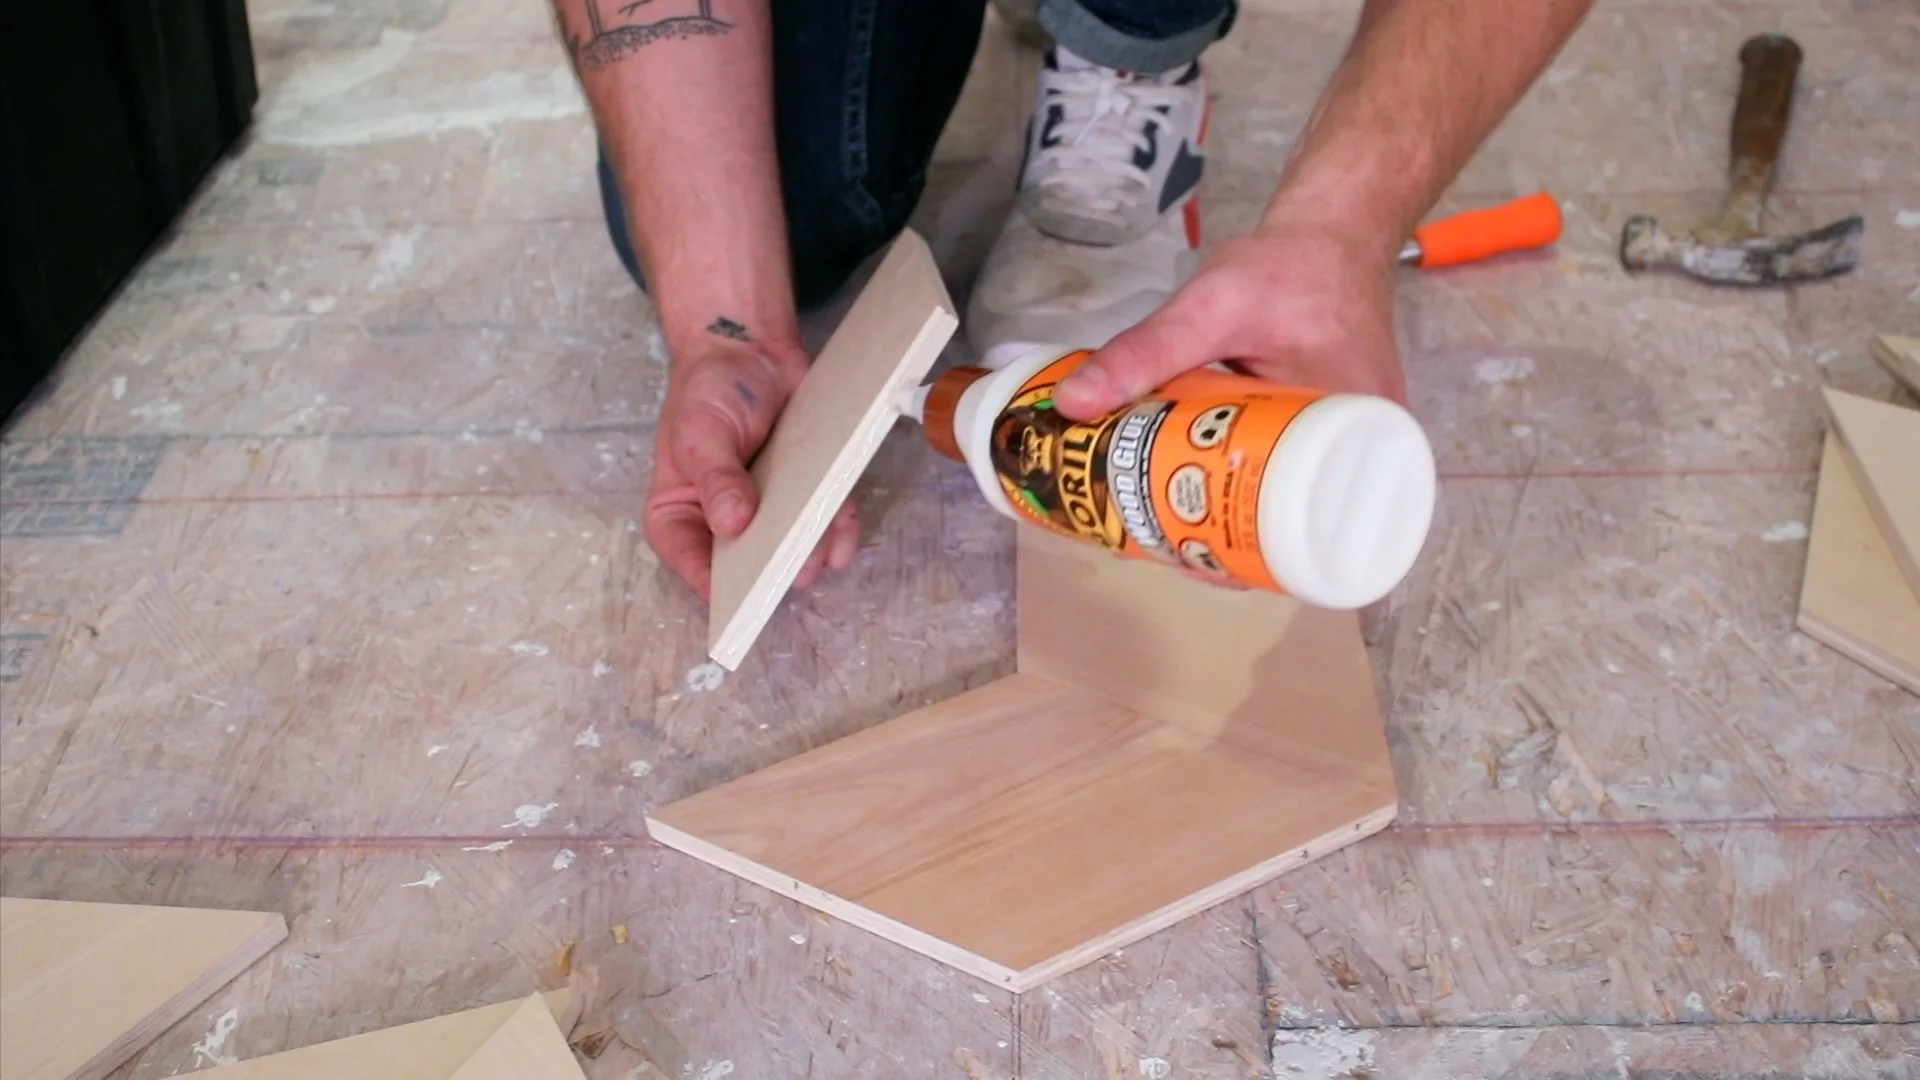
STEP 4: Install Floors
In the youtube video you’ll see me lay out chalk lines every 12” for reference, It’s not totally necessary, but it was reassuring seeing the floors were being installed straight. I used my 16 gauge brad nailer to “toe nail” each piece into the OSB subfloor. If you’re installing this on a concrete floor, you’ll need to use an adhesive (or install a subfloor). Before installing any piece if would fully assemble each hexagon to endure it was going well. Occasionally, I had a piece that would need to be trimmed a tiny bit for a good fit so I kept my table saw set at the proper angle

I used Gorilla Wood Glue on any joining edges. Where two pieces met, I couldn’t toe-nail the board, so the wood clue should keep everything from shifting.
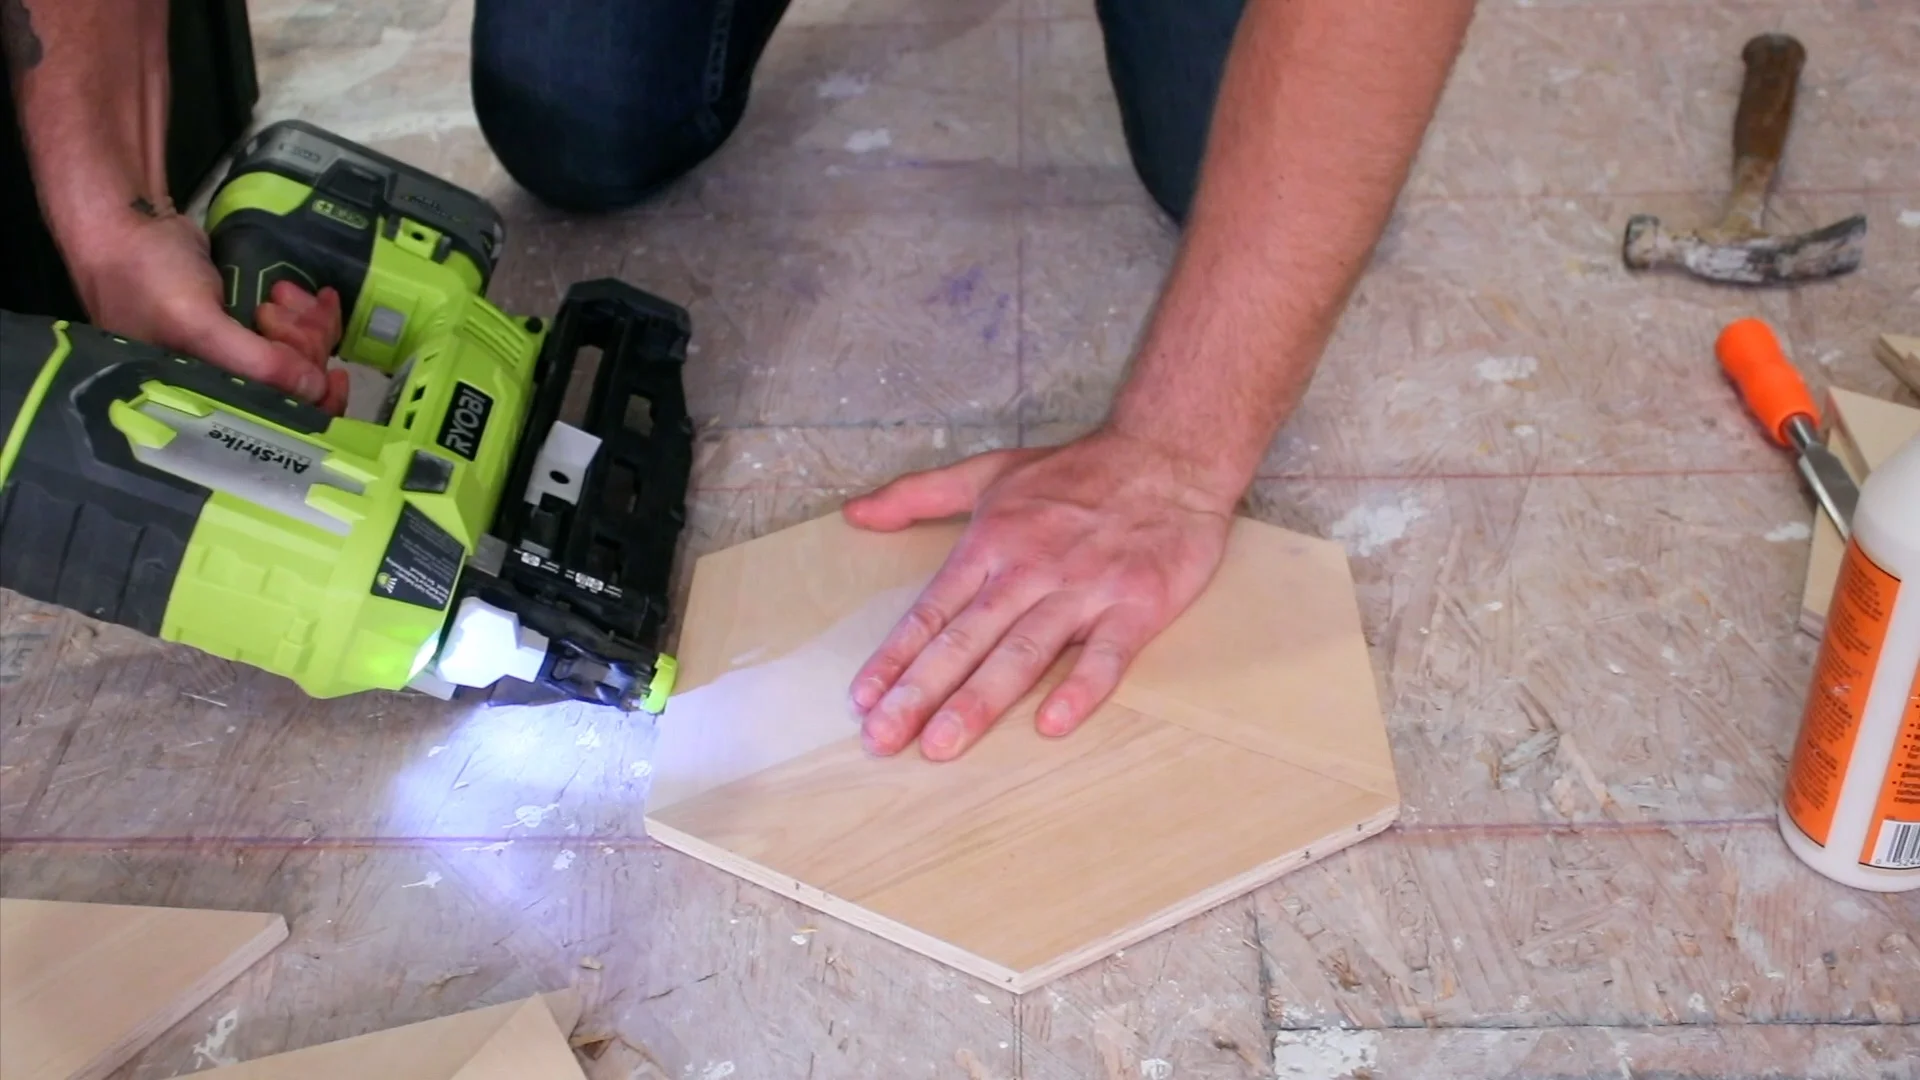
Occasionally, a nail would be slightly exposed. So make sure was fully embedded, I used a nail set and hammer.

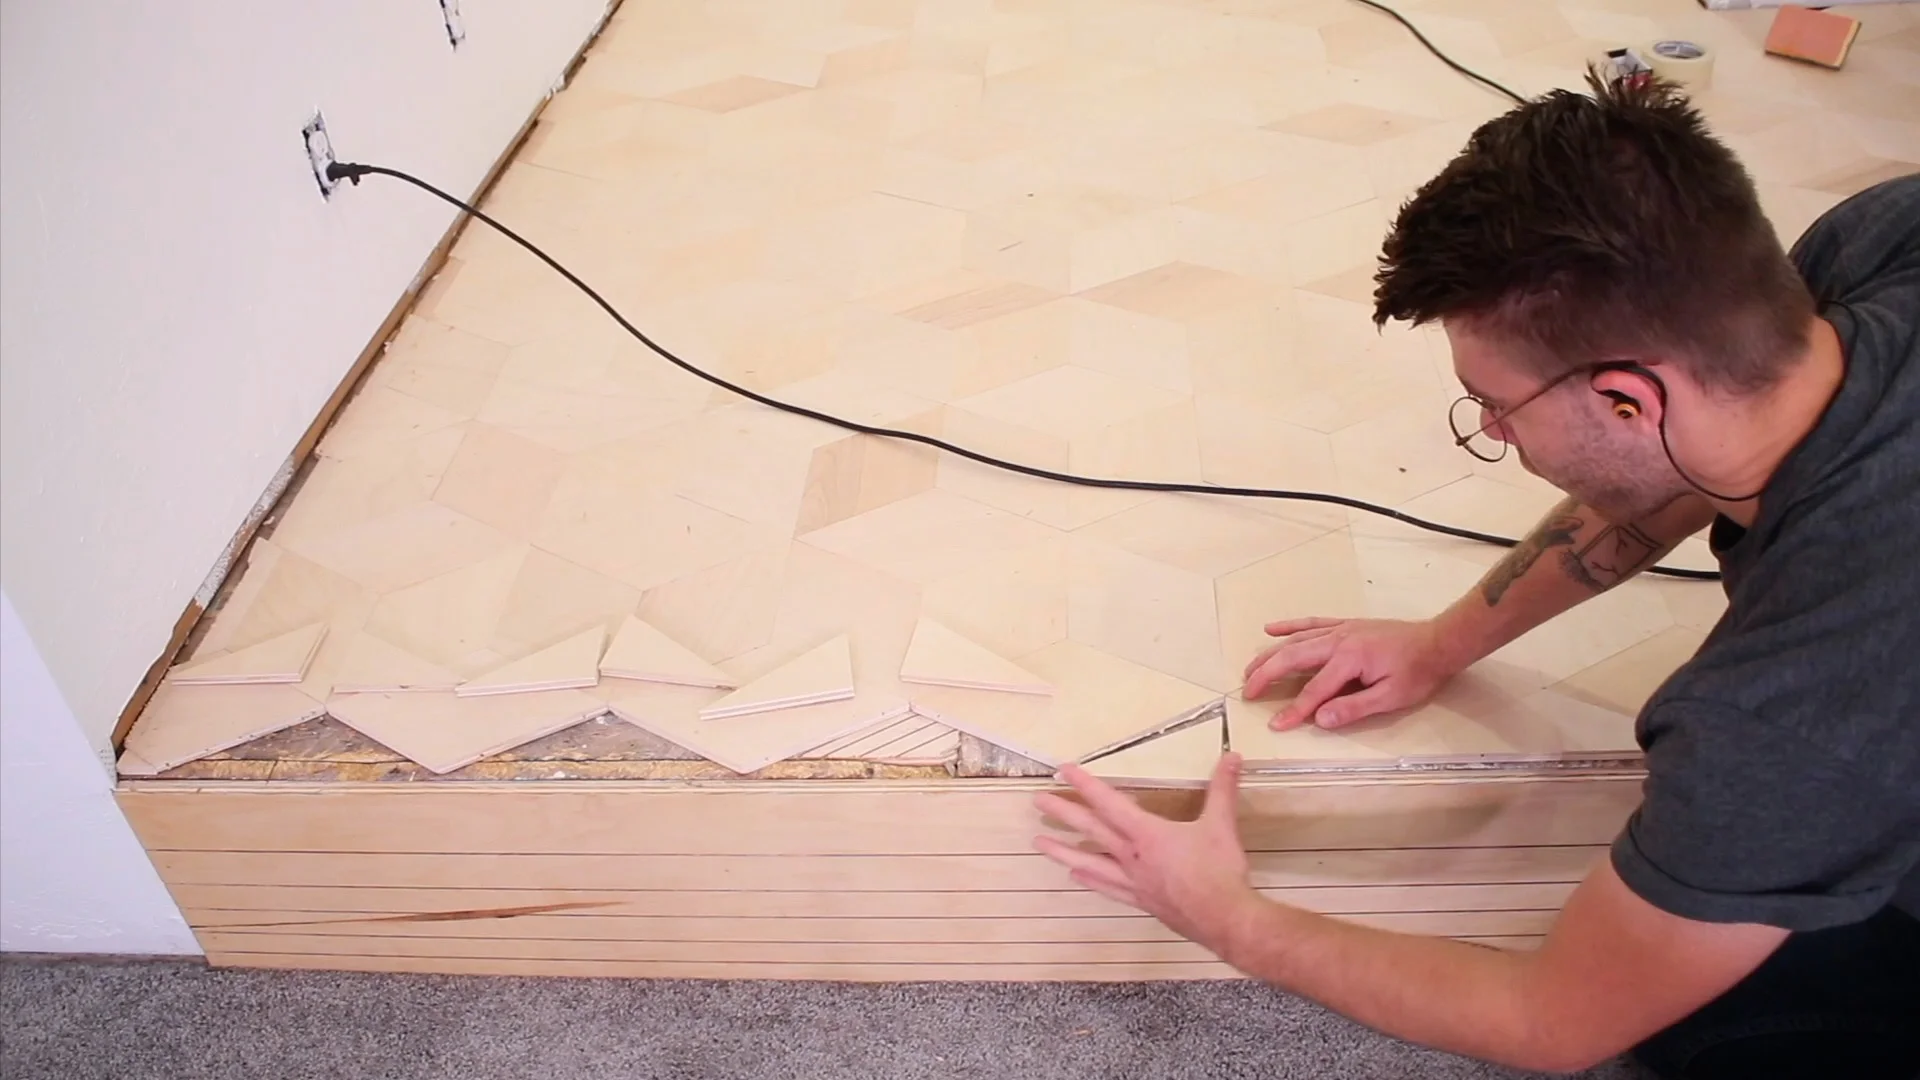
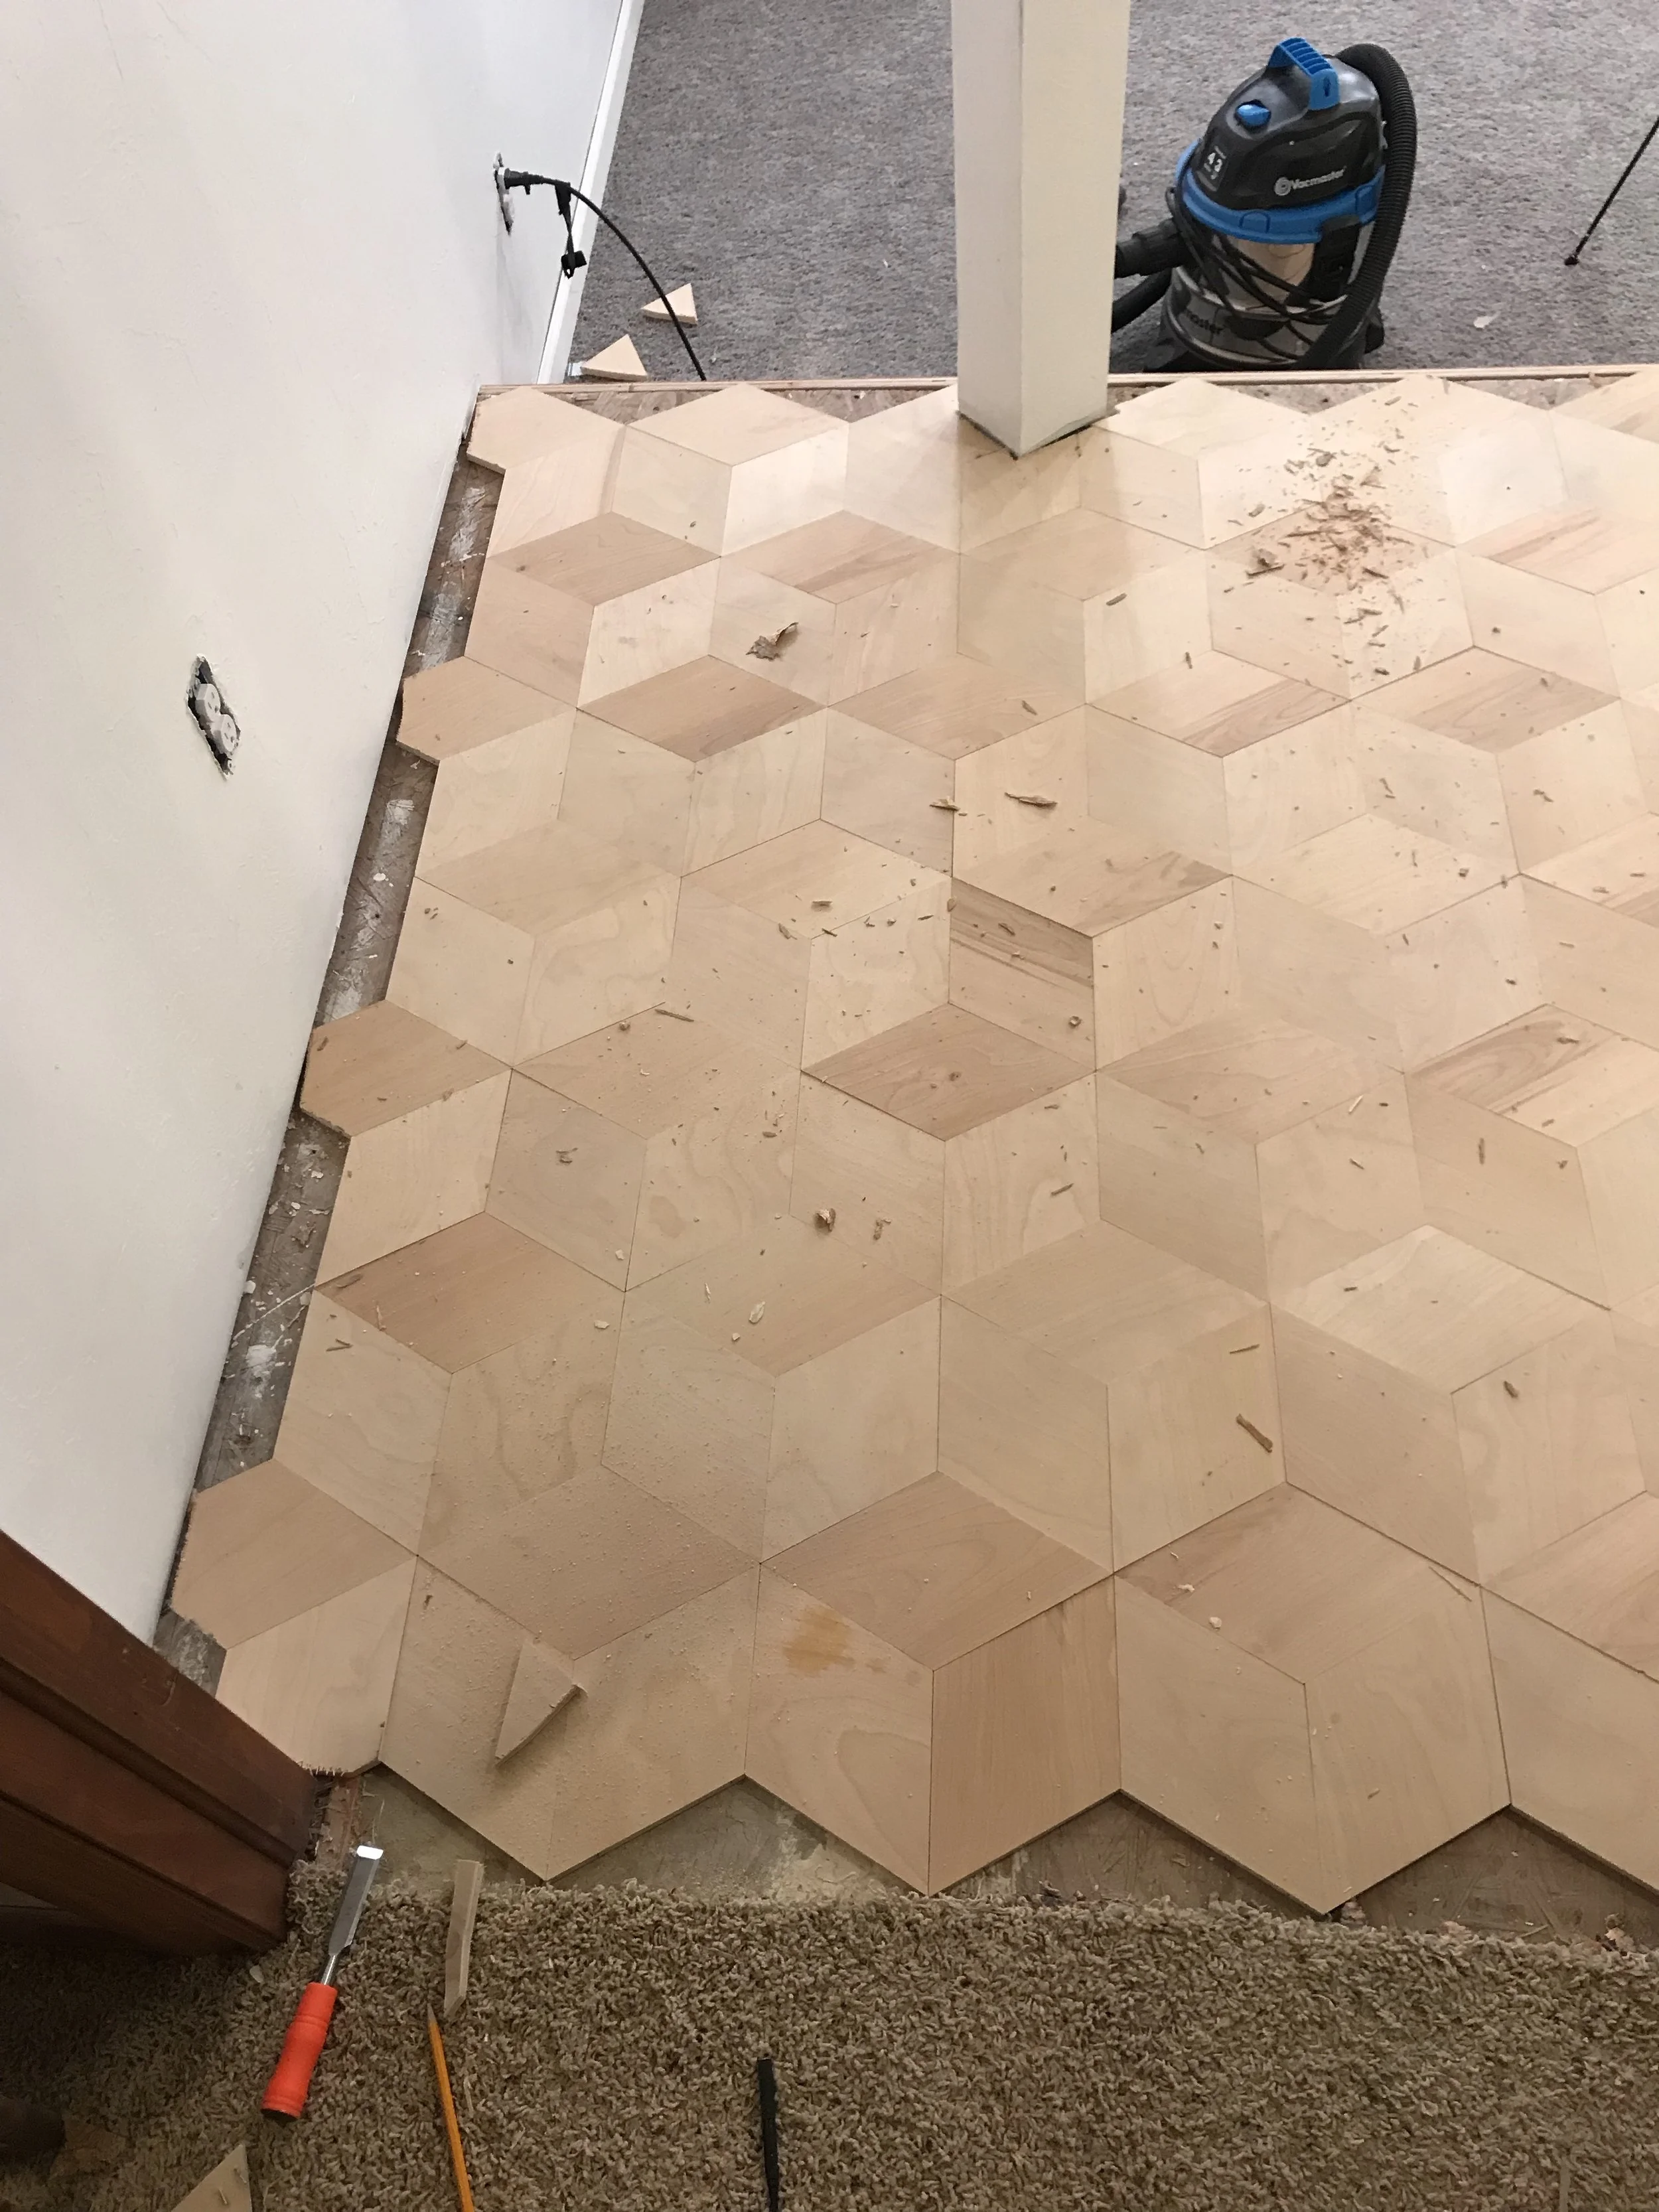
STEP 5: cut to fit

Around the perimeter of the room you’ll need to measure and cut small pieces to fit in any empty spaces. This doesn’t have to be perfect.. remember we’ll be installing trim to cover the edges.
step 6: Fill the Gaps and Voids
I’d be lying if I said there weren’t gaps… the good news is they were really small. I used wood filler (linked at top of page) to fill any voids and then used a damp rag to wipe off the excess from the face of the flooring pieces. Then I used a sanding block to prep the floors for finish.


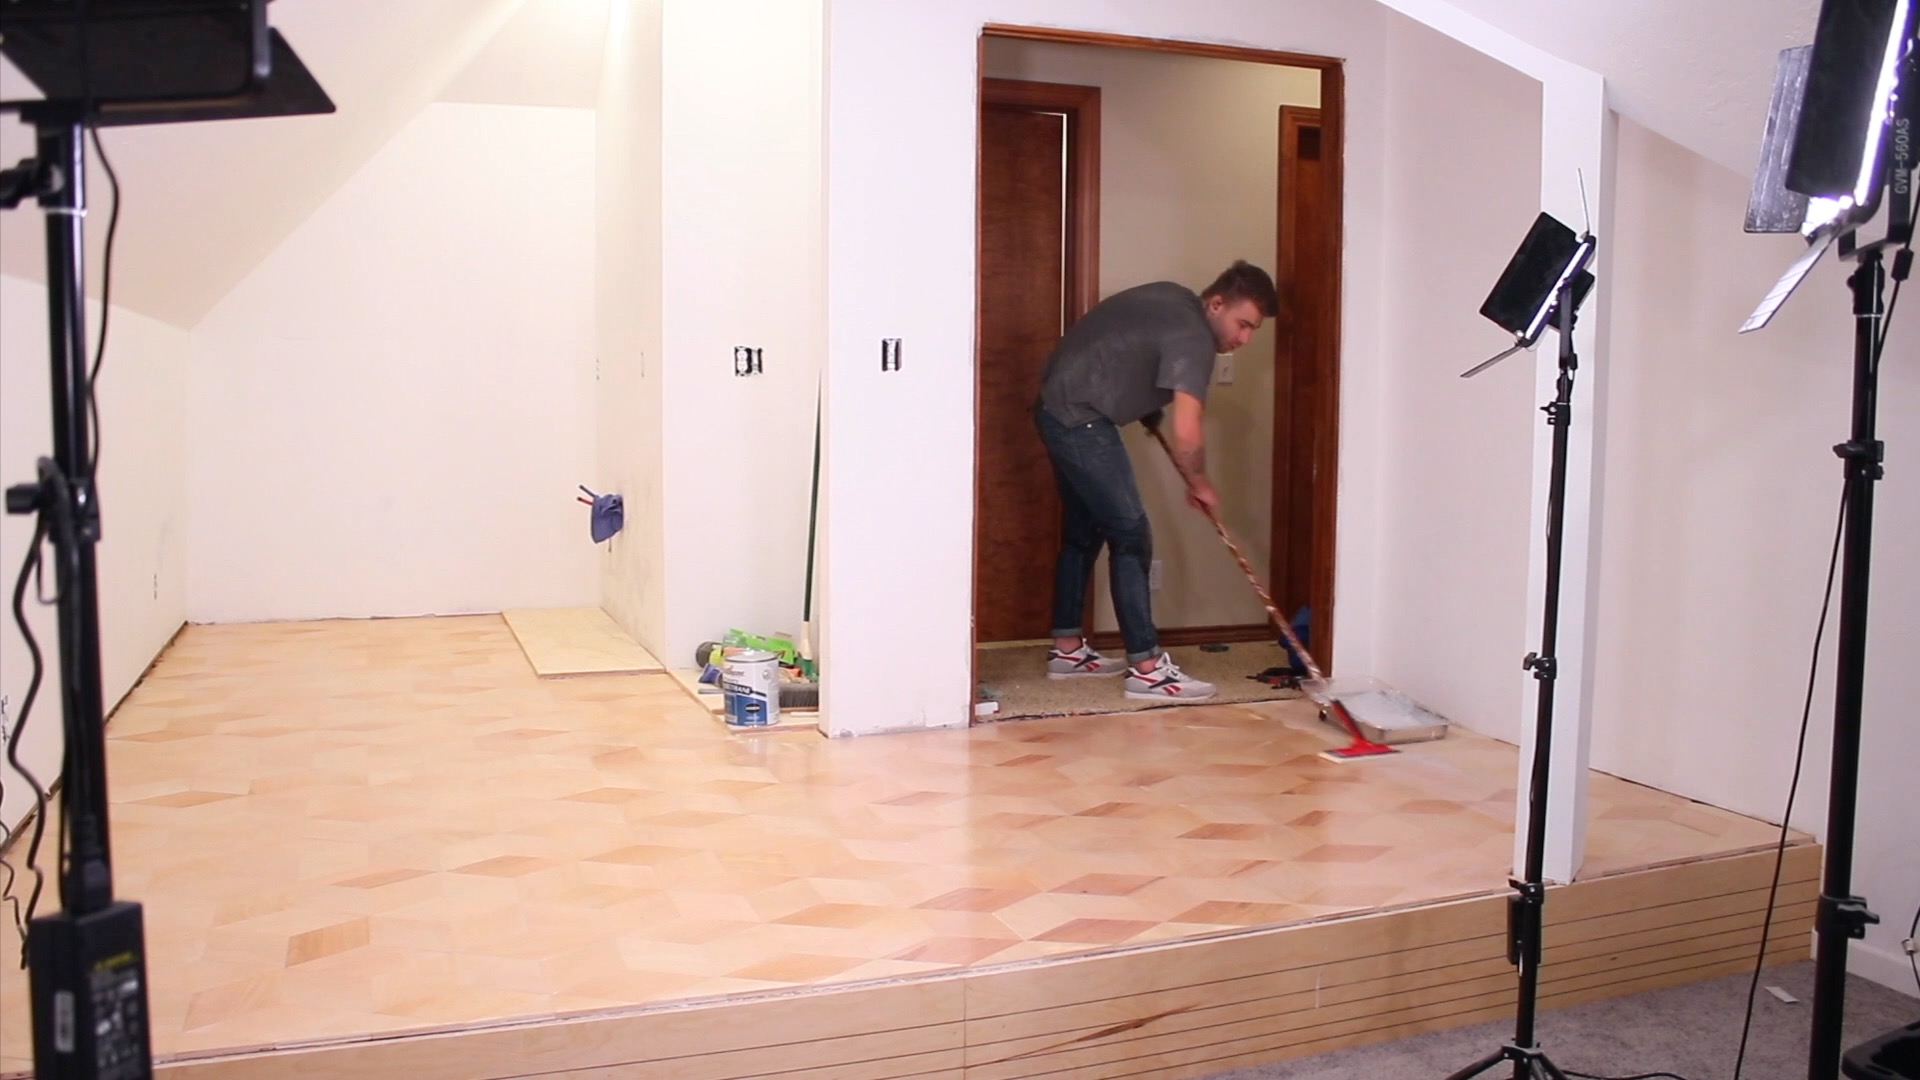
STEP 7: APPLY PROTECTIVE FINISH
I laid on 4 coats of water based polyurethane to both protect the floors from being damaged as well as waterproof them. Check the materials list for what I used.


If you have any questions or find any issues with the article, feel free to get in touch.
more cool projects: