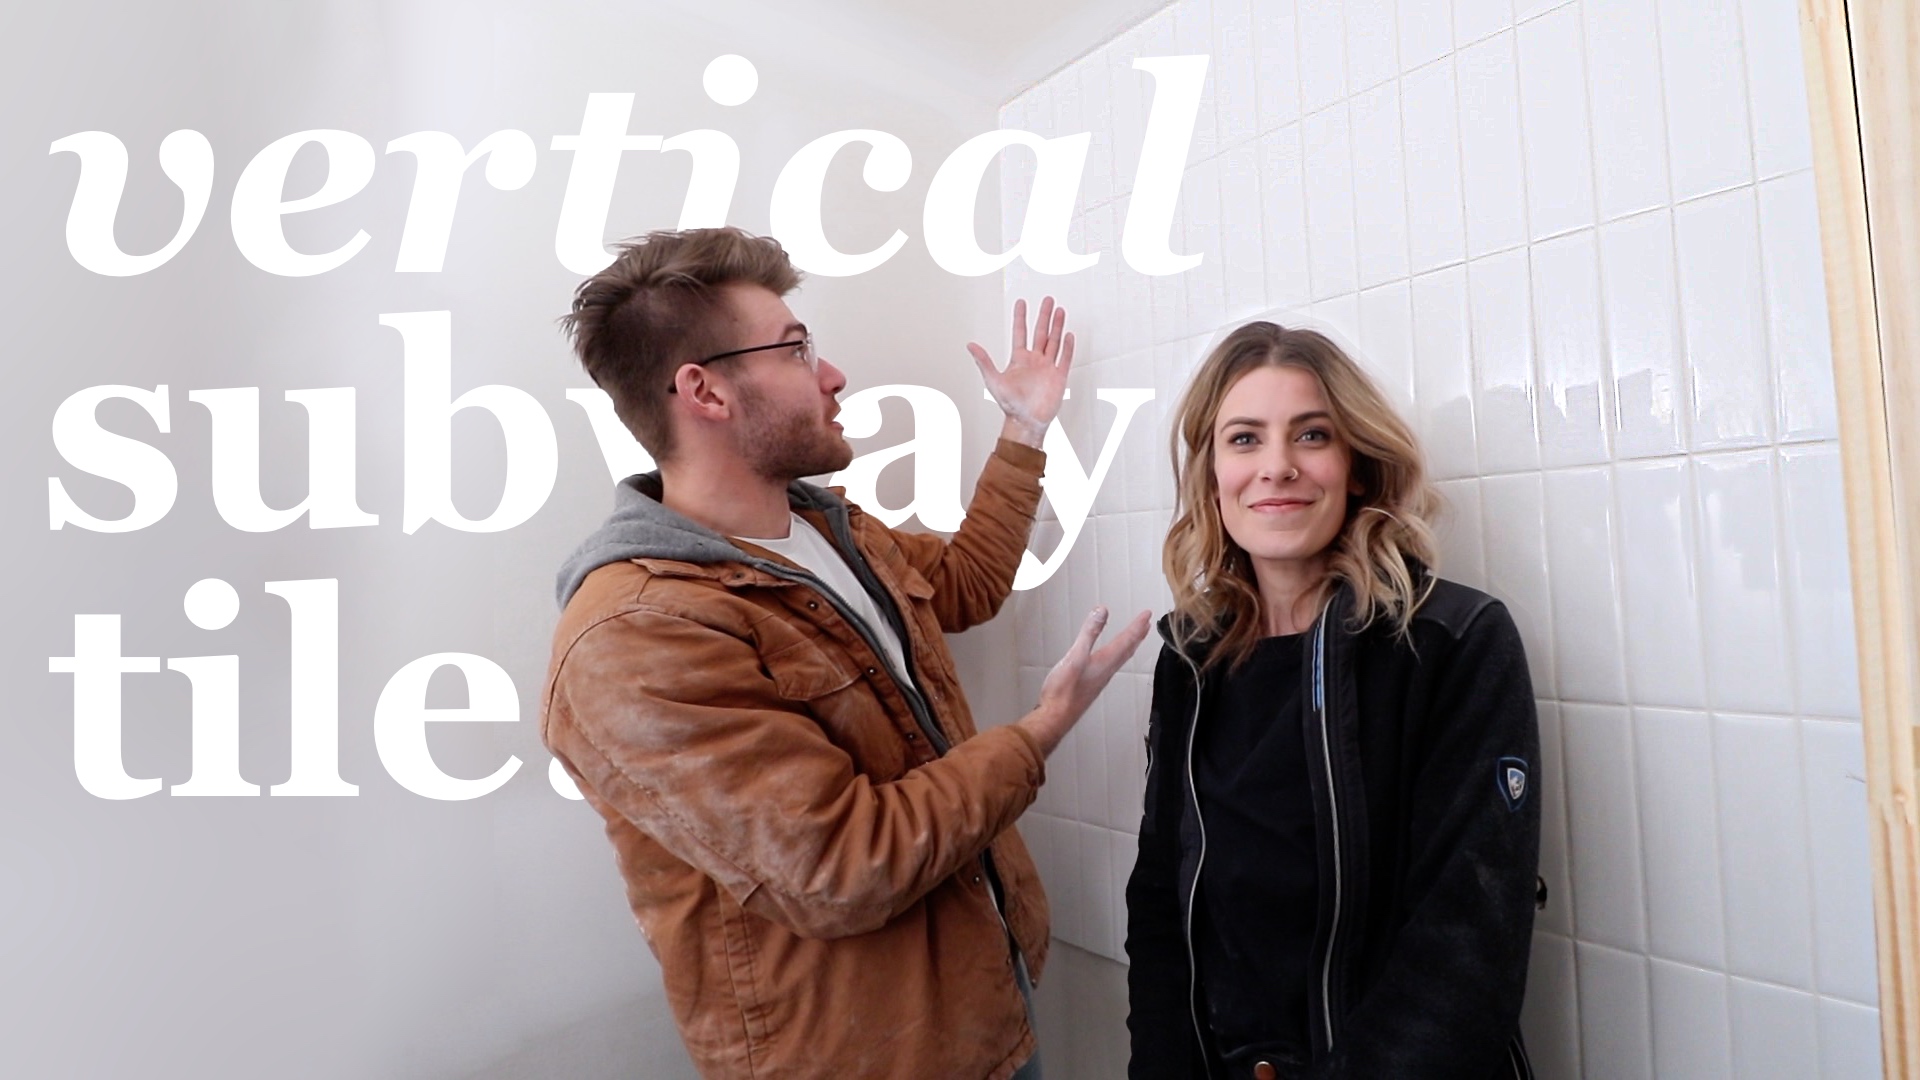
CUSTOM VERTICAL SUBWAY TILE BACKSPLASH
modern builds: s.02 Ep.41
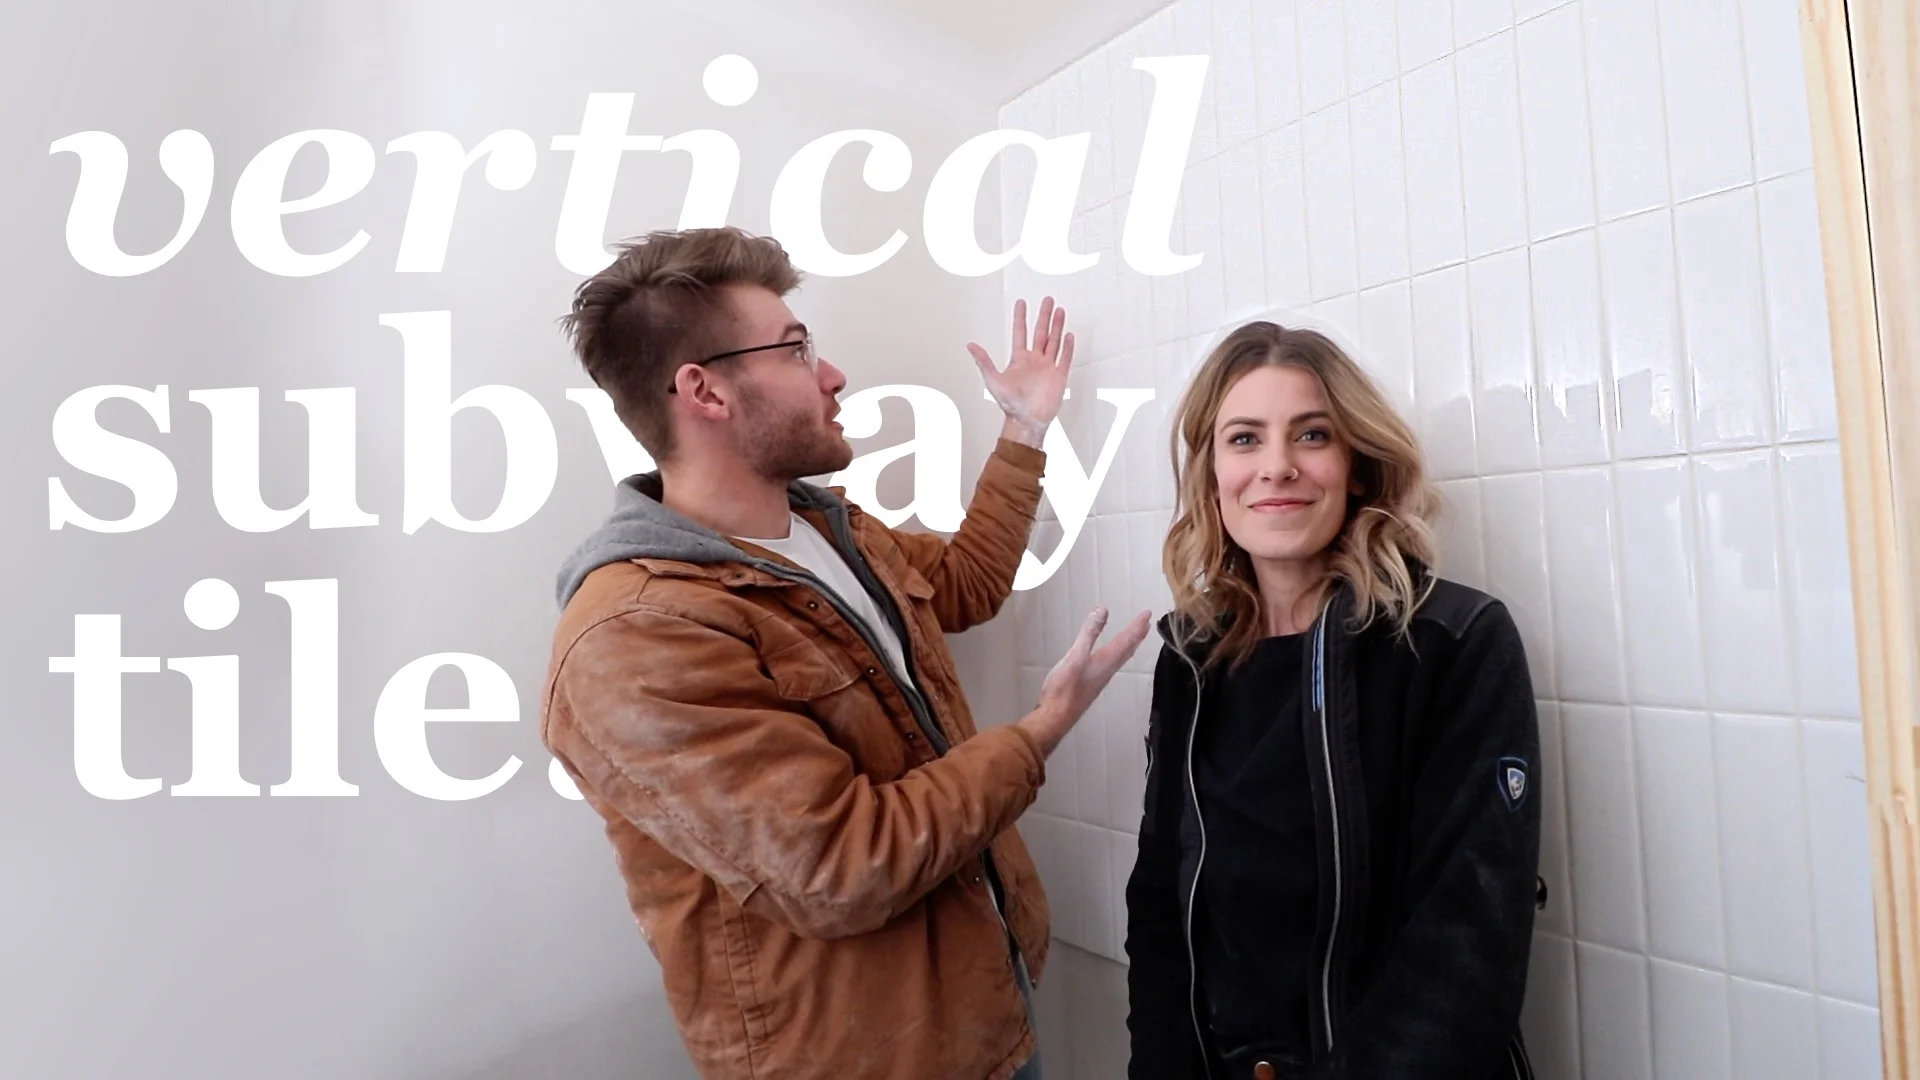
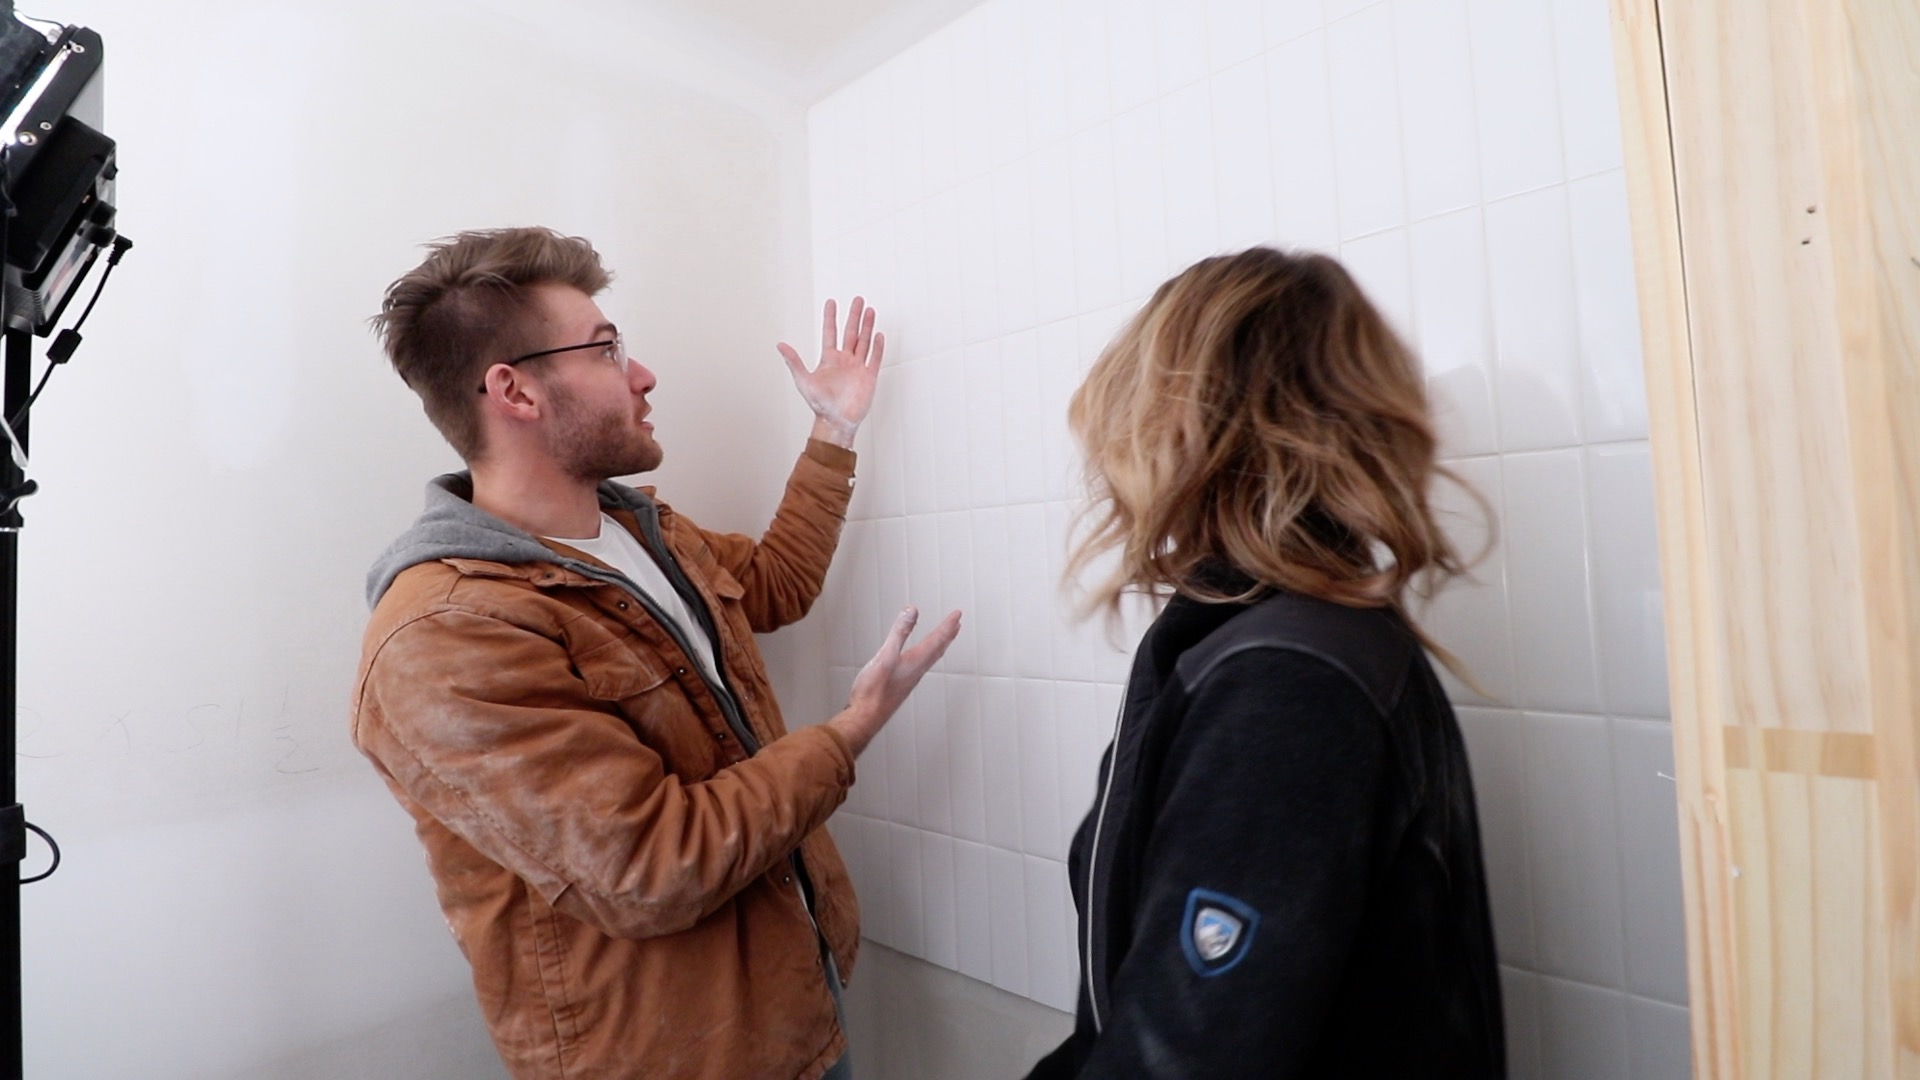
My Friend Rachel is working on remodeling a super cute, mid century modern home and I gave her a hand installing no-space vertical subway tiles in a guest bathroom. This is a fun flip on a classic tile. If you are new to tiling or aren’t confident in being able to swing a no-spacer look, I’ve included amazon links below to some 1/32” and 1/16” spacers for you to check out.
Stuff I used:
1/32” Spacer: https://amzn.to/2JOUu2w
1/1`6” Spacer: https://amzn.to/2MqJYAT
3"x9" Subway Tile: https://thd.co/2HImuDa
Tile Adhesive: https://amzn.to/2FmznQm
Grout: https://amzn.to/2JwHVJX
Trowel: https://amzn.to/2Yeyhih
Grout Float: https://amzn.to/2JEo1wu
Sponges: https://amzn.to/2OhkT8E
5 Gal Buckets: https://amzn.to/2CzUnCN
Tile Saw: https://low.es/2FmLrRK
Diamond Blade: https://amzn.to/2YcJ24N
Ceramic Hole Saw: https://amzn.to/2YfqQr6
.
Pinning my projects to your favorite Pinterest boards helps spread the word about Modern Builds. You’ll find a “Pin it” button in the corner of the images below for your convenience. Thanks in advance!!

STEP 1: INSTALL LEDGER BOARD
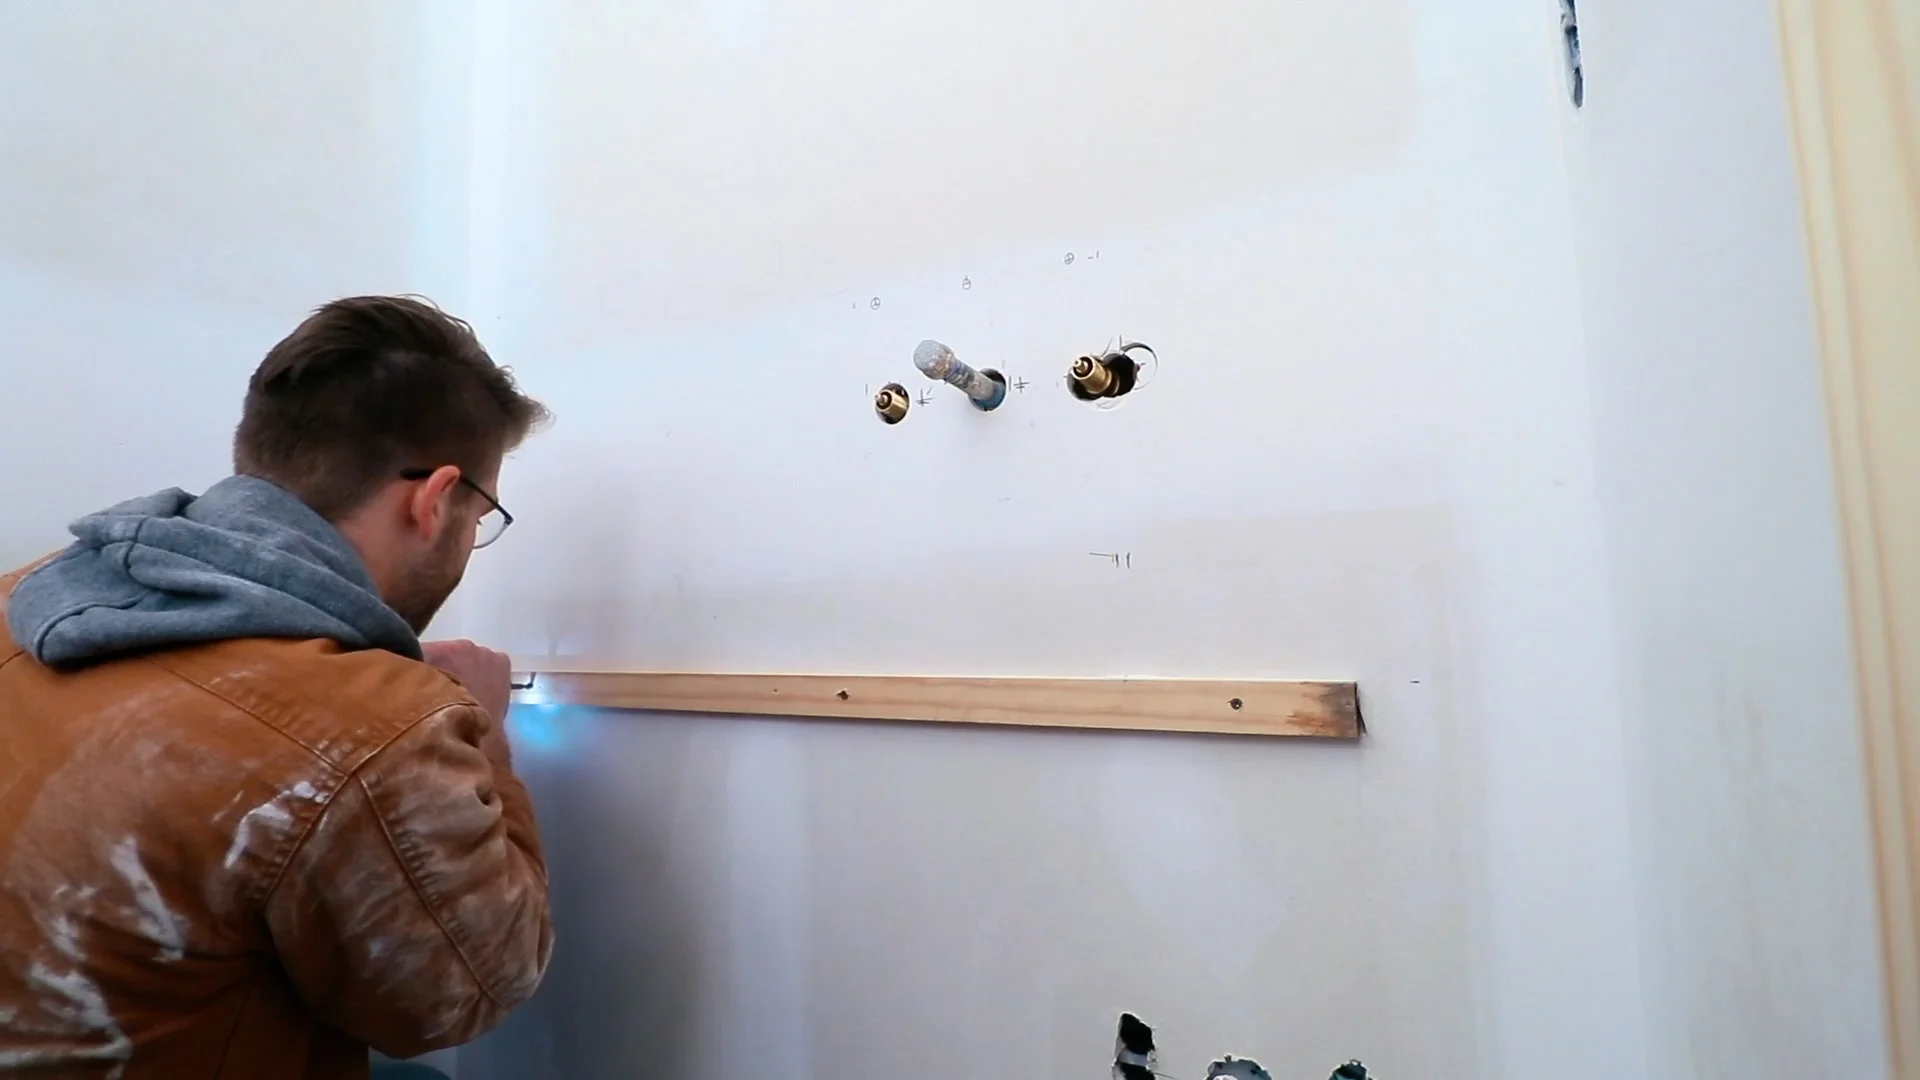
If you've already installed countertops, skip this step. If not, you’ll need to install a ledger board to help establish the first row of tiles. It’s important to make sure this board is level and square… everything from here on out will be referencing this board.
STEP 2: INSTALL FIRST ROW

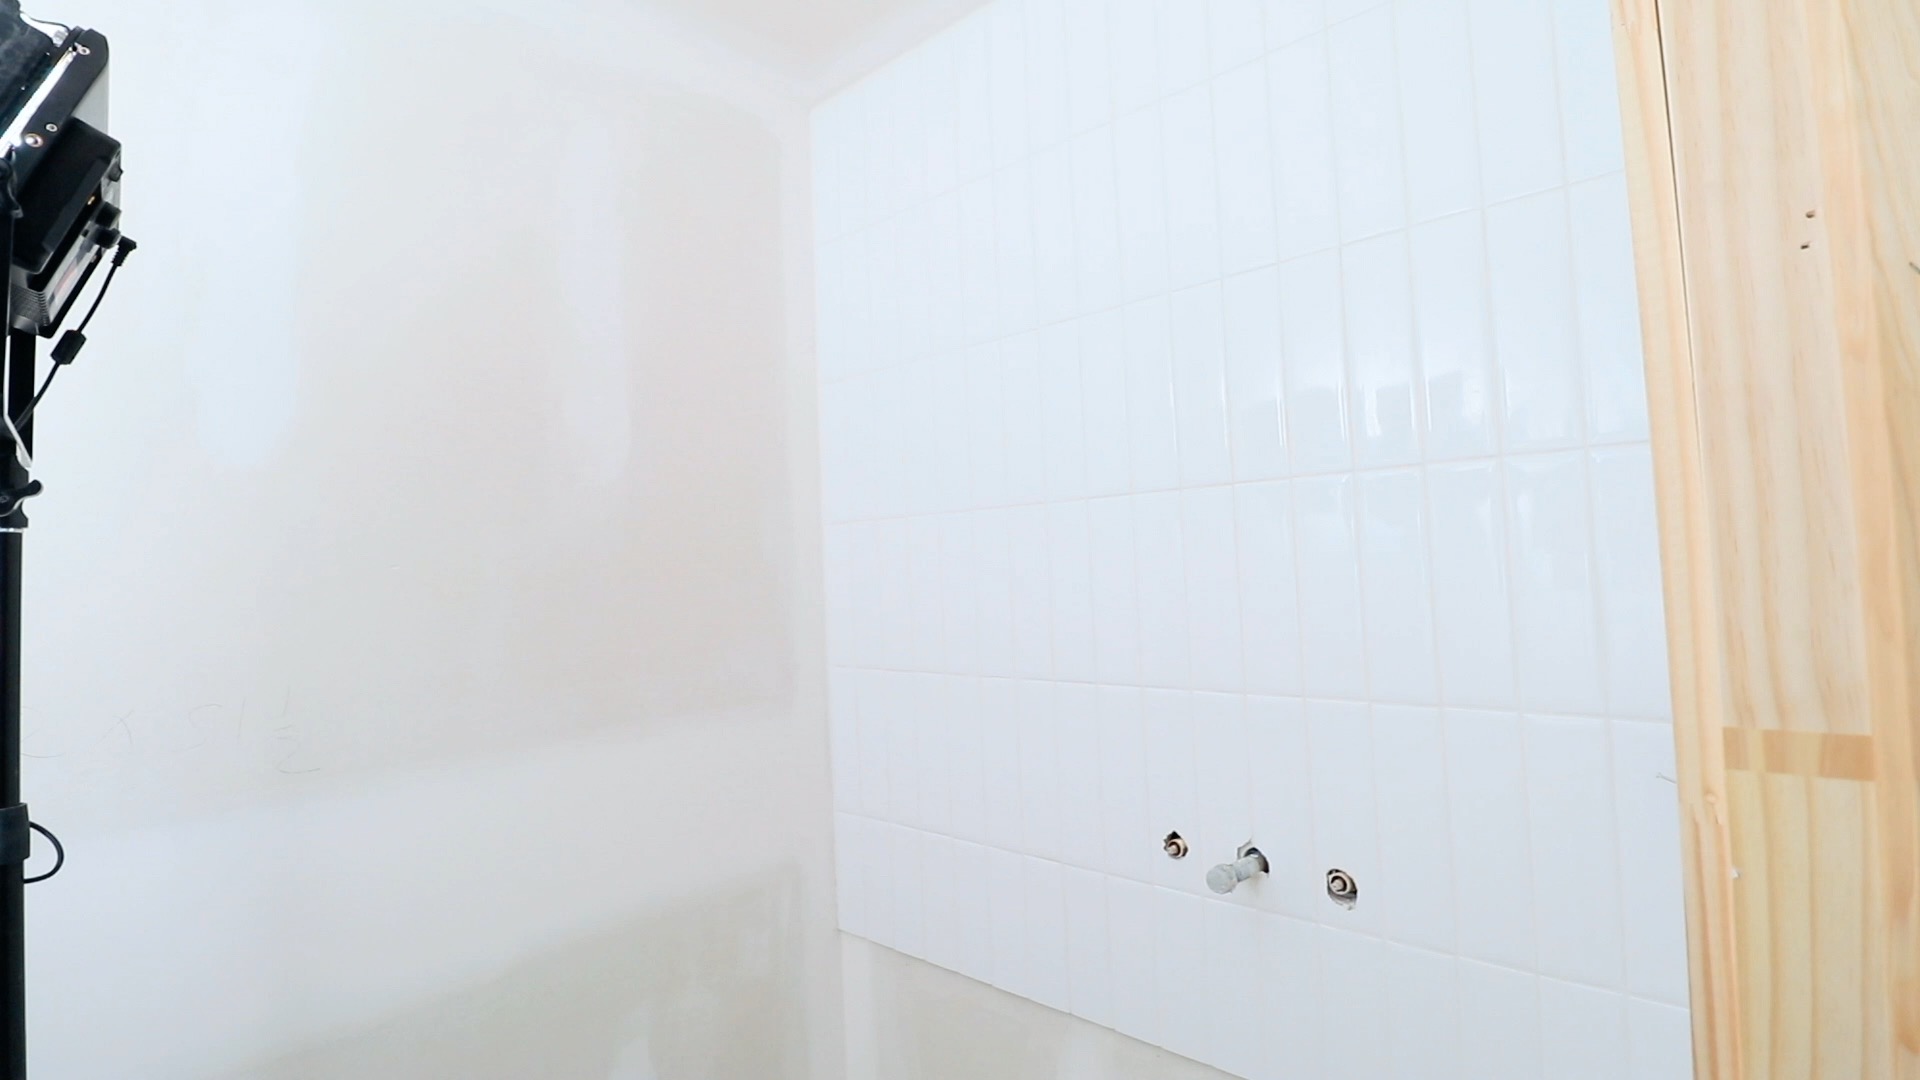
If you want your top row to be full-sized tiles (which looks really cool) You’ll want to do the math and most-likely cut the first row of tiles to the right size so that the top row meets the ceiling without any extra space. You can see the piece of wood I’m using as a stop block to make sure each piece of tile I cut is the exact same.

If you’re a quick at tiling it might be best to apply the tile adhesive directly onto the wall so that you can move faster when installing the tiles. We aren’t so quick, so we chose to “back butter” the tiles, which means we applied the adhesive directly onto the back of the tiles individually as we went. That way we weren’t rushed and we could give each tile plenty of attention.

Like I mentioned earlier in the post… we didn’t use spacers. We wanted a SUPER crisp look and made the grout lines as small as possible. This isn’t to say you shouldn’t use spacers. If you like a thin grout line (1/16”-1/32”) I say go for it.. it’ll still look great and give you a little more wiggle room to make sure all 4 corners meet up as you install more rows.
STEP 3: CUT TO FIT

Chances are; you’ll have to cut tiles to finish each row, and if you start from the center you’ll need to cut a piece to finish each side of the row. Having a tile saw with a sliding table makes this task CRAZY easy.. if you’re not planning on doing a lot of tiling jobs I’d recommend renting a good tile saw rather that buying a cheap one without a sliding table.

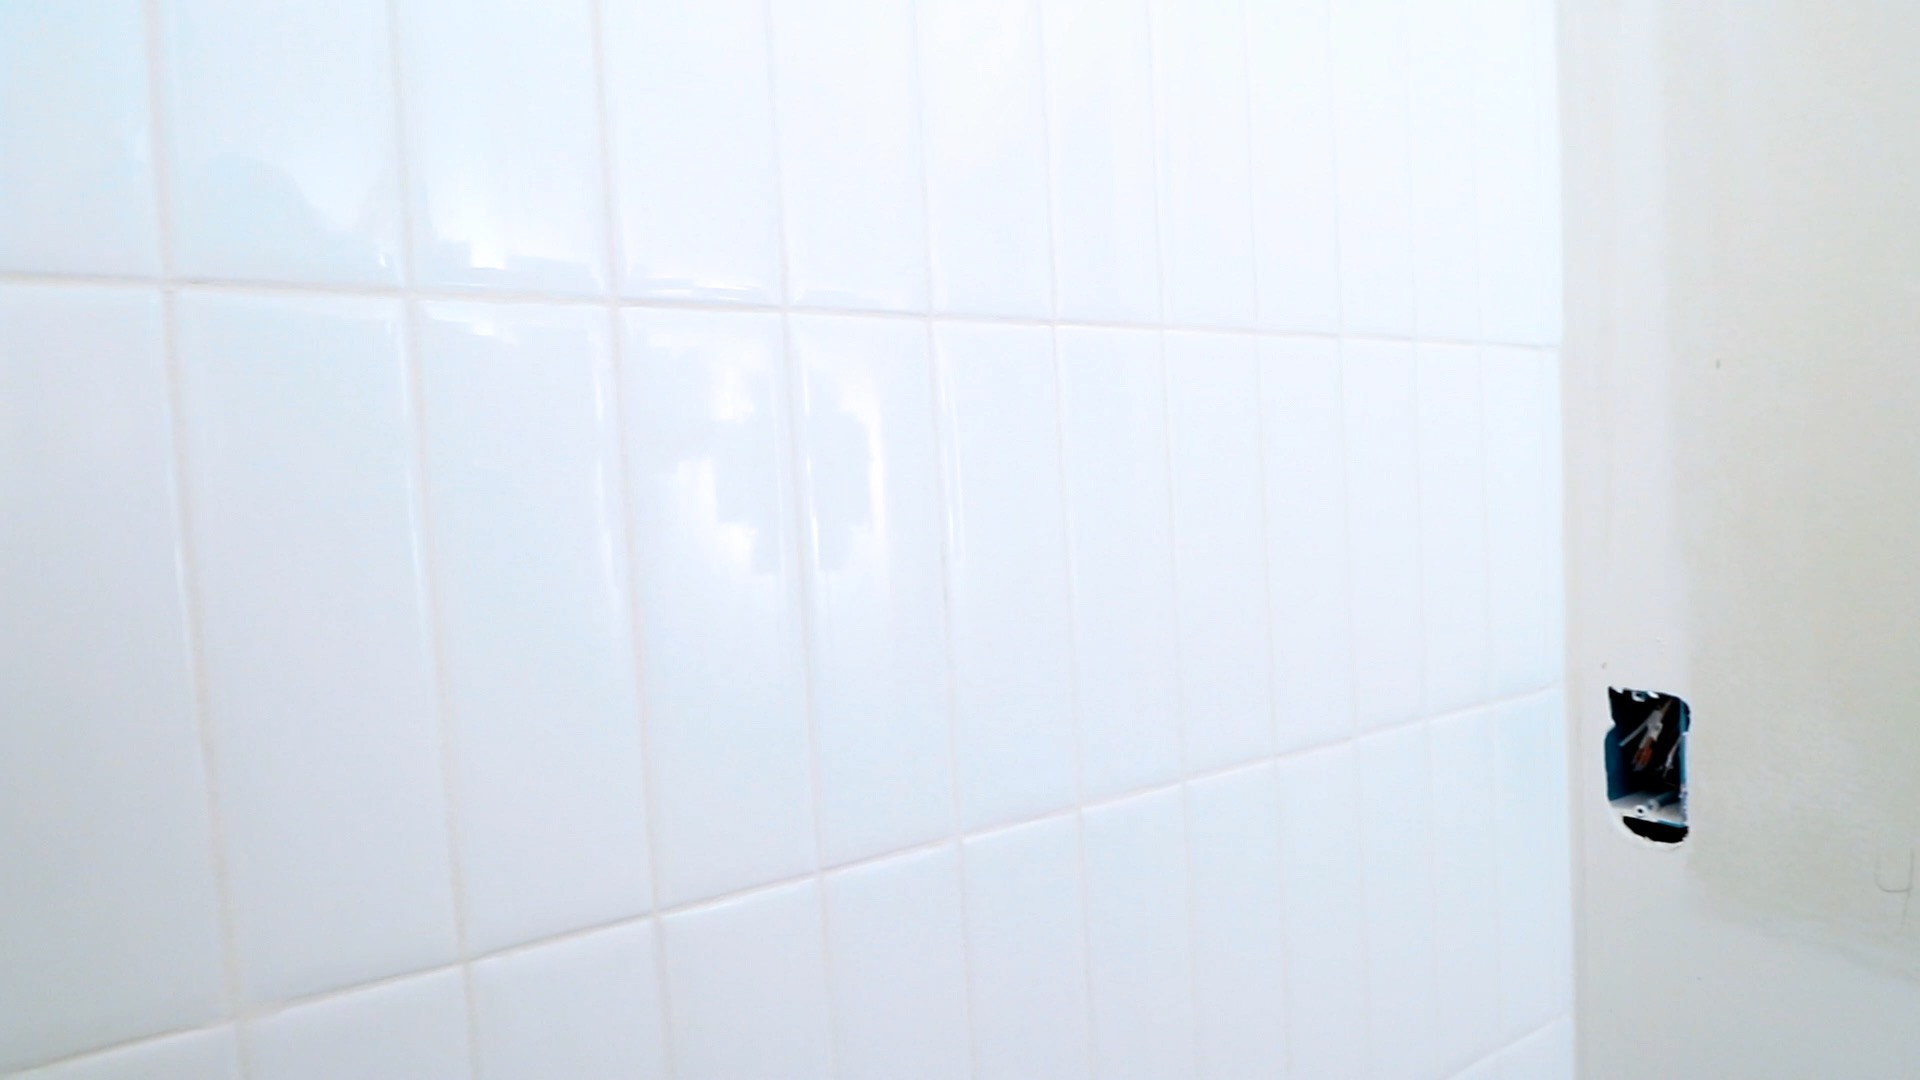
STEP 4: KEEP TILING

First row compete…. From here on out just make sure and keep an eye on your corners and make sure they line up. Even without spacers, theres a LITTLE bit of wiggle room to keep everything lined up. Be patient and stay focused.
STEP 5: APPLY GROUT

Angling the grout float at 45 degrees and using the corner helps work it into the gaps between the tiles well.. especially if the gaps are small. Try not to completely cover the face of the tiles, focusing the grout around the lines will help when It’s time to clean everything up.
step 6: wash, rinse, repeat

It’s useful to have 2 five-gallon buckets of water and sponges to clean the grout lines with. One to get the dirty work done and the second to do all the detail work. Rinsing your sponge as often as possible is key to getting this job done right. After using sponges to clean the grout lines, we used paper towels to clean each of the tile faces individually. This didn’t take long, but it gave us the opportunity to check each tile for any grout or smudges before calling this job DONE.

If you have any questions or find any issues with the article, feel free to get in touch.
more cool projects: